
Last updated October 31, 2026
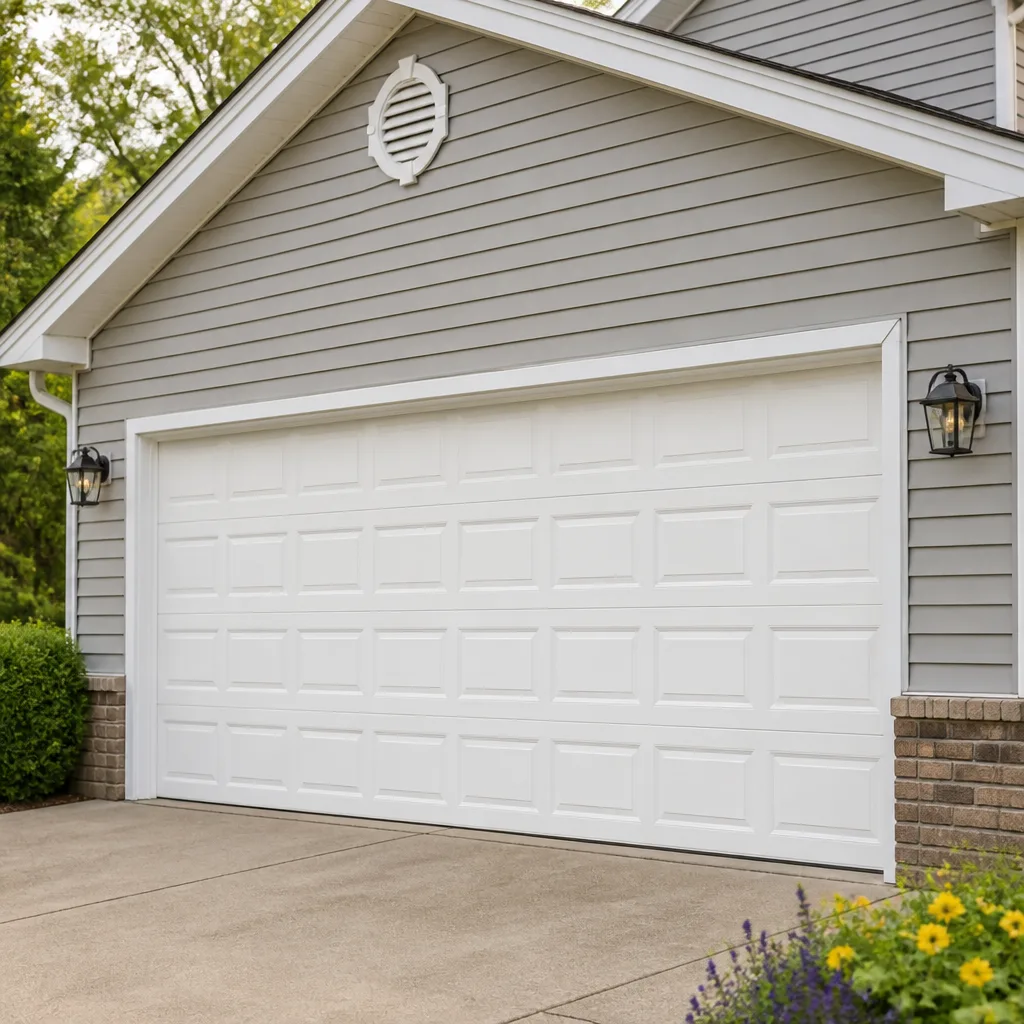 Raised-panel steel
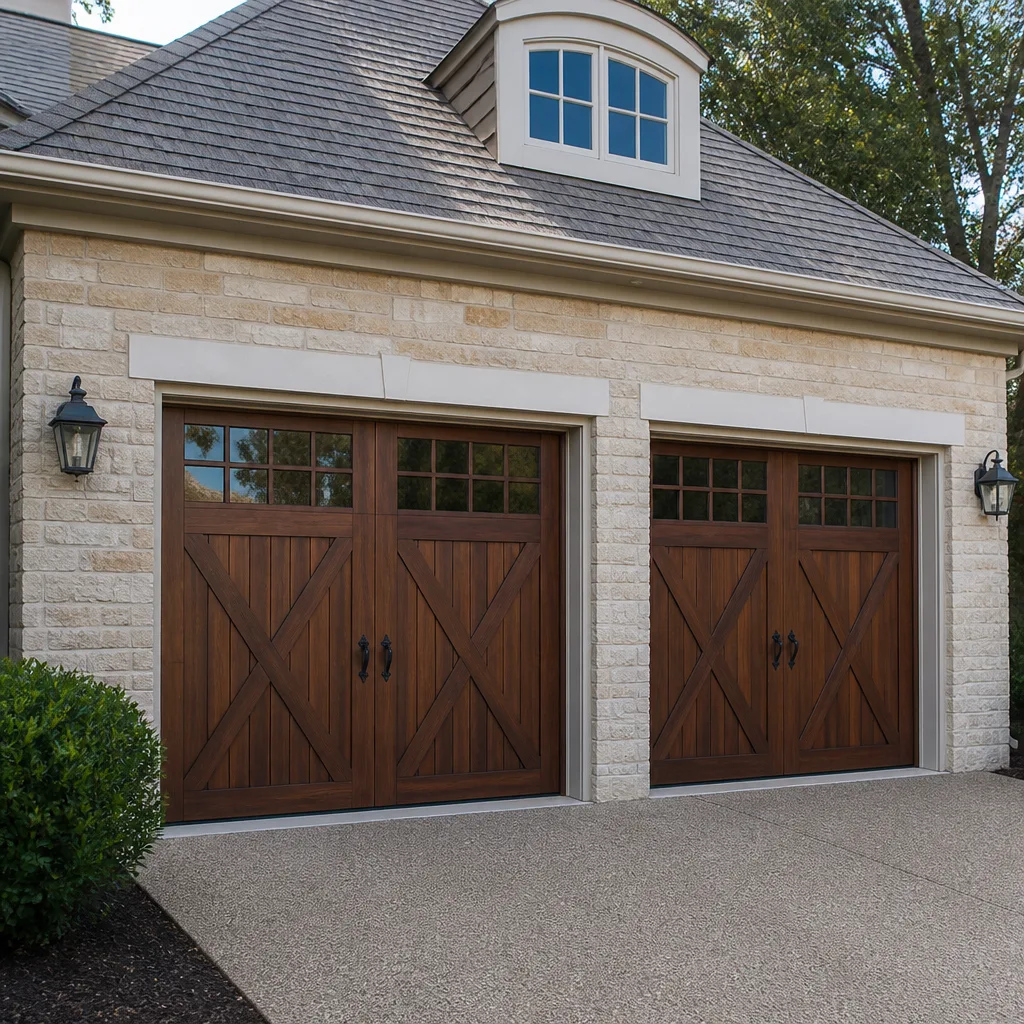 Carriage house
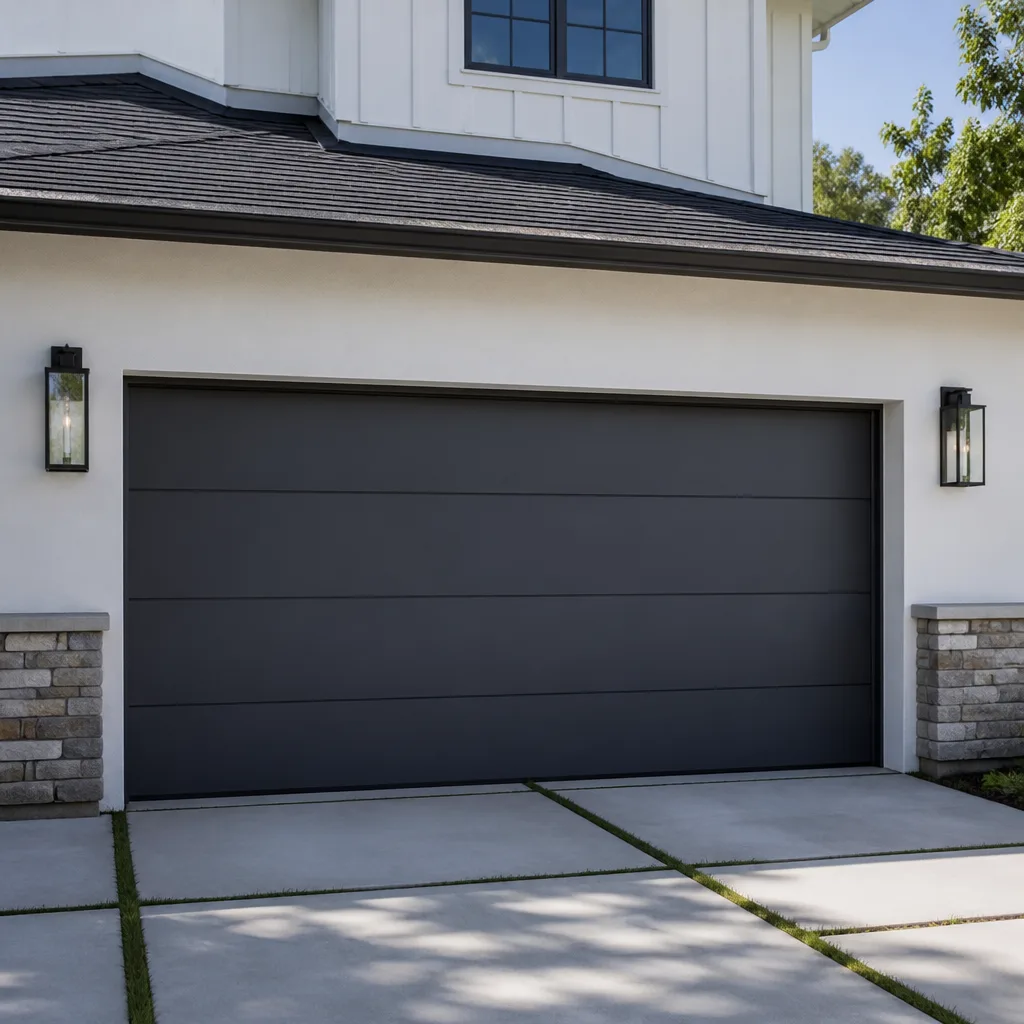 Modern flush
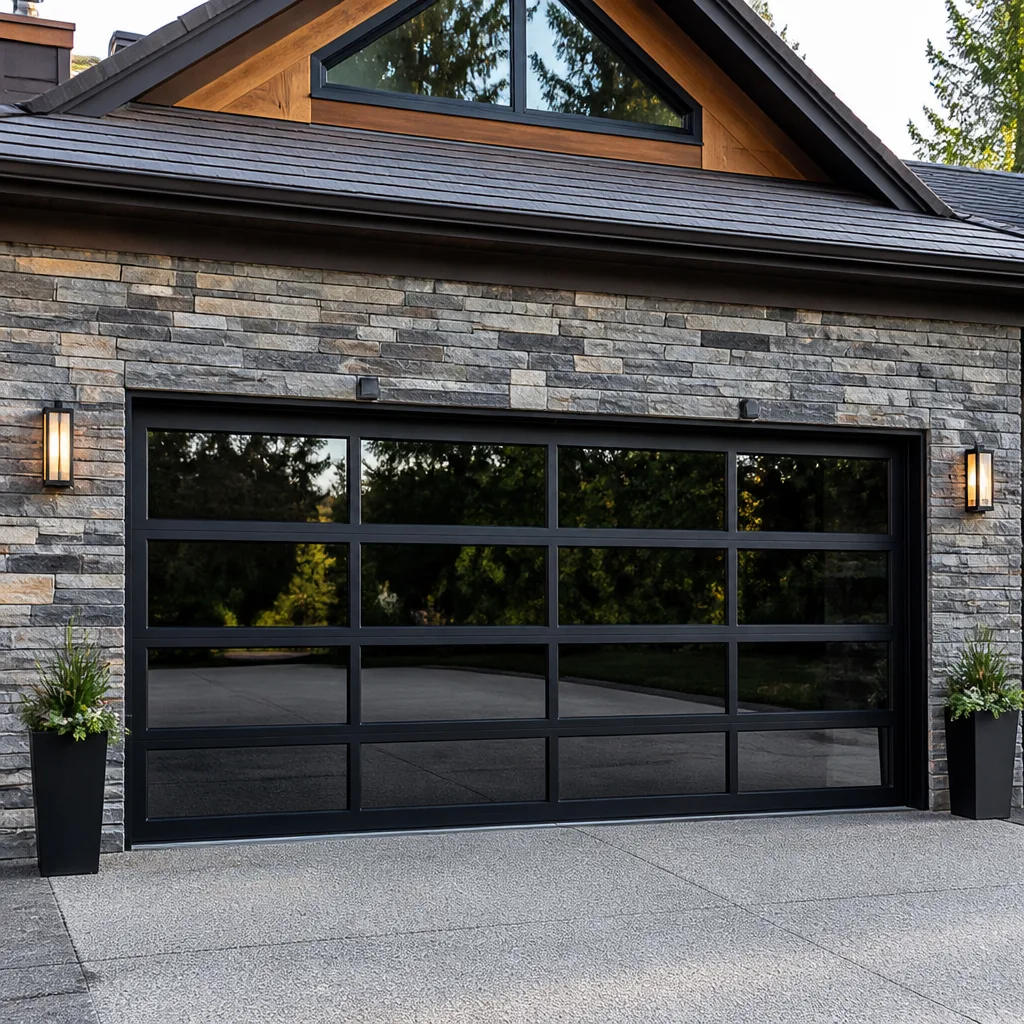 Full-view glass
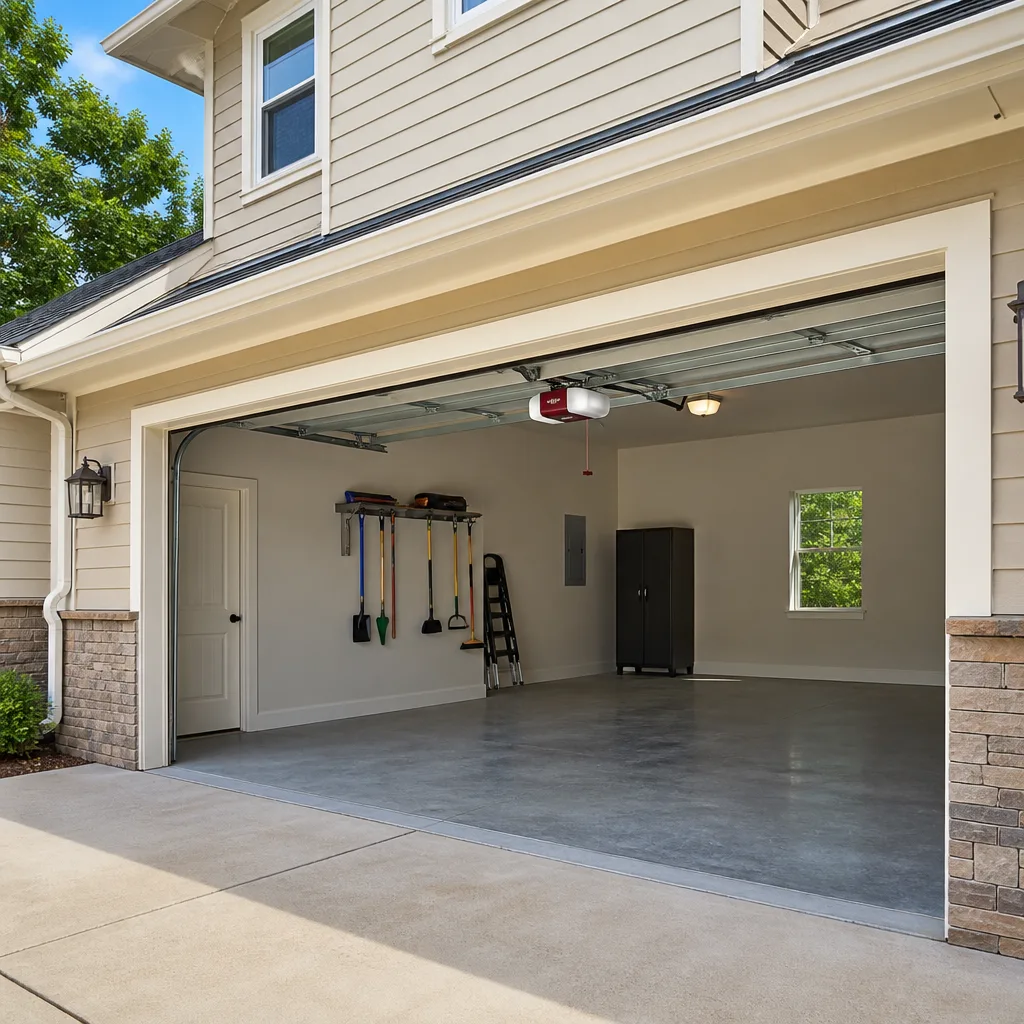 LiftMaster openers
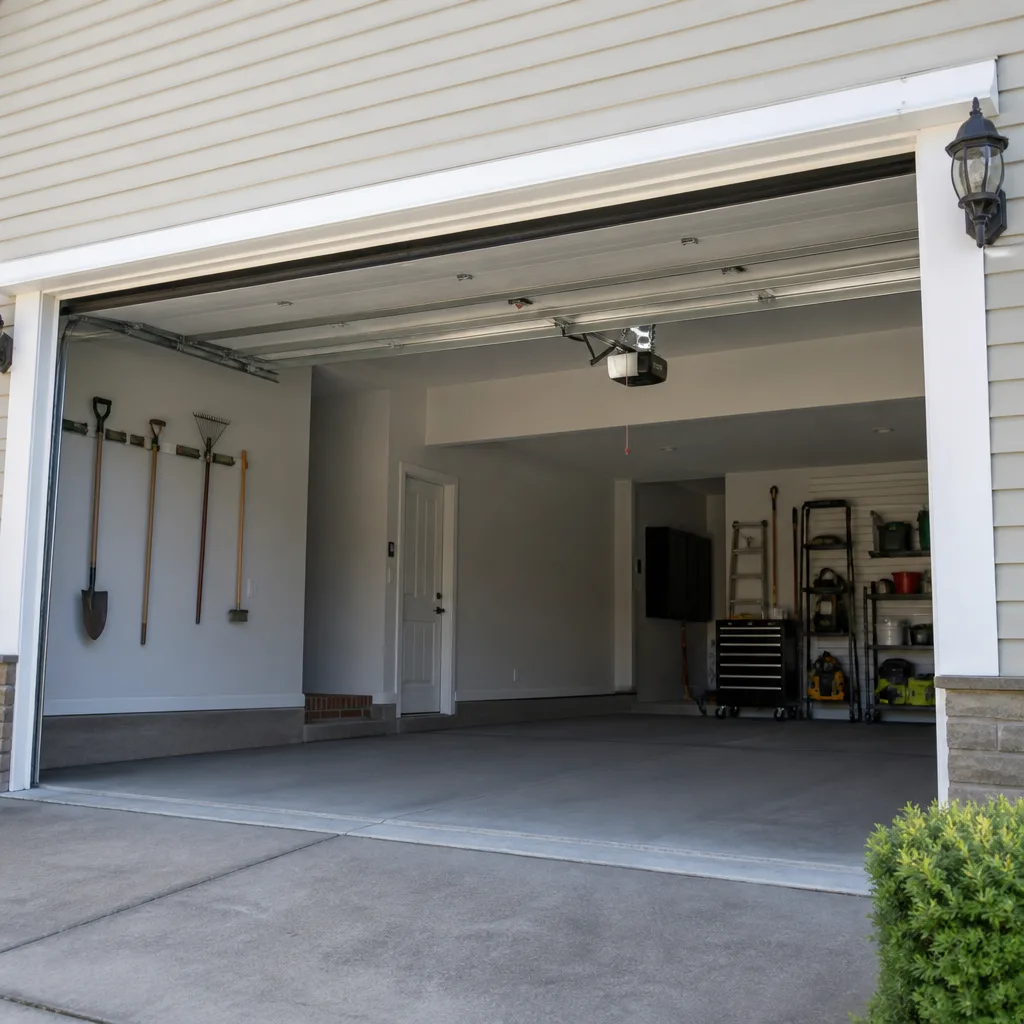 Chamberlain openers
Full 25-point door and opener safety check with every visit - springs, cables, rollers, tracks, and your LiftMaster or Chamberlain opener included
You get a price before we start. It does not change when the truck arrives.
Get your free estimateGarage Door Repair Troubleshooting: Common Problems and How to Fix Them
A garage door that reverses before it hits the ground and one that reverses after it hits the ground are caused by completely different problems, yet nearly every troubleshooting guide lumps them together under “door won’t close.” That single failure to observe is why so many Sacramento homeowners replace parts they didn’t need to replace. The door tells you what’s wrong. You just need to learn its language.
This guide teaches you to read that language. We’ll cover what specific sounds mean, how to distinguish between a sensor problem and a limit switch problem using only the door’s behavior, the three checks that genuinely resolve a fifth of all service calls in the Sacramento area, and how to immobilize a partially failed door safely while you wait for help. No special tools required for most of this.
Styles & brands we work with
Quick Answer
Garage door repair troubleshooting starts with isolating the type of failure: a door that won’t move at all is usually an opener, power, or lock issue; a door that moves but behaves oddly is usually a sensor, limit switch, or balancing problem; and a door that moves with noise or visible sag is usually a hardware problem in springs, rollers, cables, or tracks. Your first three checks should be: confirm the opener has power, confirm nothing is blocking the photo-eye sensors, and confirm the manual release cord hasn’t been pulled. Those three checks resolve roughly 20% of the calls we field from Sacramento homeowners before anyone picks up a wrench.
Table of Contents
- Reading the Door: Behavior as a Diagnostic Tool
- Door Won’t Respond: The Power, Lock, and Disconnect Checklist
- Reversal Problems: Sensors vs. Limit Switches vs. Track Obstructions
- What the Noise Is Telling You: Grinding, Popping, Slapping, and Humming
- Slow Door: Opener Motor Failure vs. Track Friction
- Sagging or Uneven Door: Cables, Springs, and What You Can Safely Check
- How to Safely Immobilize a Partially Failed Door
- Common Mistakes to Avoid
- When to Call a Professional
- Frequently Asked Questions
- The Bottom Line
Reading the Door: Behavior as a Diagnostic Tool
Before you touch anything, watch the door. Stand back and operate it once, if it operates at all. The sequence matters: what happens first, what happens second, where the door stops, how it stops, and what you hear at each point. Those details are the diagnostic map.
Most door problems fall into one of three buckets. A door that won’t move at all points to power, the opener, the wall switch, or a mechanical lock. A door that moves but stops at the wrong place, reverses unexpectedly, or jolts points to sensors, limit switches, travel settings, or track obstructions. A door that moves with grinding, popping, or visible sag points to hardware: springs, cables, rollers, hinges, or the track itself. Once you know which bucket you’re in, you’ve already eliminated two-thirds of the possibilities.
Sacramento’s summer heat accelerates spring metal fatigue. We regularly see torsion springs fail between May and September in this market, often in doors that have been through five or six years of alternating hundred-degree afternoons and cool Delta-breeze nights. The thermal cycling matters. It’s one reason we tell homeowners to treat a suddenly heavy door as a warning sign, not an inconvenience to live with.
Door Won’t Respond: The Power, Lock, and Disconnect Checklist
A completely unresponsive door usually has a simple cause. Run this sequence before you assume the worst.
- Check the outlet. Openers in Sacramento garages often share a circuit with other loads. If a GFCI outlet tripped, the opener gets nothing. Plug a lamp or phone charger into the same outlet and confirm it has power.
- Check the opener’s own lock feature. Many LiftMaster and Craftsman wall consoles have a “Lock” button that disables the remote. It’s easy to press by accident. If the wall button works but the remote doesn’t, the lock is on.
- Check the manual release cord. The red cord hanging from the rail disengages the door from the opener carriage. If someone pulled it, the opener motor will run but the door won’t move. Re-engage by pulling the cord toward the door until you hear it click into the carriage.
- Check the wall switch wiring. If the remote doesn’t work and the wall switch doesn’t work, look at the low-voltage wires running to the wall console. A loose staple or a door that caught a wire can cause an intermittent fault.
- Check the safety sensor lights. Both photo-eye sensors near the floor should show a small LED. If one is dark or blinking, the opener thinks something is in the way and refuses to close.
These five checks resolve a surprising number of “dead door” calls from the Sacramento metro area without a service visit. Run through them before calling anyone. If the door still won’t respond after all five, you’re dealing with a failed logic board, a burned motor, or a broken gear, and that’s a repair call.
Reversal Problems: Sensors vs. Limit Switches vs. Track Obstructions
Doors reverse for different reasons, and when the reversal happens tells you which system to suspect. This is the most common misdiagnosis we see in Sacramento garages, and the distinction matters because the fixes sit at very different price points.
If the door reverses before it reaches the ground, usually about six inches off the slab, you have a sensor problem. The photo-eyes on either side of the door opening send an invisible beam. If that beam is blocked by dirt, a leaf, a bike tire, or even a cobweb, the opener logic assumes an obstruction and reverses as a safety measure. Clean both lenses with a dry cloth. Confirm the small LED on each is steady and lit. If one sensor’s light is off or blinking, realign it by loosening the wing nut and aiming it at the opposite sensor until both lights glow steady.
If the door closes all the way, touches the floor, and then immediately reverses, you have a limit switch problem. The opener’s “down limit” is set too far, so the door pushes hard against the slab, the opener detects the strain, and it reverses. This is adjusted by turning the down-limit screw on the opener motor unit, typically a quarter turn at a time, until the door rests fully on the floor and stays. This adjustment differs across brands. On most Chamberlain and LiftMaster units the limit controls are on the side panel. On older Genie openers they’re on the back. Wayne Dalton openers put them under the light cover. If you’re unsure, proceed slowly.u200b
If the door reverses randomly at different points on the way down, you likely have a track obstruction or a mechanical bind. A roller that’s worn flat, a hinge that’s bent, or a track that’s shifted can create friction the opener interprets as an obstruction. Check both vertical tracks for dents, gaps, or signs of the roller scraping against the track edge. A door that hesitates at the same spot every time is telling you exactly where the problem lives.
What the Noise Is Telling You: Grinding, Popping, Slapping, and Humming
Every sound a door makes maps to a component. Learning that map saves you from describing your problem vaguely over the phone. Here’s what each sound typically means.
- Grinding or metal-on-metal scraping during travel means a roller is failing, a track is out of alignment, or the opener’s drive gear is stripping. If the sound comes from the rail above your head, it’s the opener gear. If it comes from the door itself, it’s rollers or track.
- A single loud pop or bang from above the door almost always means a torsion spring snapped. This is the sound Sacramento homeowners call us about most often after a cold snap. A broken spring will not open a door worth using; don’t try.
- Slapping or flapping near the motor head when the opener runs is a stripped gear inside the opener. The motor spins, but the gear teeth are gone, and you’ll see the chain or belt move erratically or not at all.
- A steady hum with no movement means the opener motor is getting power but the door isn’t moving. Either the manual release is disengaged, the opener gear is stripped, or the door is bound against something. Never let a humming opener sit for more than a few seconds; it overheats quickly.
- Rattling across the whole door suggests loose hardware: hinges, bolts, or bracket mounts. Tighten what you can reach on the door itself, but leave the bracket at the center of the spring shaft alone. That one is under constant spring tension.
If you can describe exactly which sound you hear and when it occurs, the technician on the other end of the line can often pinpoint the issue before they even arrive. It saves you a diagnostic trip and gets the right part on the truck the first time. We ask the same questions on every call: what sound, where, and when in the travel does it happen.
Slow Door: Opener Motor Failure vs. Track Friction
A door that travels noticeably slower than it used to is either losing power at the motor or losing energy to friction somewhere in the system. The distinction saves you from replacing a perfectly good opener.
A dying opener motor loses speed gradually over weeks or months. It sounds labored, like a ceiling fan that’s starting to drag. The door moves at a consistent but reduced speed through the entire travel. If your opener is more than fifteen years old and the slowness started gradually, the motor is likely tired, and no amount of lubrication will bring it back. In our experience with Sacramento’s older housing stock, openers in tract homes from the 1980s and 1990s are frequently reaching this point.
Track friction causes inconsistent slowing: the door moves normally at first, then bogs down at a specific point, then speeds up again. That tells you a roller or hinge is binding against a track in one spot. Disconnect the door from the opener using the red release cord and lift it by hand. A properly balanced door should lift smoothly with modest effort and stay put at waist height. If it fights you at any point, you have friction. If it’s heavy from the moment you start lifting, the springs are weakening, even if they haven’t broken yet.
Sacramento’s dry, dusty summers deposit fine grit into roller bearings and hinge pins faster than coastal climates. We recommend cleaning and lubricating rollers and hinges with a silicone-based spray once or twice a year here, not once every few years. Use silicone, not WD-40 and not grease. Grease attracts grit and turns into grinding paste within a season.
Sagging or Uneven Door: Cables, Springs, and What You Can Safely Check
A door that sags on one side, hangs unevenly when open, or shows a visible gap under one corner when closed is telling you something important about its balance system. Two components do the heavy lifting: the torsion springs above the door and the cables that run down each side. When one side of the door drops while the other stays up, it’s usually a cable that’s slipped off its drum, a broken spring on one side, or a broken cable strand.
Here’s what you can safely check from the ground without touching anything under tension:
- Look at the springs above the door first. If you have a torsion system, you’ll see one or two springs mounted horizontally on a shaft above the opening. If one has a visible gap in its coil, it’s broken. If you have extension springs running along the horizontal tracks, look for a stretched or separated spring on either side.
- Look at both cables. Each side of the door has a cable running from the bottom bracket up to a drum near the top. If one cable is loose, frayed, or no longer wound tightly around its drum, that’s your imbalance.
- Check for a gap under the door when closed. A door that doesn’t seal evenly along the slab is almost always a cable or spring issue, not a panel issue.
Do not attempt to re-seat a slipped cable or wind a torsion spring yourself. These components are under hundreds of pounds of tension. A torsion spring that releases while you’re working on it can break an arm or worse. This is the one repair every experienced technician approaches with a specific set of hardened-steel winding bars and a respect for the physics involved. If you’ve spotted the problem visually, good: you now know exactly what to tell the technician over the phone.
For doors that are still operable but clearly uneven, minimize use until it’s fixed. Every cycle with a broken balance component puts added strain on the opener, the hinges, and the remaining hardware. A repair that starts as one cable or spring becomes three repairs if the door keeps cycling.
How to Safely Immobilize a Partially Failed Door
When a door fails partway open, partially closed, or crooked in its tracks, your first job isn’t fixing the door; it’s protecting your car, your family, and your home’s only large opening. A door that’s unbalanced or partially disconnected can fall with surprising speed.
Here’s the sequence we recommend for any door that’s failed in a position where it might move:
- Stop operating the opener. Unplug the opener motor unit or switch off the breaker. You don’t want a remote accidental press while you’re working around the door.
- Do not pull the red release cord if the door is in the open or partially open position. Disconnecting the door from the opener removes the only thing holding it up besides the springs, and if a spring is broken, the door will drop. The release cord is for doors that are fully closed and need to be manually opened, not for doors already partly open.
- If the door is fully open or partly open and won’t close properly, place a sturdy step ladder or a clamped C-clamp on the track just below the bottom roller on both sides. This locks the door physically in position so it cannot fall while you wait for service.
- If the door is on the ground but stuck and the opener won’t lift it, leave it down. A door that won’t open is a nuisance. A door that falls is an emergency. The car can stay inside for a day. The door falling on a person or a vehicle cannot be undone.
- Move anything valuable away from the door’s path. If the door might drop, don’t let it drop on your car.
Once the door is physically secured, you can call for service calmly and precisely. You’re not in a rush now. You know what the door is doing and you’ve already prevented the worst outcome.
Common Mistakes to Avoid
- Spraying lubricant on a broken spring. Lubricant doesn’t fix stress fractures or fatigue. It makes the garage smell like WD-40 and delays the repair. A broken spring is a replacement, not a maintenance item.
- Adjusting travel limits before checking the sensors. If the door reverses near the floor, many people crank the limit screws first. That’s backwards. Check photo-eye alignment and cleanliness first. It’s free, fast, and doesn’t change a setting you’ll have to undo later.
- Using grease on the track. The rollers roll within the track, but nothing slides on the track itself. Grease on the track attracts Sacramento’s summer dust and creates a sticky grinding surface. Lubricate the roller bearings and hinges, not the track.
- Pulling the red release cord while the door is open. This is the one that causes real damage. If a spring is broken, releasing the opener from a raised door removes the primary restraint holding the door up. The door drops, sometimes fast. Only use the release cord when the door is fully down.
- Ignoring a slow, heavy door. A door that’s getting harder to lift by hand is a spring losing tension. It will fail completely, usually at the most inconvenient moment. Treat it like a warning light, not a quirk.
- Replacing the opener before checking the balance. A door with weak springs makes any opener work harder and fail sooner. If your opener died young, the springs may be the real culprit. A good technician checks the balance before quoting an opener replacement.
- Assuming all garage door companies know your brand. Not every Sacramento shop stocks or specializes in Raynor or Wayne Dalton parts. We’ve seen homeowners wait extra days for parts a brand-fluent shop would already carry. Ask about brand familiarity before you book.
When to Call a Professional
Call a professional the moment you see a broken spring, a slipped cable, a bent track, or an opener that hums without moving. These are not homeowner repairs, and the cost of a mistake is measured in hospital visits, not dollars. You should also call if you’ve run through the basic checks and the door still misbehaves, if the door is more than twenty years old and failing repeatedly, or if you simply don’t want to climb a ladder and poke at a system under tension.
Lionheart Garage Door Repair offers free estimates in Sacramento. Our technicians are trained on LiftMaster, Chamberlain, Genie, Clopay, Amarr, Wayne Dalton, Craftsman, and Raynor systems, so we work on the door you already own rather than steering you toward whatever we happen to stock. We repair openers separately from installing new ones, which means a cost-smart fix gets considered before a full replacement is quoted. Call (855) 758-6556 and describe what you’re seeing. We’ll give you a straight read on what’s likely wrong before anyone shows up.
Frequently Asked Questions
A door that reverses before touching the ground is almost always reacting to the photo-eye sensors. The beam between the two floor-level sensors is either blocked by debris or out of alignment. Clean both lenses with a dry cloth and confirm each has a steady LED. If the sensors both show solid lights and the door still reverses, the problem may be in the wiring connection to the sensor or the logic board, and that warrants a service call. Call (855) 758-6556 if cleaning and realignment don’t solve it.
That reversal pattern, where the door touches the floor and immediately reverses, means the opener’s down-limit is set too far. The opener senses the door pressing hard against the concrete and reverses to protect the system. It’s adjusted with the limit screws on the opener unit, usually a quarter turn at a time. The exact location of those screws varies by brand; on LiftMaster and Chamberlain units they’re behind the side panel or light cover. If you’re not comfortable adjusting them, call (855) 758-6556 and describe the exact pattern; precise symptoms make for faster diagnostics.
Garage door repair in Sacramento typically ranges from $125 to $350 for common issues like sensor alignment, roller replacement, hinge repair, or limit adjustments, while spring replacement usually falls between $250 and $450 depending on the spring type and whether one or both need replacing. Cable repairs run $150 to $300. Opener gear replacement sits around $180 to $280. These are market ranges, not a quote; your exact price depends on what failed and which door system you have. The price is quoted and agreed before any work starts. Call (855) 758-6556 for a free estimate with no obligation.
No, and this isn’t a matter of skill level. Torsion springs are under hundreds of pounds of stored tension, and the specialized winding bars required to release that tension safely are not something most homeowners own. A spring that releases uncontrolled can break bones or worse. A trained technician uses hardened-steel bars, works from a stable ladder positioned to the side of the spring, and follows the manufacturer’s winding specifications. This is the one component we never suggest DIYing, regardless of how many YouTube videos you’ve watched.
A quality garage door opener typically lasts 10 to 15 years in the Sacramento area. Heat is the primary killer, and the summers here take a toll on capacitors and circuit boards. Garage interiors routinely exceed 110 degrees in July and August, and that sustained heat ages electronic components faster than the rated lifespan. A door with weak springs shortens opener life further. If your opener is over fifteen years old and developing new problems, repair may extend its life a year or two but replacement becomes the smarter financial decision.
Before calling, run the five-check sequence: confirm the outlet has power, check the opener’s lock feature on the wall console, look at the red manual release cord to see if it’s been pulled, test the wall switch separately from the remote, and check the photo-eye lights. Those five checks resolve about 20% of calls we field from Sacramento homeowners without any service visit at all. If you’ve run the checks and identified the problem’s behavior pattern, you’ll make the technician’s diagnostic job much faster. That means a shorter visit and usually a smaller invoice.
The Bottom Line
Troubleshooting a garage door is less about tools and more about observation. When the door reverses, note whether it happens before or after it touches the ground. When it makes noise, note which sound and where in the travel it occurs. When it moves slowly, note whether the slowness is consistent or comes and goes at a specific spot. Those behavioral details map almost one-to-one to specific components, and they’ll save you time, money, and frustration whether you fix it yourself or describe the problem to a technician over the phone.
For anything involving springs, cables, or a door that’s failed partway open, stop and call a professional. The risk math doesn’t work in your favor. For Sacramento homeowners, Lionheart Garage Door Repair home offers brand-fluent service across LiftMaster, Chamberlain, Genie, Clopay, Amarr, Wayne Dalton, Craftsman, and Raynor systems. We also handle garage door repair in Sacramento, garage door opener repair in Sacramento, and garage door installation in Sacramento. Call (855) 758-6556 for a free estimate. The price is quoted and agreed before any work begins.
Written by the team at Lionheart Garage Door Repair, serving Sacramento since 2017.
See the difference
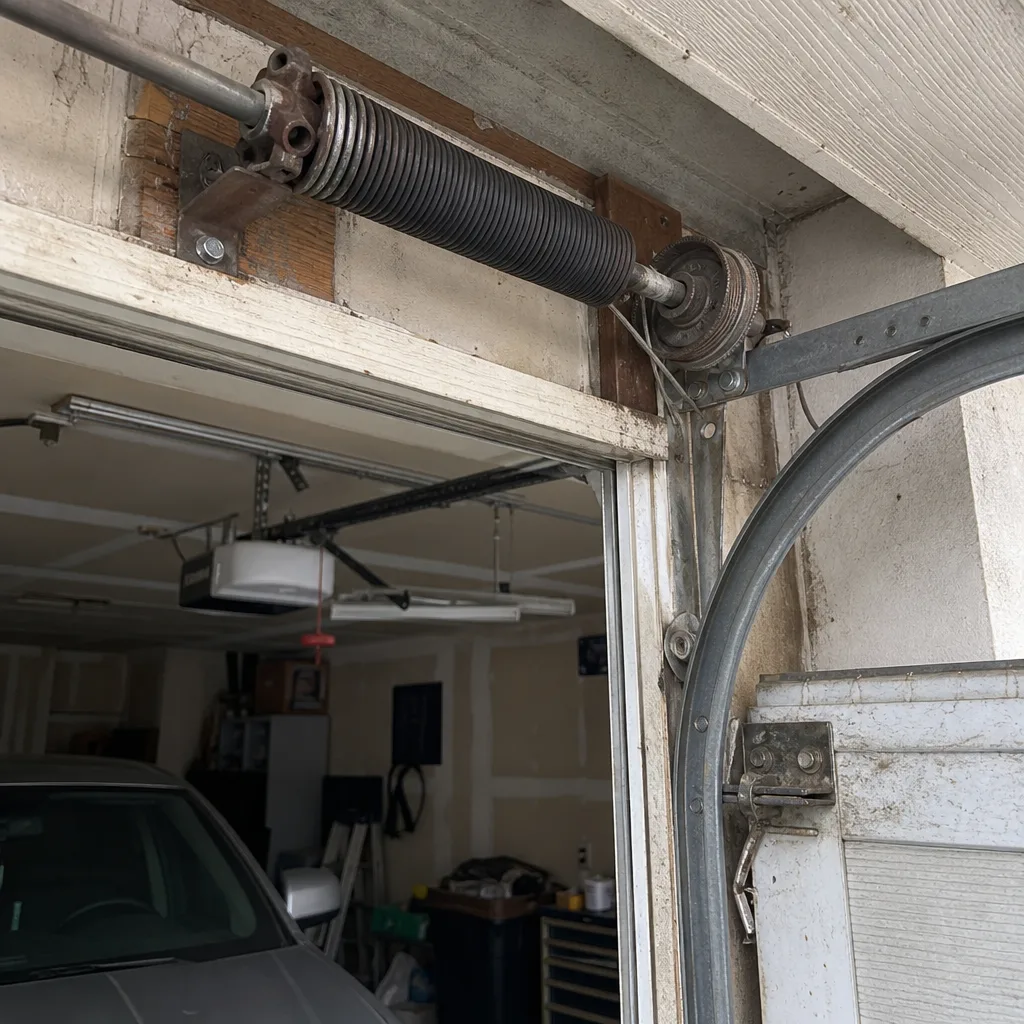 Before
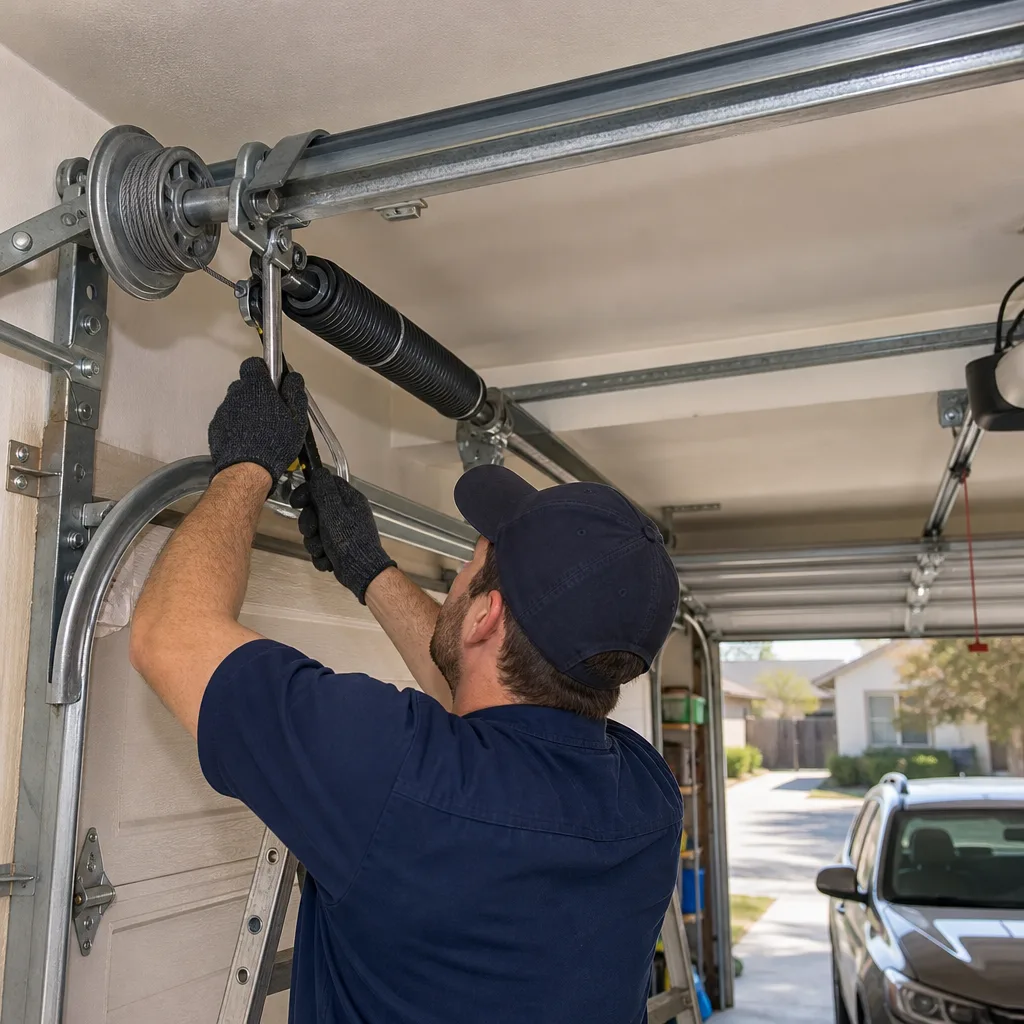 After
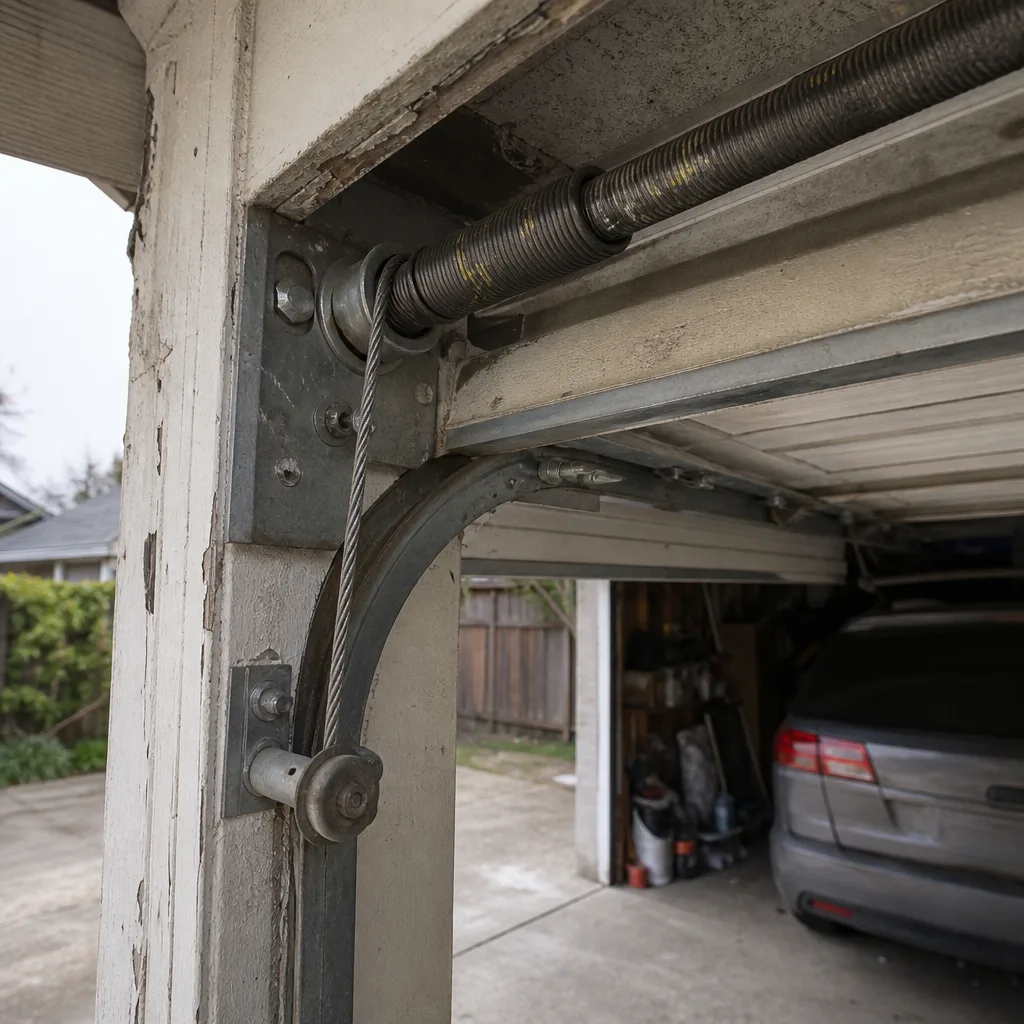 Before
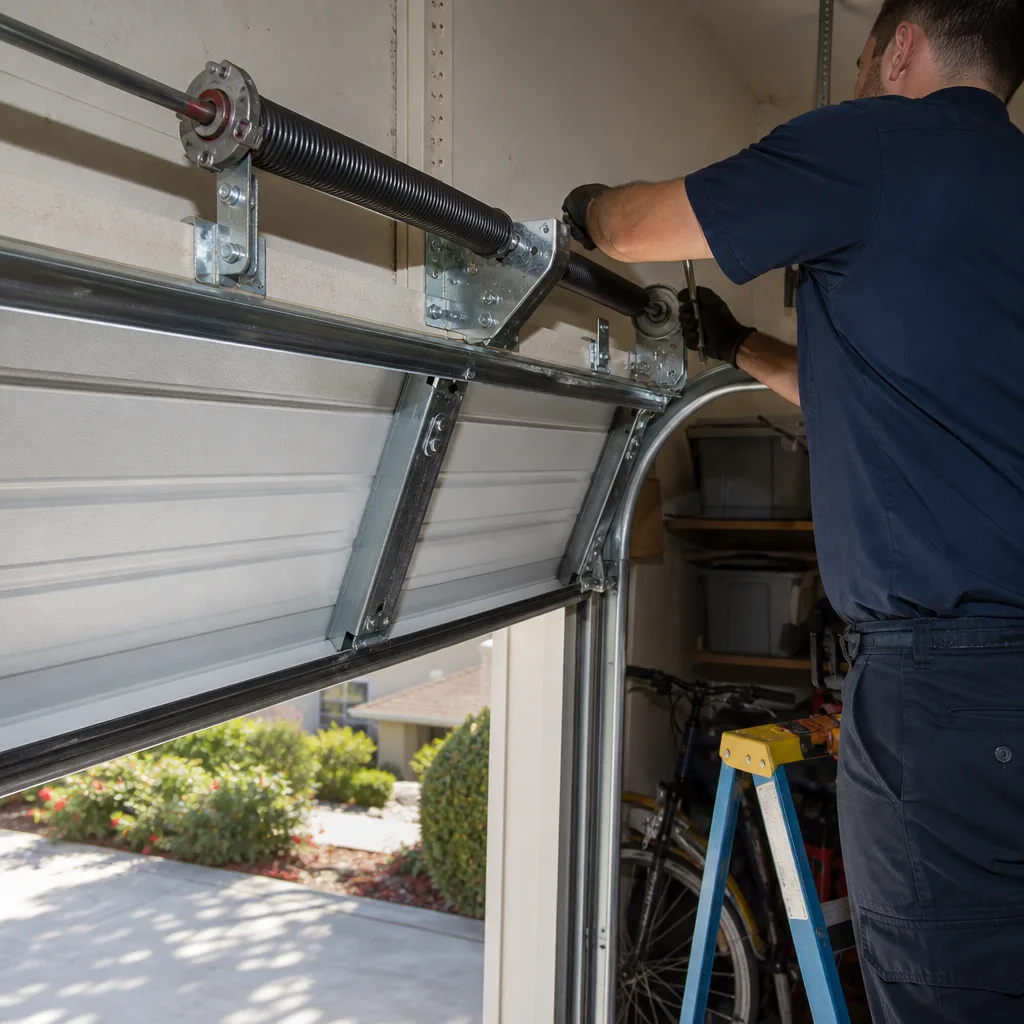 After
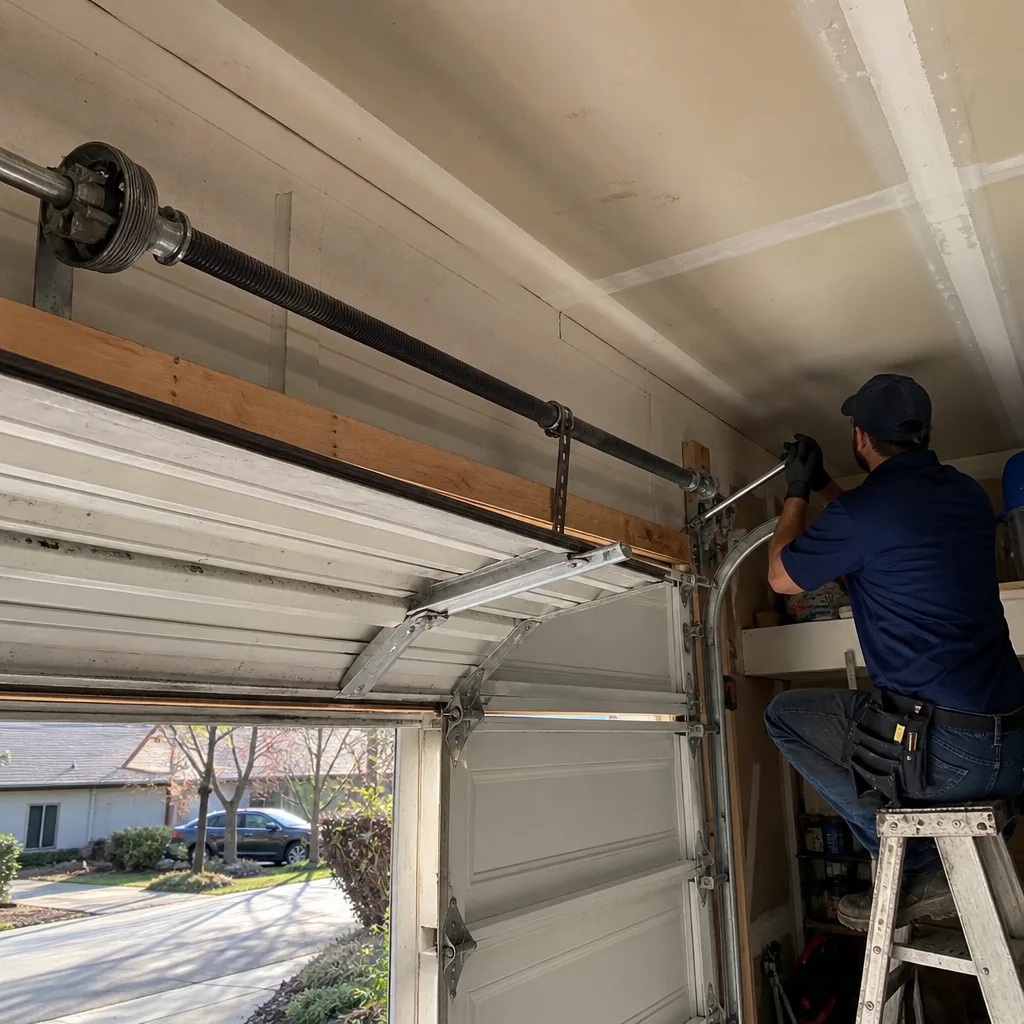 Before
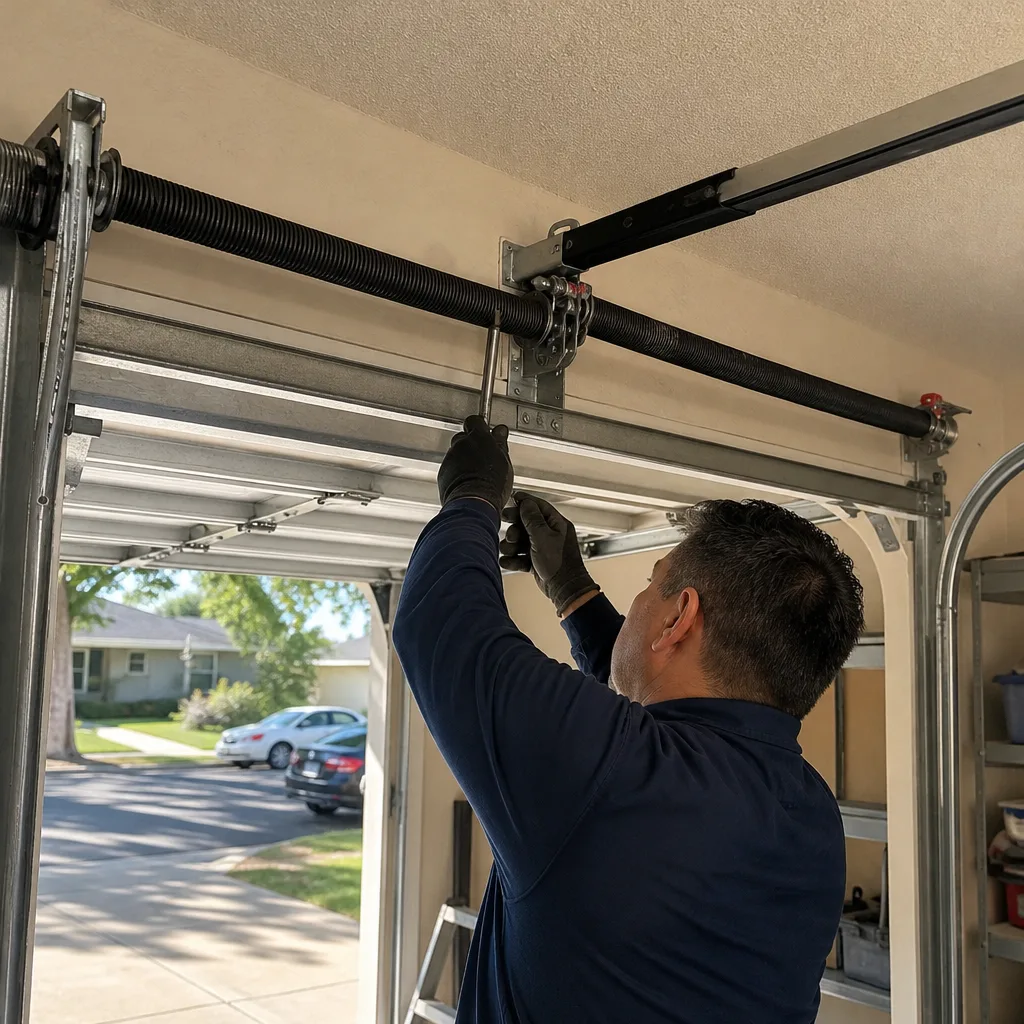 After