
Last updated October 31, 2026
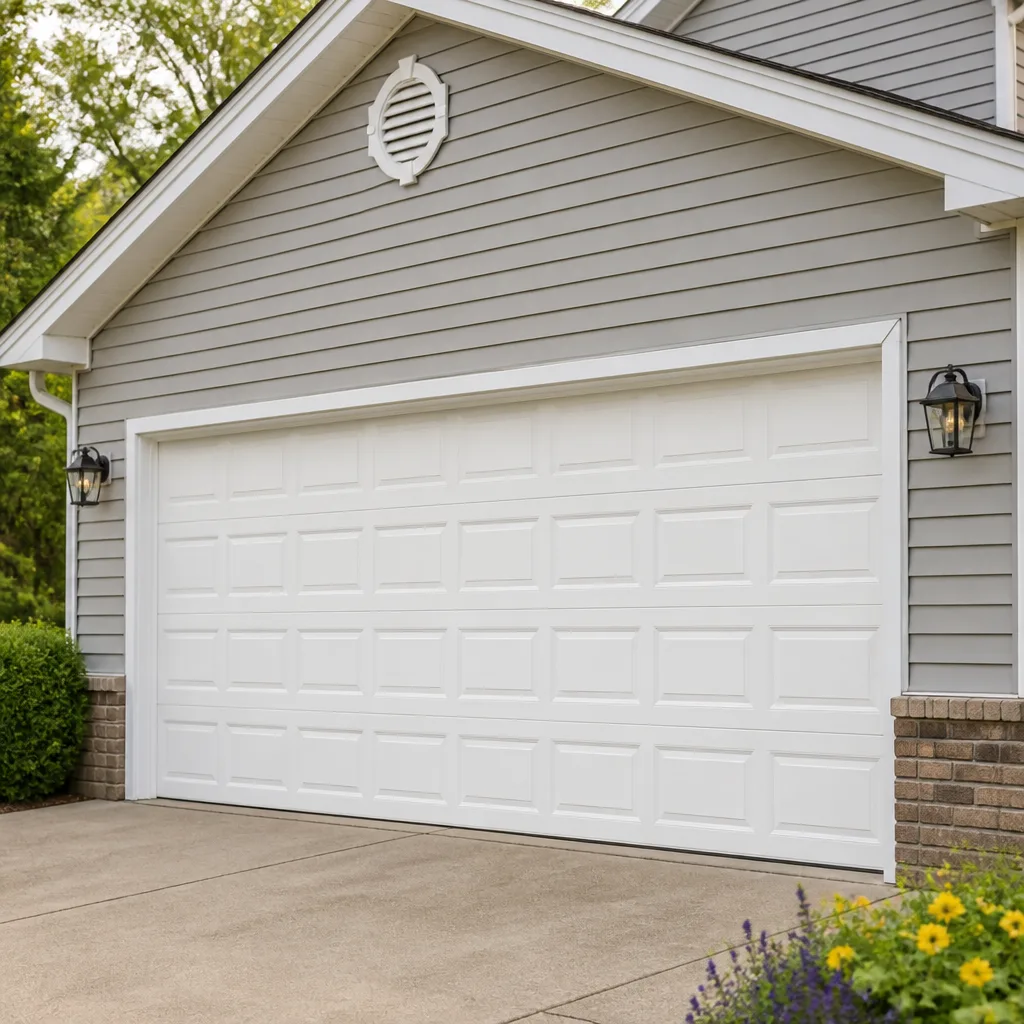 Raised-panel steel
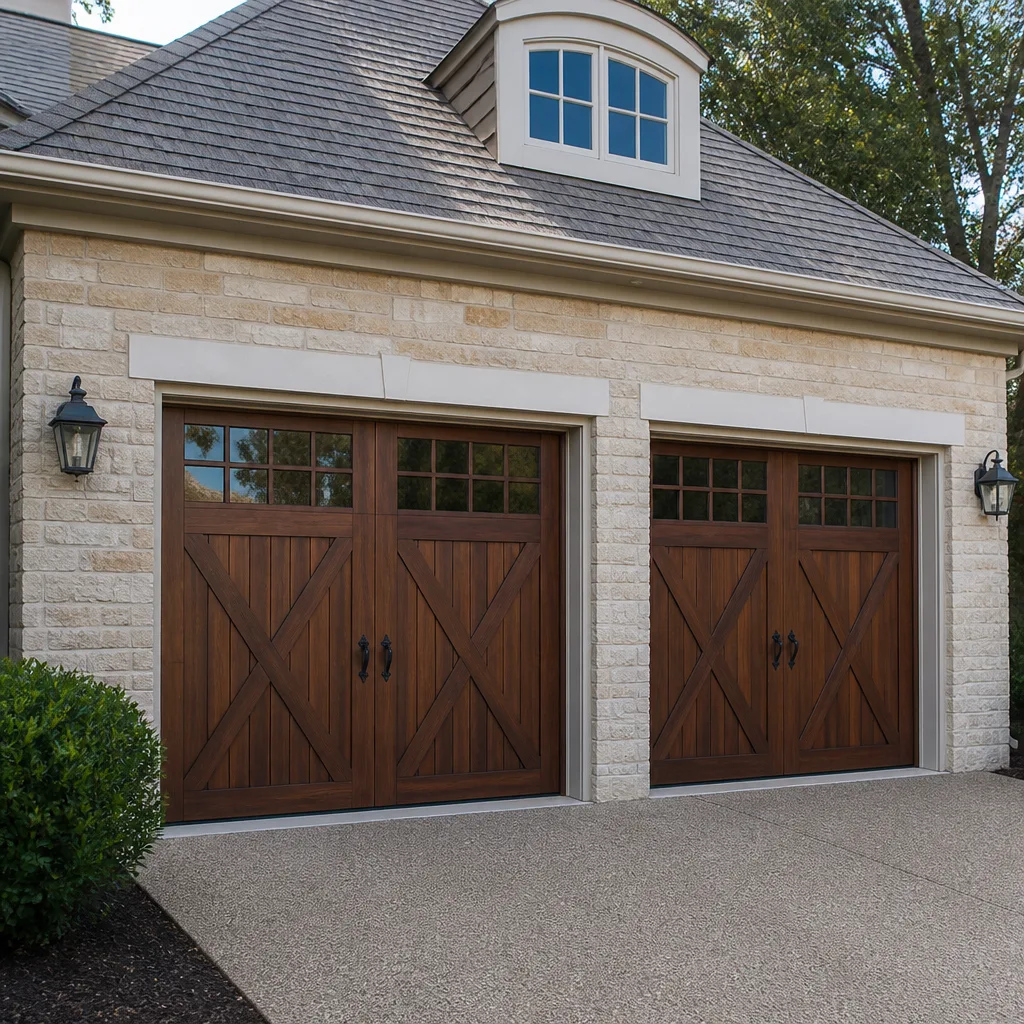 Carriage house
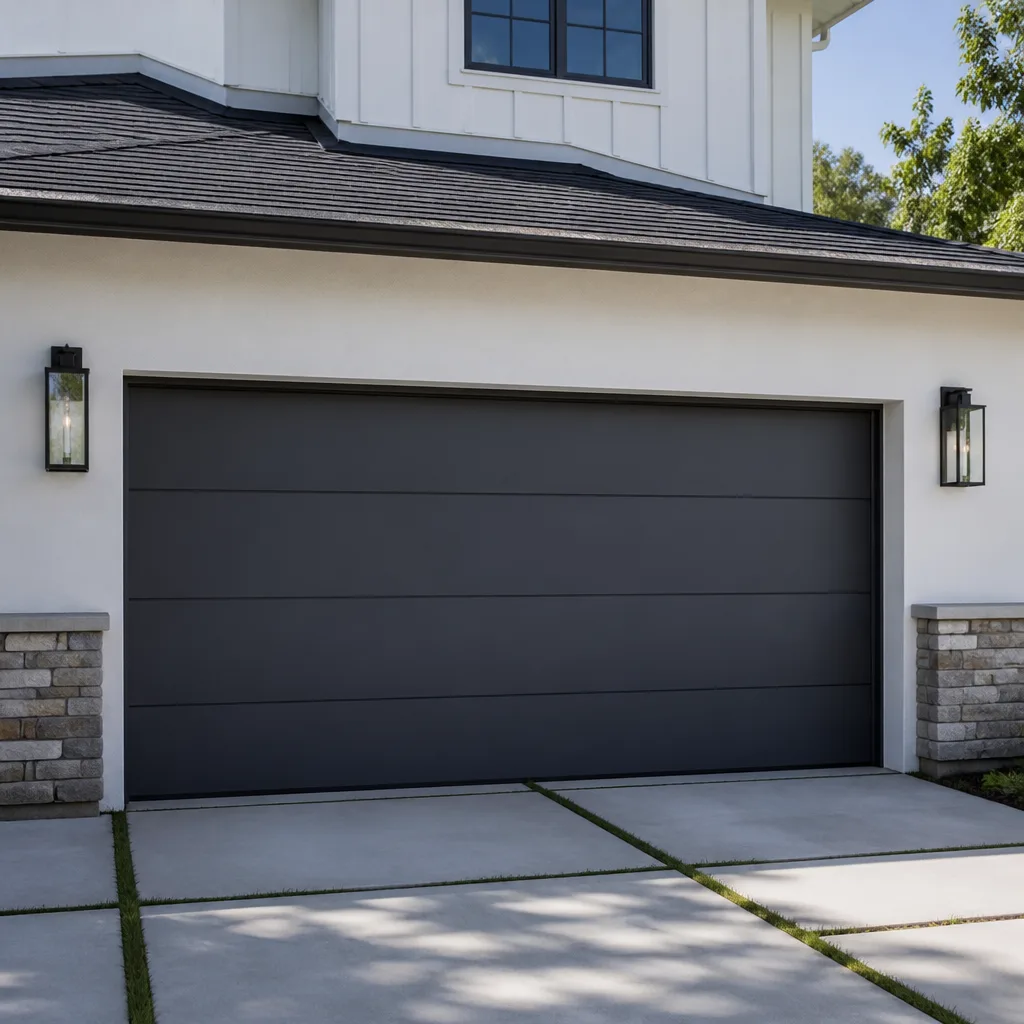 Modern flush
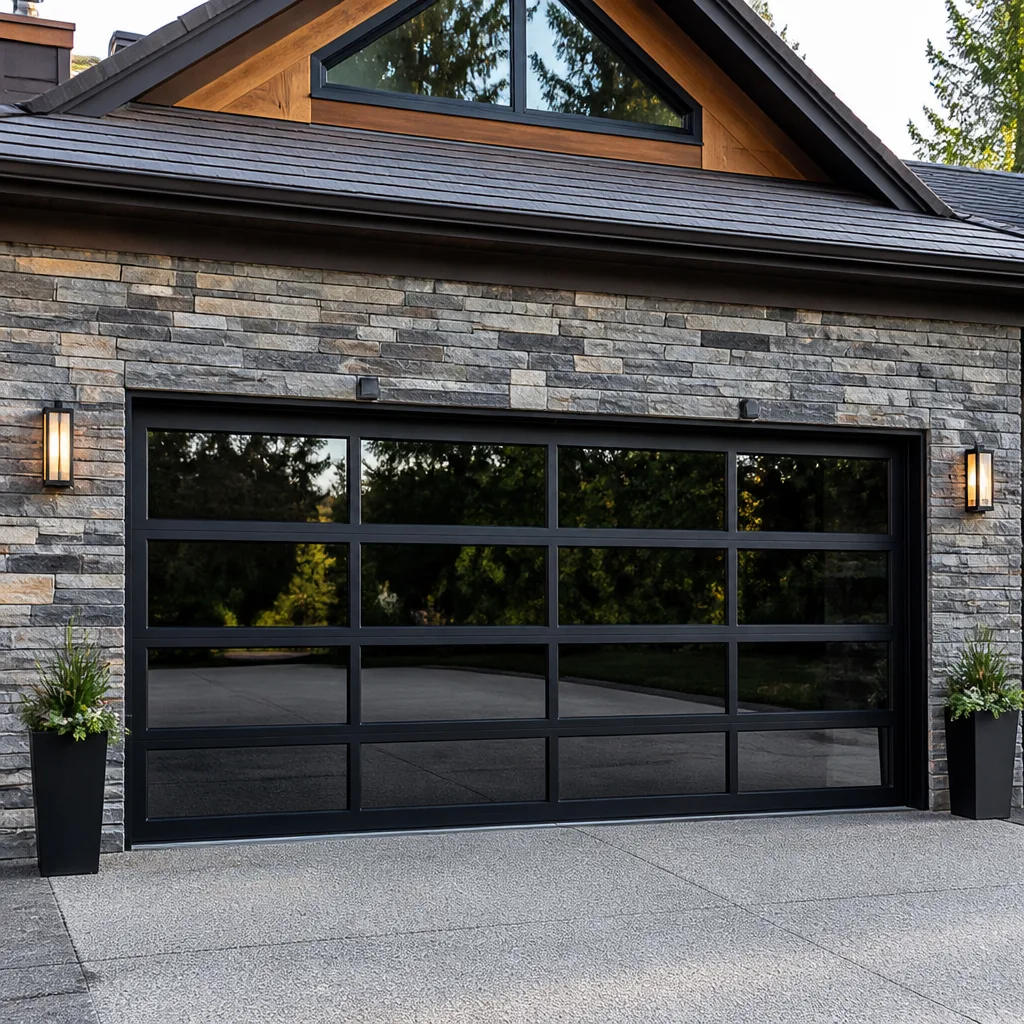 Full-view glass
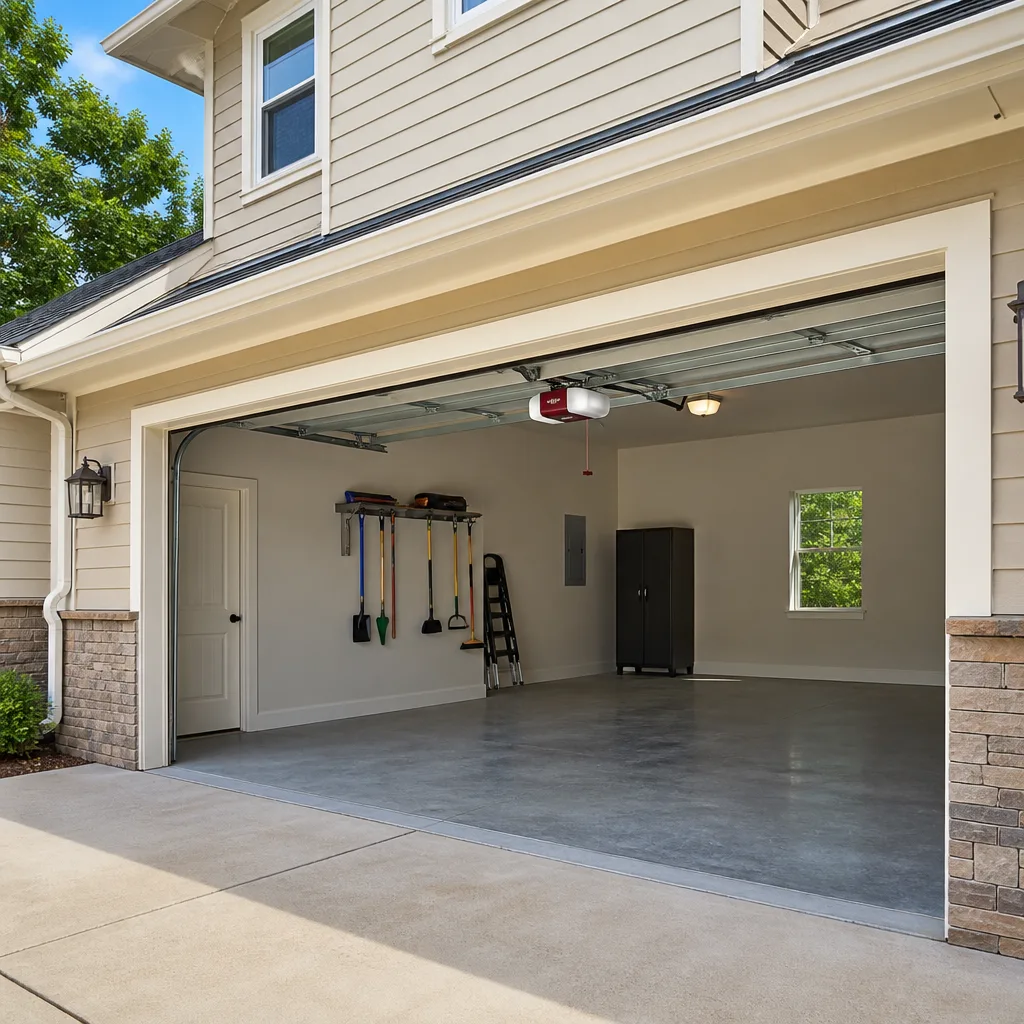 LiftMaster openers
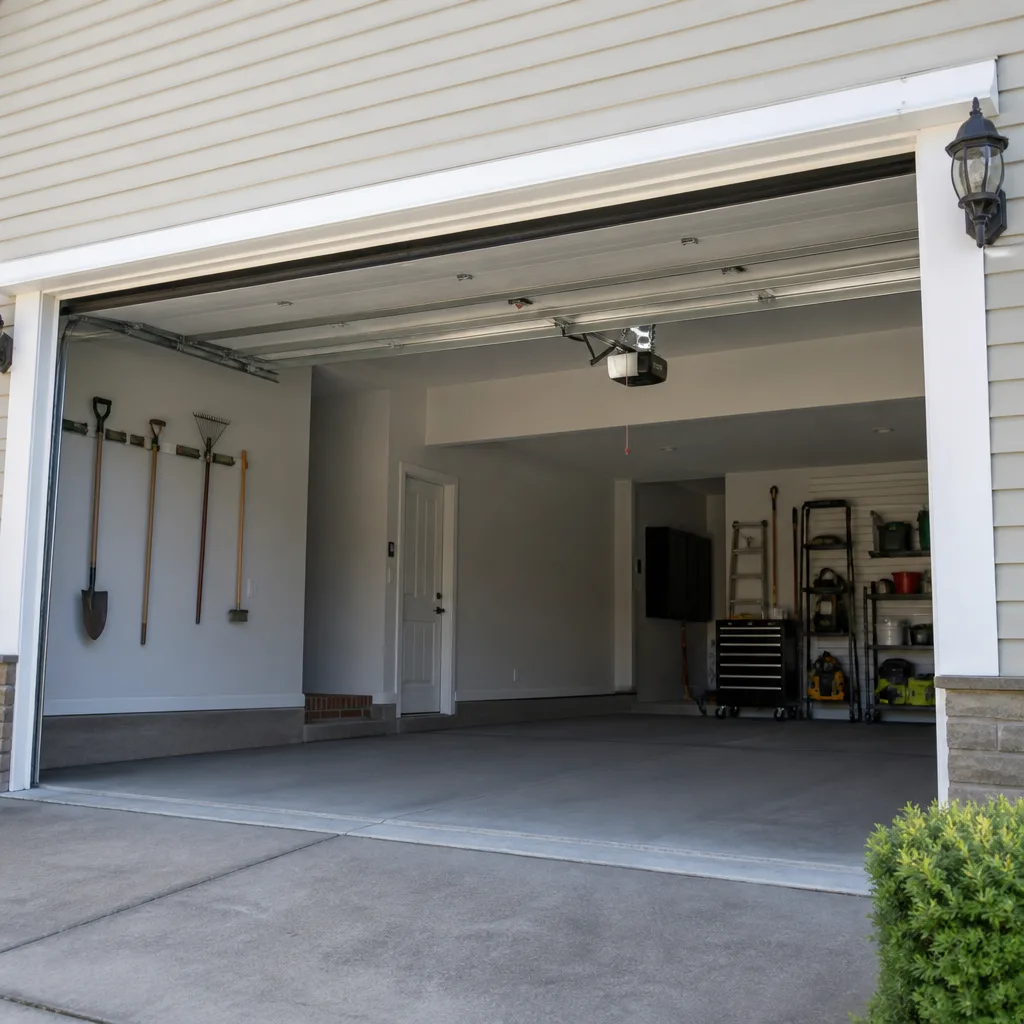 Chamberlain openers
Full 25-point door and opener safety check with every visit - springs, cables, rollers, tracks, and your LiftMaster or Chamberlain opener included
You get a price before we start. It does not change when the truck arrives.
Get your free estimateDIY vs Professional Garage Door: The Sacramento Homeowner’s Decision Guide
According to the U.S. Consumer Product Safety Commission, garage door injuries send roughly 15,000 Americans to emergency rooms every year. The overwhelming majority involve the torsion spring, a component that stores enough kinetic energy to sever fingers or fracture a skull if mishandled. Yet at the same time, plenty of Sacramento homeowners overpay for simple fixes that take ten minutes and a $12 part. The line between what’s safe to attempt and what isn’t sits in a different place than most YouTube videos suggest. Here’s the actual breakdown, based on the systems in your specific home, the climate in Sacramento, and the parts that actually fail here.
Quick Answer
Most garage door maintenance and minor fixes are genuinely safe for a homeowner with basic tools, but three specific tasks, torsion spring replacement, cable repair under tension, and track work on spring-loaded systems, should always go to a licensed professional. Those three involve stored mechanical energy that doesn’t care how careful you are. For everything else, the deciding factors are your existing door’s weight, your comfort with a socket wrench, and what your time is worth against Sacramento labor rates.
Styles & brands we work with
Table of Contents
- The Hard No-DIY List: Torsion Springs, Cables, and Spring-Loaded Tracks
- The Legitimate DIY List: Five Jobs Worth Doing Yourself
- The Gray Zone: Panels, Openers, and Track Realignment
- How to Evaluate a YouTube Garage Door Repair Video
- The Real Cost Comparison: Parts vs. Labor in Sacramento
- What Sacramento’s Climate Does to Garage Door Systems
- Common Mistakes to Avoid
- When to Call a Professional
The Hard No-DIY List: Torsion Springs, Cables, and Spring-Loaded Tracks
Torsion springs kill people. We don’t say that for dramatic effect, and we don’t say it lightly. A single residential torsion spring on a 16-foot door holds between 100 and 200 pounds of torque when wound. When that spring breaks, or when someone loosens the wrong bolt, the release happens instantly. The winding bar becomes a projectile, and the spring itself can shear through sheetrock or bone. This is the one garage door repair where skill level genuinely doesn’t matter. Even experienced technicians treat an unwinding spring with the same respect a bomb squad treats an unexploded device.
Here’s the physics, briefly. Your door doesn’t weigh what it feels like. A standard double-car steel door weighs between 200 and 400 pounds. The springs counterbalance roughly 95 percent of that weight, which is why you can lift it with one hand. The remaining tension is stored in the spring itself, not in the door. When you loosen a set screw on those springs, every pound of that stored force wants to unwind through the winding bar. Wooden dowels snap. Screwdrivers bend. The spring unwinds into whatever is holding it, including hands, faces, and arms.
The no-DIY list includes:
- Torsion spring replacement – always. No exceptions, regardless of what any forum or video comment section says.
- Extension spring replacement – older systems sometimes use these instead. They stretch rather than wind, and they still carry lethal tension. If one snaps, the cable whips.
- Cable replacement on a spring-loaded door – the cable wraps around a drum that is itself loaded by the spring. Replacing the cable requires releasing the spring tension, which brings you right back to the torsion spring problem.
- Any work on the spring anchor bracket, center bearing, or cable drum – these are the components that hold the spring system in place. All of them are under load even when the door is closed.
- Track realignment on a door with a broken spring – if the spring is broken, the door’s full weight is sitting on the tracks and rollers in a way they were never designed to hold. Moving anything in that state risks a sudden drop.
We’ve been called to dozens of homes in Sacramento neighborhood like Natomas and Elk Grove where a homeowner attempted a spring repair and lost the fight. The repair bill rarely ends up lower than if they’d called first. The medical bill is usually worse. If your garage door uses a torsion spring, this is the one place where we will not walk you through it, even conceptually, and neither should anyone else.
The Legitimate DIY List: Five Jobs Worth Doing Yourself
The garage door industry has a quiet incentive problem: technicians who charge by the hour make more money on small jobs than big ones, and some less scrupulous shops encourage you to call for everything. That’s absurd. Several common repairs take ordinary tools, minimal time, and no stored energy. You should do them yourself, not because it saves us work, but because it’s genuinely trivial.
1. Weather stripping replacement (bottom seal)
This is the most common wear item on any garage door in Sacramento, partly because our hot, dry summers bake the vinyl until it cracks and splits. The bottom seal on most doors slides out of a T-shaped channel along the bottom of the panel. You buy a replacement at any hardware store or garage door supplier, cut it to length with a utility knife, and slide the new one in. Total time: 20 minutes. Special note: some Chamberlain and LiftMaster brand doors use a proprietary retainer profile that doesn’t fit the universal seals from big-box stores. Check the shape of the channel before you buy.
2. Photo eye sensor realignment
If your door starts closing and then reverses for no apparent reason, or blinks an error code, the likely culprit is the safety sensors near the floor on each side of the opening. These are the small boxes with a green or red light. Over time, a broom handle, a child’s toy, or the vibration of the opener itself knocks one out of alignment. The fix is simple: loosen the wing nut, aim the sensor at the other one, and watch for the light to turn solid. Sacramento’s dry air doesn’t contribute to this problem much, but an accumulated layer of dust on the lens will, so wipe both lenses while you’re down there.
3. Hardware lubrication
Galvanized steel rollers, hinges, and tracks dry out, especially in a climate like ours that sits above freezing for almost the entire year. A can of white lithium grease or garage door-specific spray lubricant costs under $10. Three times a year, lubricate the rollers (the ball bearings inside, not the surface that rides the track), the hinge pivot points, and the bearing plates on the torsion tube. You’ll cut about 20 percent of the operational noise and extend the life of your Roller and hinge hardware. Avoid the temptation to grease the track itself, that just collects Sacramento’s fine summer dust and turns into a gritty paste.
4. Remote and keypad replacement
Universal remotes work, but they’re often a downgrade in convenience. A garage door opener remote from the same brand, like Craftsman or Raynor, will pair more reliably and gives you access to the full feature set of the opener, including rolling code security. Keypads are equally straightforward. Most install within ten minutes and require nothing but a flathead screwdriver. This is a perfectly safe DIY job, and the instructions on the back of the motor unit are generally accurate.
5. Removing rust from the track surface
The tracks on many Sacramento garage doors spend decades unpainted and exposed, especially in neighborhoods close to the Sacramento River or the Delta, where humidity runs higher than the rest of the region. Surface rust on the flat inside face of the track snags rollers and makes the door jerk. A wire brush and a light coat of spray lubricant will remove it. Do not remove the track from the wall to do this. You should be able to reach everything while the door is fully open.
These five jobs are safe, genuinely useful, and appropriate for a homeowner with a basic toolbox. We tell customers to do them all the time, and our Lionheart Garage Door Repair home page makes that clear. You don’t need a specialist for weather stripping.
The Gray Zone: Panels, Openers, and Track Realignment
Three repairs sit in the middle, where the right answer depends on your specific door, the parts you already have, and how much you care about getting the door balanced properly. Here’s where the honest advice is session-by-session.
Panel replacement
A cracked or dented panel is replaceable, but only if the panel is still manufactured in the same profile and color. Many door makers change their hinge profiles every few years, and colors fade in the Sacramento sun enough that a new panel won’t match anyway. For a door under five years old, panel replacement is sometimes DIY-viable: you unhook the hinges that connect the damaged panel to the one above it, lower the panel, and reverse the process. For doors older than that, or anything with a torsion system, the panel is under spring tension that must be neutralized before you unbolt it. That moves the job out of DIY territory. Clopay and Amarr panels are particularly tricky because their hinge pin tolerances are tight enough that a hand tool job often ends up misaligned.
Opener installation
There’s a persistent myth that garage door openers are a plug-and-play job, and for some homes that’s true. For many others, it isn’t. The opener itself is the easy part: you hang the motor unit from steel angle, plug in the rail, and mount the button. The hard part is adjusting the opener’s force settings to match the door. Set it too high, and the opener will mistakenly close the door on a child or a vehicle. Set it too low, and the door reverses constantly in the morning when temperatures in Sacramento change the door’s shape. A professional installation includes that adjustment, and the installer’s warranty covers it. For an opener that will last 8 to 12 years, the labor cost is about a third of the full job. Whether this is DIY depends on your tolerance for testing and retesting the reversal settings.
Track realignment (with working springs)
If the spring is intact and the door is balanced, a vertical track can be nudged back into line with a level, a socket set, and patience. The key is to loosen the bolts only enough to move the track a fraction of an inch at a time. Drift out of plumb by more than a quarter-inch, and the rollers bind. This is DIY-viable for a homeowner who’s comfortable with a level. If the track is badly bent, as happens when a car bumper catches it, replacement is the correct move, and that job means taking the door’s weight, which belongs to a professional.
One thing we’ve learned from doing Garage Door Repair in Sacramento for years: the gray zone almost always comes down to whether your existing hardware is still healthy. New door, good tracks, fresh rollers, those jobs skew DIY. Older door, worn hardware, rusted bolts, those jobs skew professional. Honest assessment of the equipment beats willpower every time.
How to Evaluate a YouTube Garage Door Repair Video
Most DIY starts on YouTube, and that’s a problem only when the video is wrong. The quality of garage door repair content varies wildly, from master technicians to someone filming their first and last mistake. Here’s what we look for when we watch the same videos our customers send us.
Signs the creator knows what they’re doing
- They use winding bars, not screwdrivers, to wind a torsion spring. This is non-negotiable. The bars are two solid steel rods, usually half-inch diameter, that seat fully into the holes on the spring cone. A screwdriver is a suicide handle.
- They tell you which direction the spring winds. Torsion springs are handed, a left-wind spring on one side, a right-wind on the other. A competent technician states this explicitly, even on a step-by-step.
- They mark the spring count. When removing a spring, professionals count the turns and write them on the door frame so they can rewind the same number. The video should show this.
- They test the balance. After any spring work, you lift the door by hand to about waist height and watch. A properly balanced door stays put. The creator should demonstrate this.
- They mention torque wrench settings. Any video involving bolts on a torsion system should mention specific torque specs, because those bolts resist hundreds of pounds of force. No torque spec, no credibility.
Signs the creator is dangerous
- The video skips from removing a spring to installing a new one without ever showing how the old one was unwound. That’s a red flag.
- The creator reaches into the spring system while the door is mid-travel. No professional anywhere does this.
- The video shows a person working alone on a spring replacement with no second person, no vice grips on the shaft, and no locking pliers on the track.
- The comments are disabled. That’s typically because the creator knows the comments would be a flood of professionals saying “don’t do this.”
One more tip that works remarkably well: count how many times the creator says the word “careful.” A real professional explains how the system works mechanically, which makes the carefulness obvious. An amateur says “be careful” because they can’t explain what’s actually dangerous.
The Real Cost Comparison: Parts vs. Labor in Sacramento
The financial argument for DIY is real, but most parts-only cost lists miss half the equation: they don’t factor the value of a warranty on professional work, and they don’t account for the cost of buying tools you’ll only use once. For a complete picture, see our Garage Door Cost Breakdown: The Sacramento Homeowner’s Reference for 2026. Here’s an honest breakdown based on what we see on Sacramento invoices and parts counters.
| Repair | DIY Parts Cost (Sacramento) | Professional Labor Range | Warranty on Pro Work |
|---|---|---|---|
| Bottom seal replacement | $18 – $35 | $85 – $140 | 30 days typically |
| Sensor realignment | $0 (labor only) | $65 – $110 | Diagnosed on site |
| Hardware lubrication | $8 – $15 (spray) | $65 – $95 | N/A (maintenance) |
| Remote replacement | $25 – $45 | $100 – $160 | Part warranty included |
| Track realignment | $15 – $40 (hardware) | $95 – $165 | 30 – 90 days |
| Torsion spring replacement | $70 – $160 (parts) | $180 – $340 | 1 – 5 years on parts |
| Cable replacement | $30 – $60 (parts) | $140 – $220 | 30 – 90 days |
Notice the pattern. For the truly simple jobs, like seal replacement or lubrication, the professional labor cost is mostly the trip charge. For the dangerous jobs, like spring and cable work, the professional quote bundles labor with a parts warranty that covers both failure and liability. A torsion spring installed by a professional carries a parts warranty as long as five years. A spring you install yourself carries whatever the parts store says, which is usually 90 days, and no warranty at all if your installation contributes to the failure.
Also factor in tools. Winding bars are a one-time $30 – $50 purchase if you buy them properly. A torque wrench that reaches the necessary 200-plus foot pounds is another $80 to $150. By the time you’ve bought these for one spring replacement, you’re approaching the cost of paying a professional. And you’ll use those tools exactly once, unless something goes badly wrong and you need them again.
If you do go the professional route for a repair, call us at (855) 758-6556. We never start work until you’ve approved the price in writing, and our repair estimates are free. If the job turns out to be bigger than the quote, we call you before touching anything.
What Sacramento’s Climate Does to Garage Door Systems
Sacramento wears out garage doors differently than most of the country, and that affects the DIY-versus-pro decision in ways that generic guides don’t cover.
First, the heat. A Sacramento summer routinely tops 100 degrees, and that heat radiates into the garage, where ambient temperatures can exceed 120. Vinyl and rubber seals, especially the bottom seal and the perimeter weather strip, age roughly twice as fast here as they do in coastal cities. Metal components expand and contracts with every daily temperature swing, loosening bolts and shifting hardware. That expansion cycle is one reason Sacramento homeowners experience more spring failures per capita than homeowners in milder climates, the steel fatigues under the repeated thermal stress.
Second, the dry air. Sacramento’s relative humidity stays low for most of the year, especially from May through October. Dry air is good for rust prevention but bad for lubricants, which evaporate or dry out faster. That is why spring-related breakdowns and noisy doors are more common here. The lubrication schedule that works in the Midwest, twice a year, falls short in Sacramento. The door needs attention three times a year here.
Third, the dust. Fine particulate from the Central Valley’s dry soil, wind events, and wildfire smoke settles on horizontal surfaces, including garage door tracks. Dust mixed with old grease becomes a gray paste that increases friction and makes the door work harder. More friction means more heat on the springs, which accelerates fatigue failure. This is a Sacramento-specific failure mode that national guides never mention.
The practical takeaway: the jobs you should do yourself, like lubrication and seal replacement, are more frequent here than elsewhere. The jobs that require a professional, spring and cable work, are also more frequent here because the springs fail sooner. The climate pushes homeowners toward both ends of the DIY spectrum at the same time.
Common Mistakes to Avoid
- Lubricating the track itself. The tracks on a garage door are guide rails, not friction surfaces. Grease on the track attracts Sacramento dust and creates the gummy buildup that makes doors jerk and stick. Lubricate the rollers and hinges only.
- Reusing old cables when replacing springs. Cables stretch and fray at the same rate as springs, and when one fails, the other is not far behind. If you’re paying for a spring replacement, spending the extra $30 to $60 on new cables prevents a second service call.
- Replacing a spring on one side only. Both springs on a double-car door work together, and the remaining spring has the same number of cycles on it as the broken one. We always recommend replacing springs in pairs. A mismatched set changes the balance and causes premature wear.
- Ignoring the reversal test after any opener work. The force settings on a garage door opener are safety-critical. After any DIY adjustment, place a two-by-four flat on the floor under the door and close it. If the door doesn’t reverse within two seconds of contact, the force is set too high.
- Watching one video and starting the job immediately. No single YouTube video covers every door configuration, especially in Sacramento, where doors built in the 1970s sit next to brand new Clopay installations. Watch three different technicians, cross-check their methods, and then decide.
- Using a universal remote as a long-term fix when a brand-specific remote costs the same. A universal remote loses rolling-code security and usually won’t pair with the opener’s full feature set. If the motor is a LiftMaster or a Genie, spend a few dollars more on the matching remote.
When to Call a Professional
Call a professional the moment you see any of these: a visible gap in the spring coils, which means the spring has snapped; a door that flings open or slams down when you release it, which indicates a broken spring or a severely out-of-balance system; a frayed cable with loose wires, which will snap under load; or a door that jumps off the track. All four are mechanical failures under stored energy. None of them are safe to fix with hand tools. Garage Door Opener Repair in Sacramento is sometimes the closer match, especially if the motor unit is the problem rather than the door itself. If you’re not sure which it is, describing the symptoms over the phone usually takes 60 seconds. Lionheart Garage Door Repair offers free estimates in Sacramento, and we’ll tell you honestly whether the job is safe for you to handle or whether it needs a specialist. Call (855) 758-6556.
See the difference
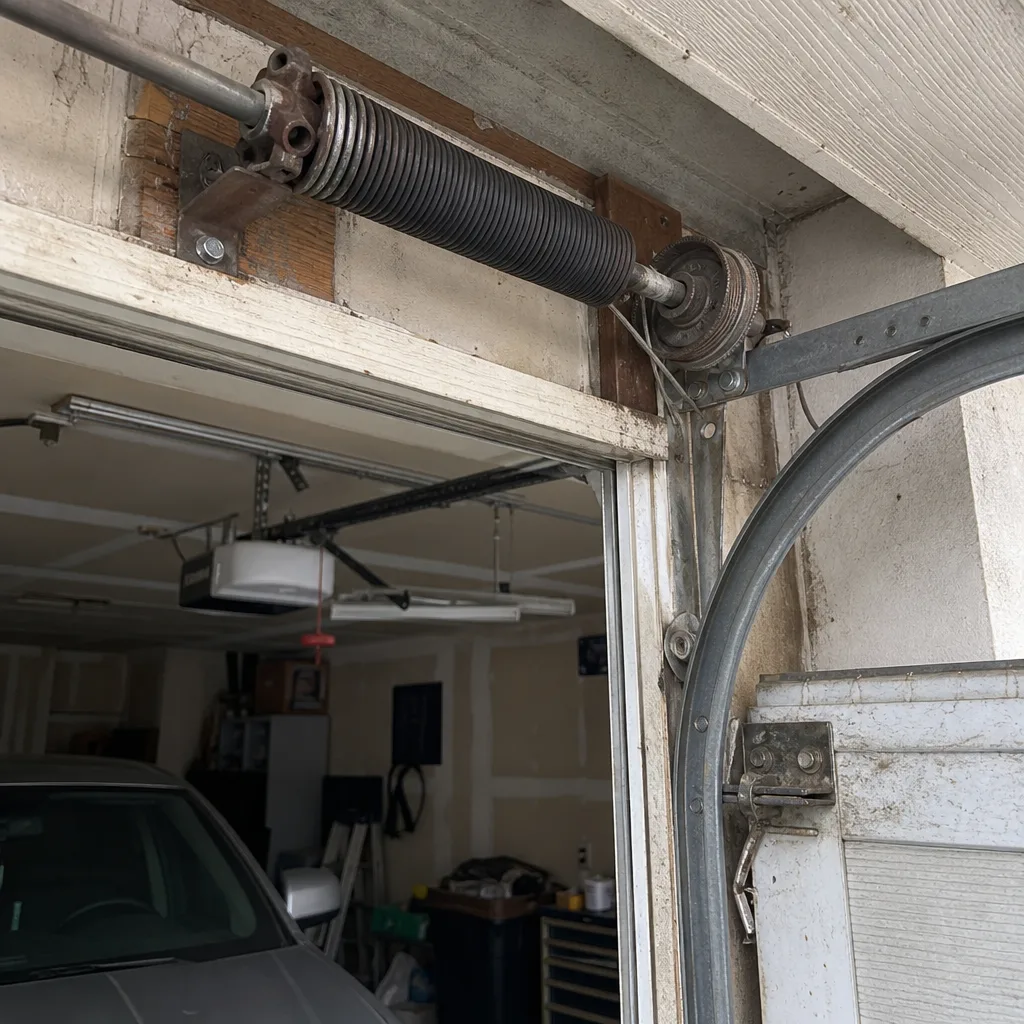 Before
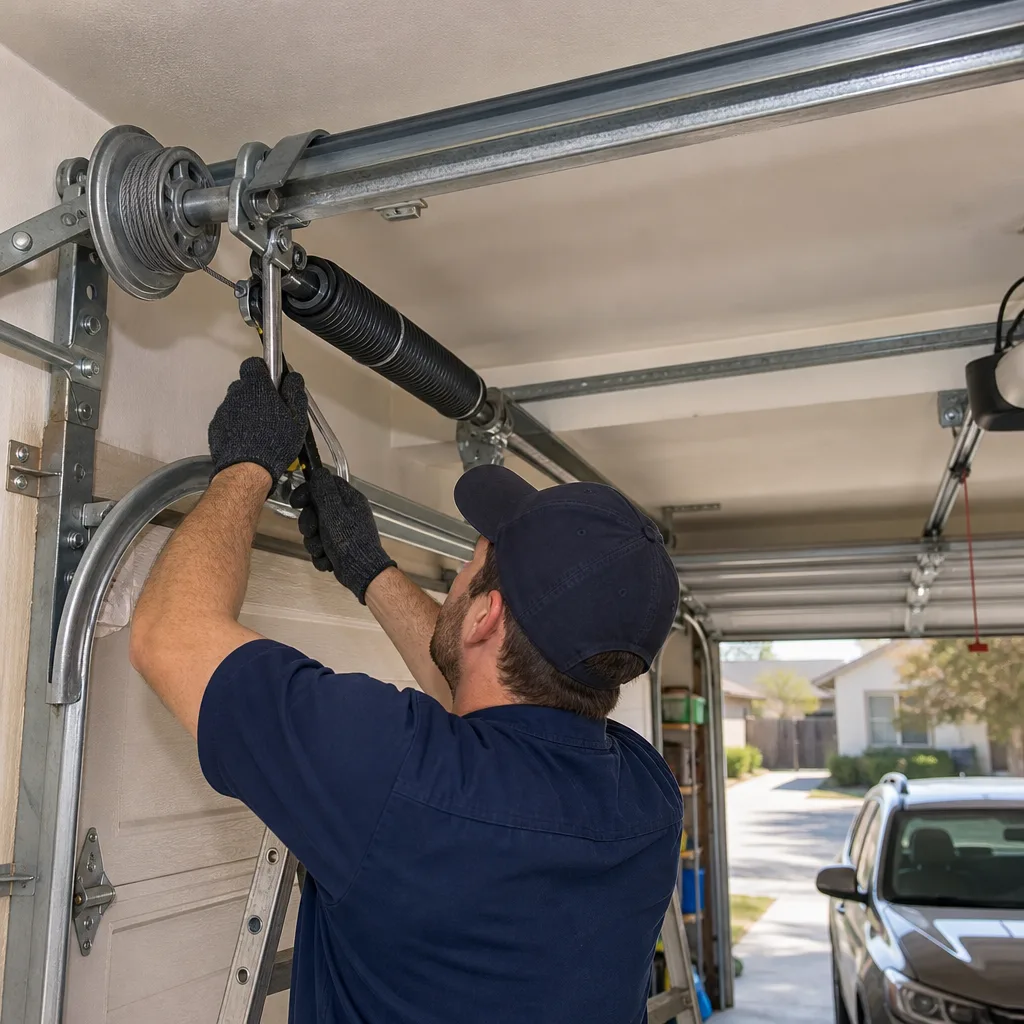 After
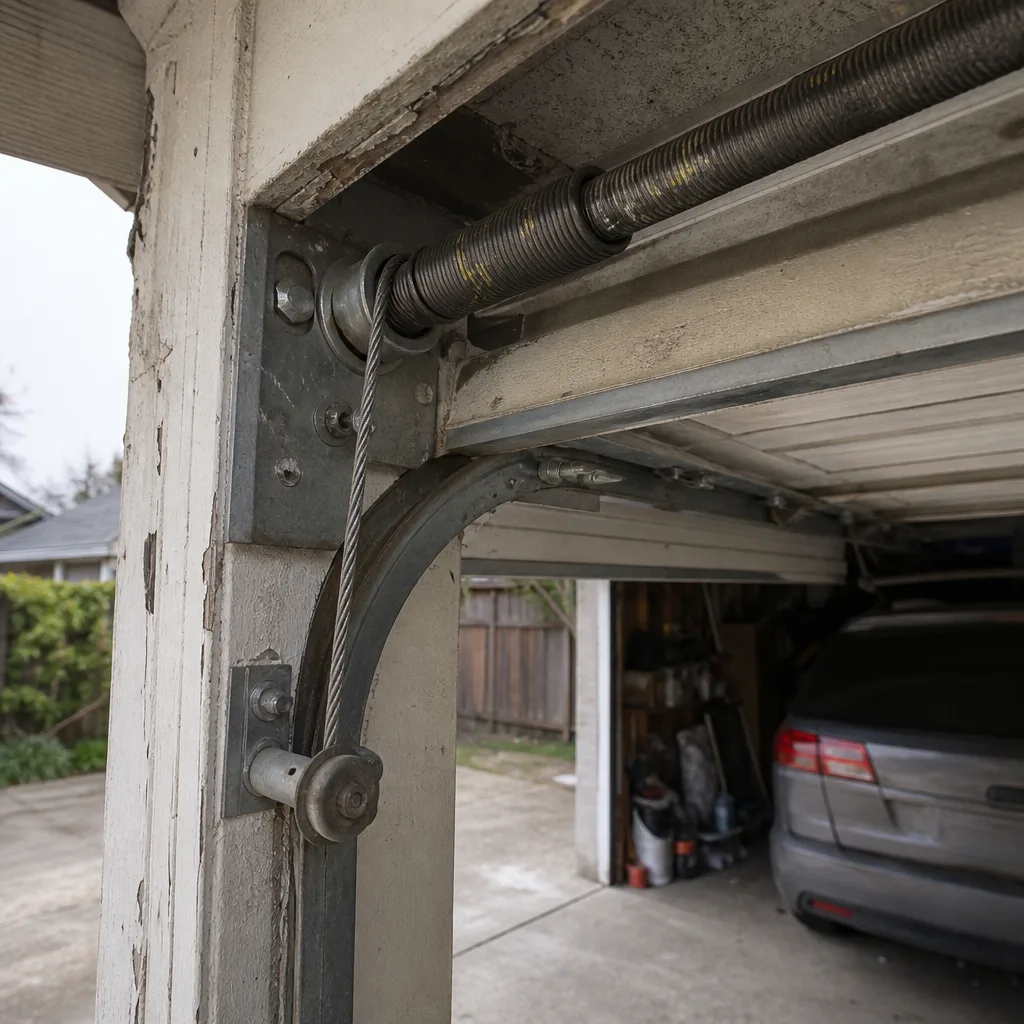 Before
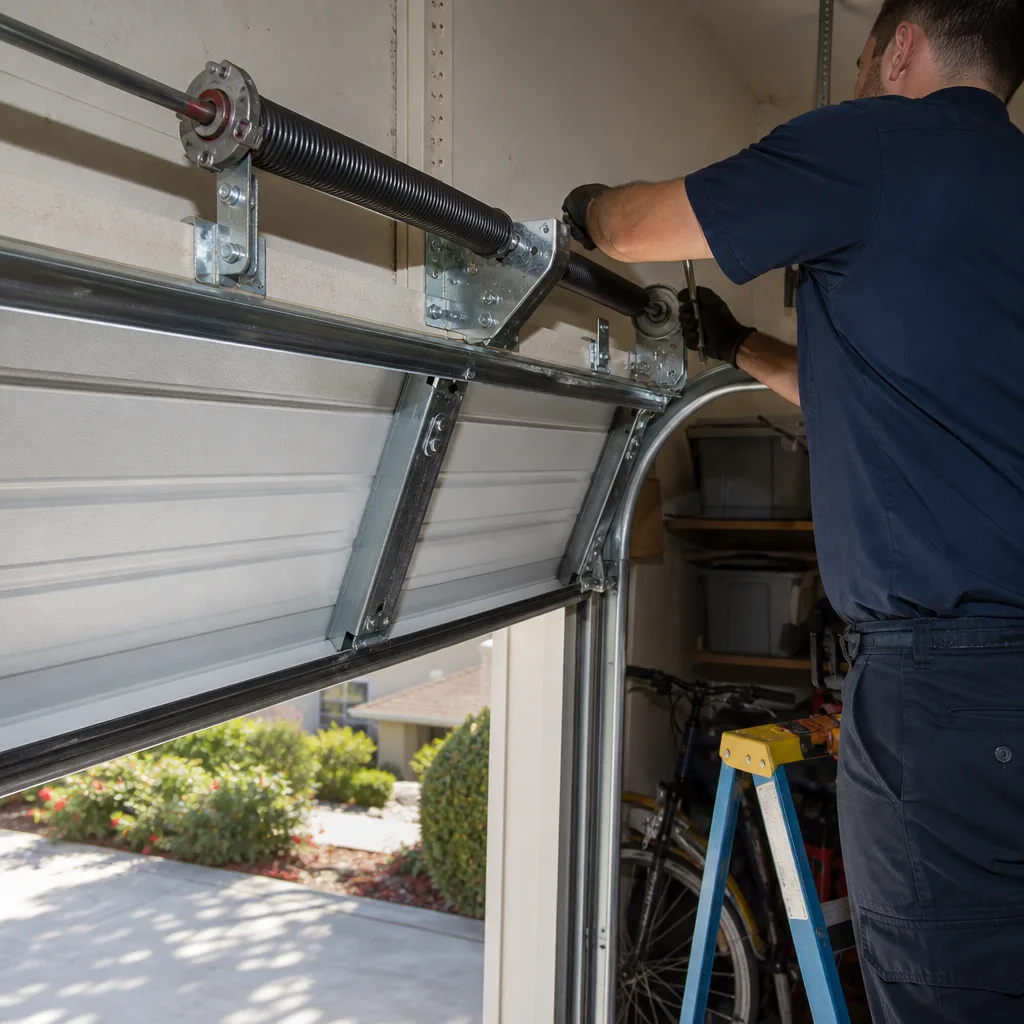 After
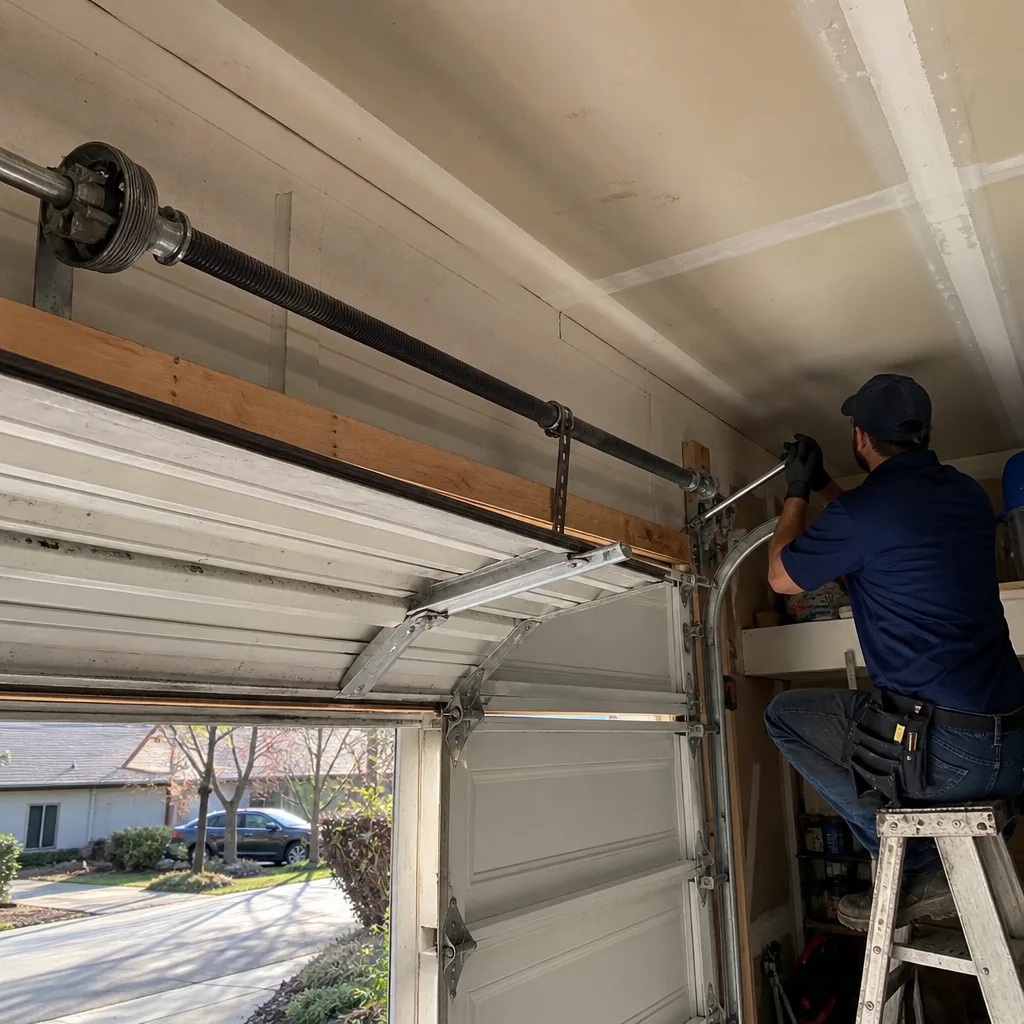 Before
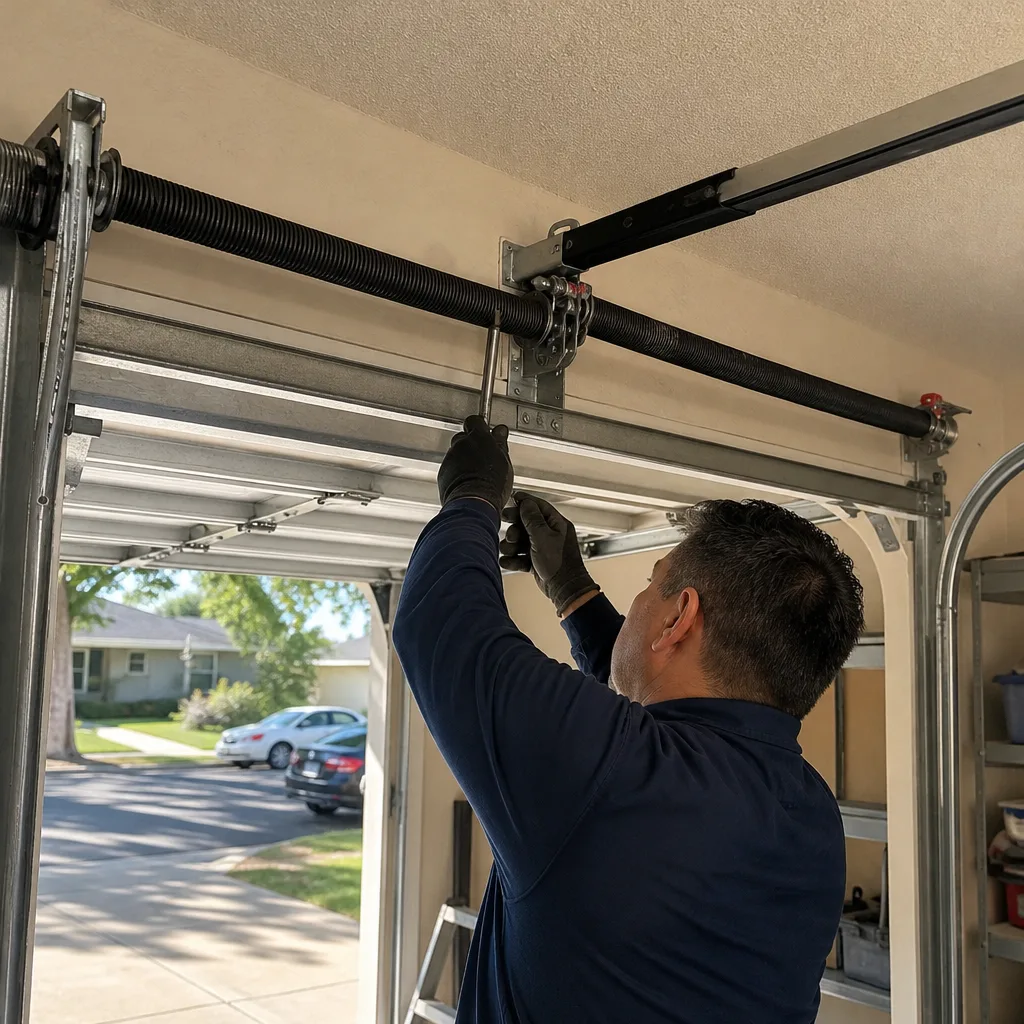 After
Frequently Asked Questions
No. Torsion springs store enough energy to cause severe injury or death if they unwind unexpectedly, and the average homeowner lacks both the winding bars and the torque experience to do the job safely. They also don’t have the balance-testing knowledge to verify the door is properly counterweighted afterward.
Most minor repairs in Sacramento, like track realignment or sensor adjustment, fall between $65 and $165. Spring replacement runs $180 to $340 depending on door weight and spring type, and opener replacement runs $300 to $700 including parts and labor. Every quote is agreed upon before work begins. For an exact number, call (855) 758-6556.
You can comfortably handle bottom seal replacement, sensor realignment, hardware lubrication, remote and keypad programming, and surface rust removal from the track’s face. These tasks require basic tools, no stored energy exposure, and minimal risk of causing additional damage.
Three times a year. Sacramento’s heat and low humidity dry out most lubricants faster than they would in cooler or coastal climates, and the dust from the Central Valley mixes with old grease to create a paste that increases friction on the rollers and hinges.
Yes, technically, but the force adjustment is the part that most DIY installs get wrong. An opener that reverses too easily will fail every time the temperature changes, and one that doesn’t reverse at all is a safety hazard. If you’re comfortable testing and retesting the reversal settings, it’s a viable weekend job. If not, installing Garage Door Installation in Sacramento is measured, ordered, and scheduled by a specialist who sets the force correctly the first time.
Yes. We work on the door you have, not just the brands we sell. Our technicians diagnose specific failures across eight major brands, including Craftsman, Raynor, LiftMaster, and Chamberlain, so the estimate reflects the actual fix rather than a default replacement.
The Bottom Line
The DIY-versus-professional decision for garage doors isn’t about courage or convenience. It’s about mechanical energy. Torsion springs, cables under tension, and spring-loaded tracks belong to a professional every time, no exceptions, no matter how many videos you’ve watched. The safe jobs, sealing, lubricating, adjusting, and programming, are legitimately yours to handle, and you should. Sacramento’s heat and dust mean both types of work come up more often here than elsewhere. When the job crosses into stored energy territory, call a professional. When it doesn’t, save the money and do it yourself. That’s the honest line.
Written by the team at Lionheart Garage Door Repair, serving Sacramento since 2017.
Need a free estimate? Call (855) 758-6556 and we’ll give you an honest diagnosis over the phone.