
Last updated October 31, 2026
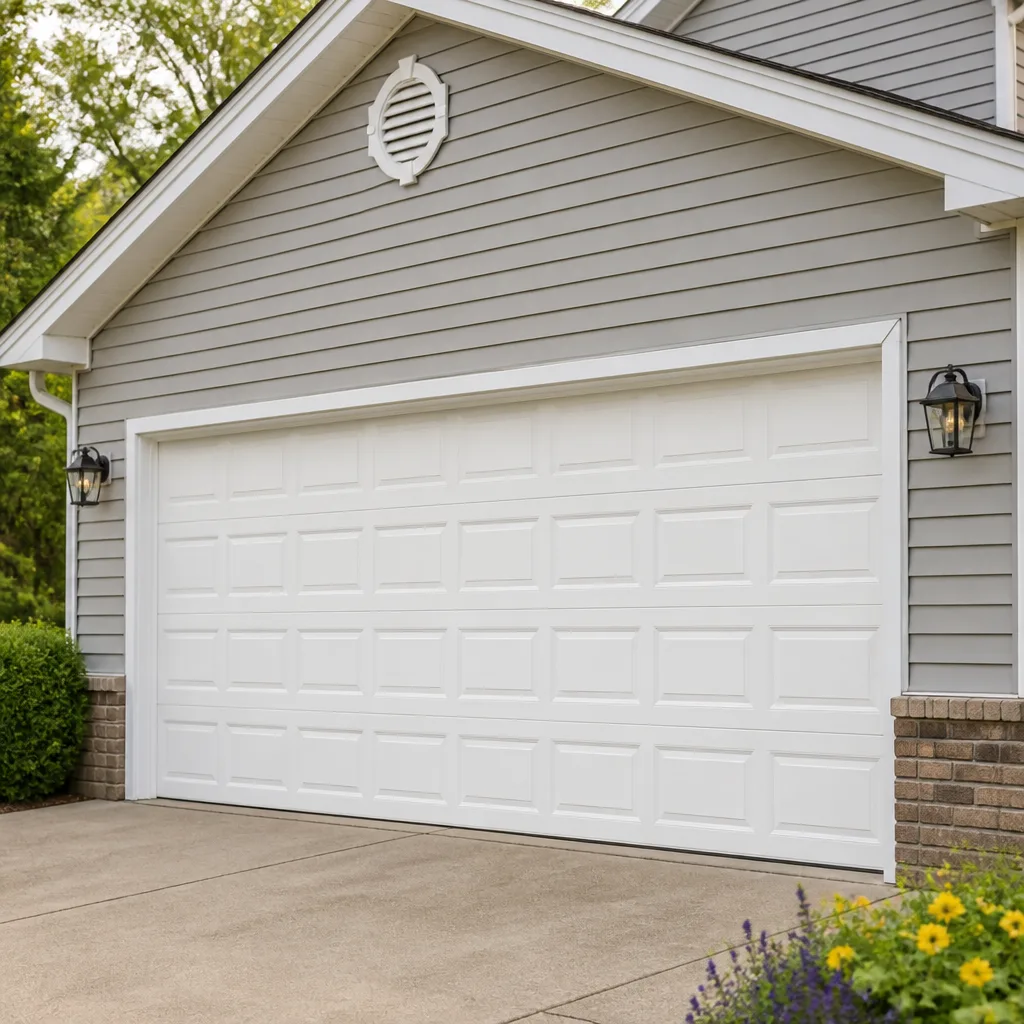 Raised-panel steel
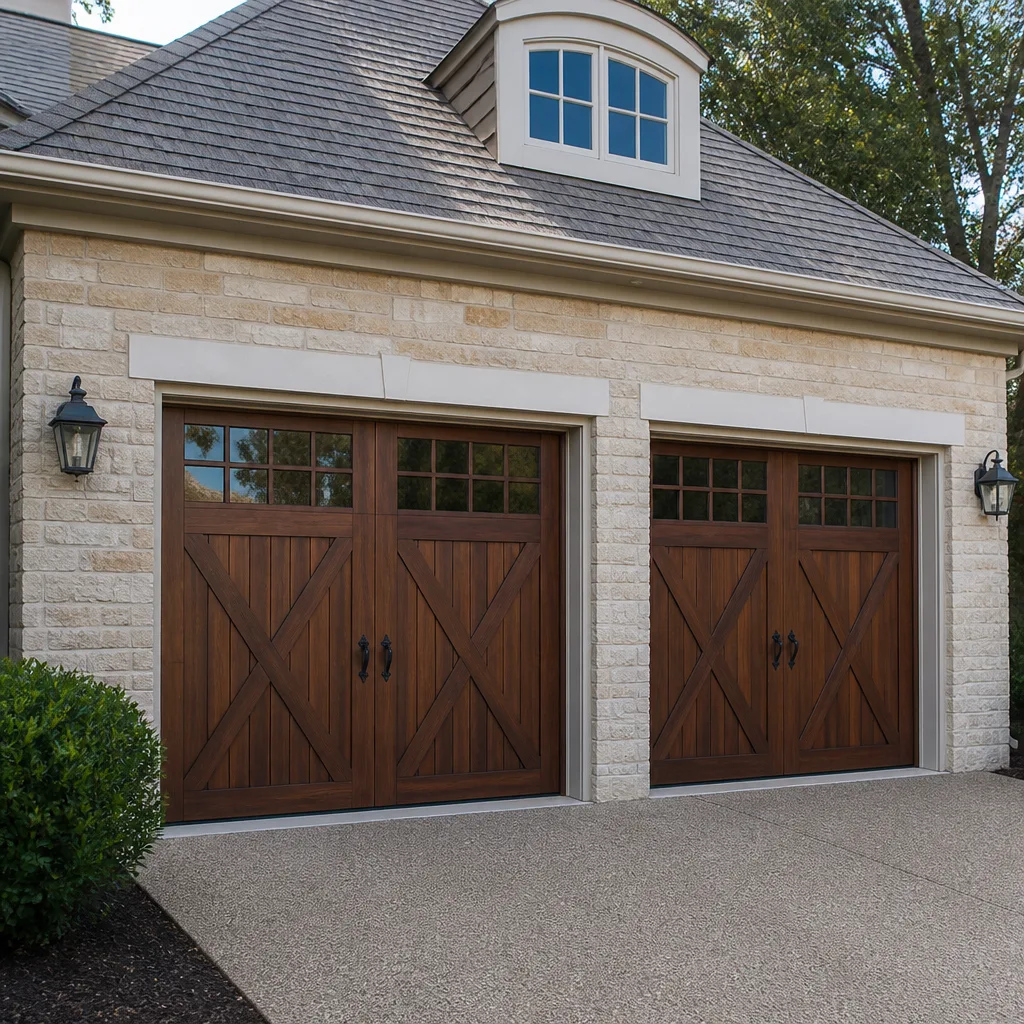 Carriage house
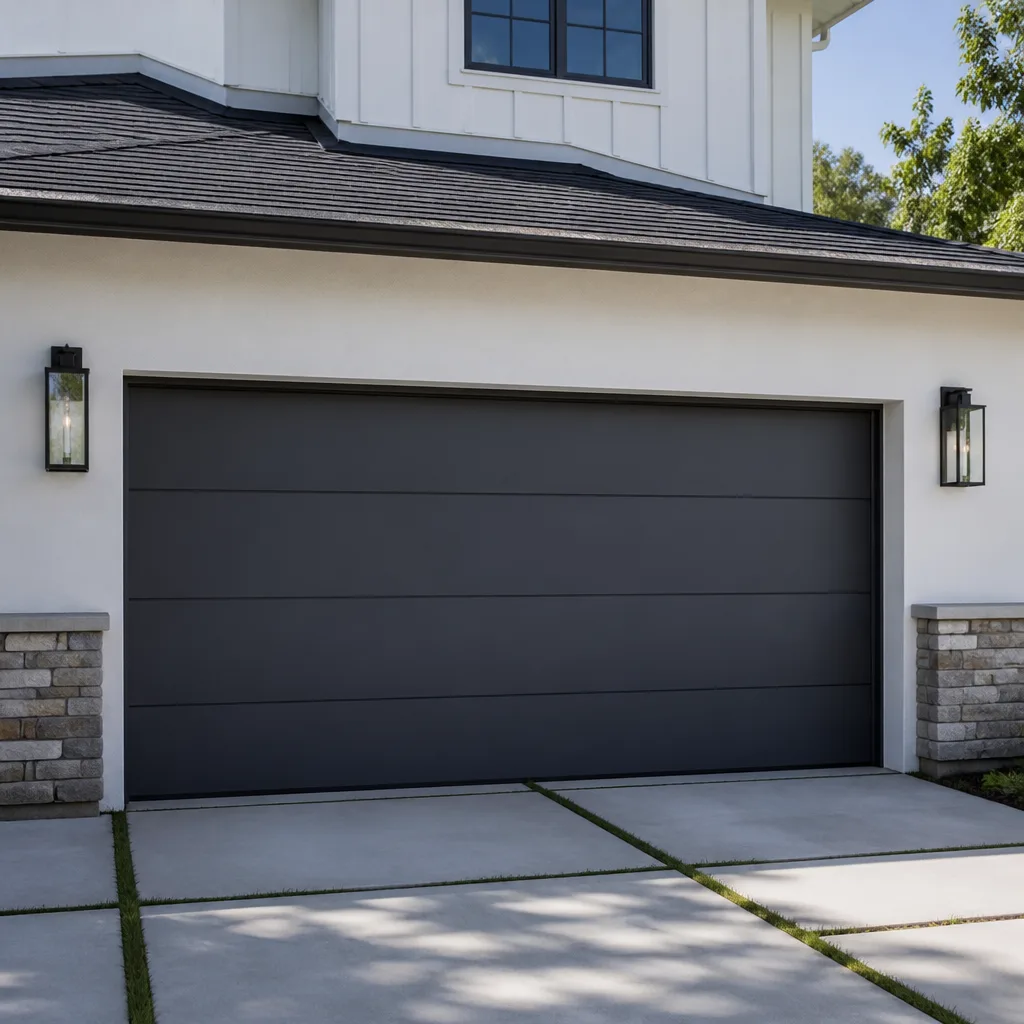 Modern flush
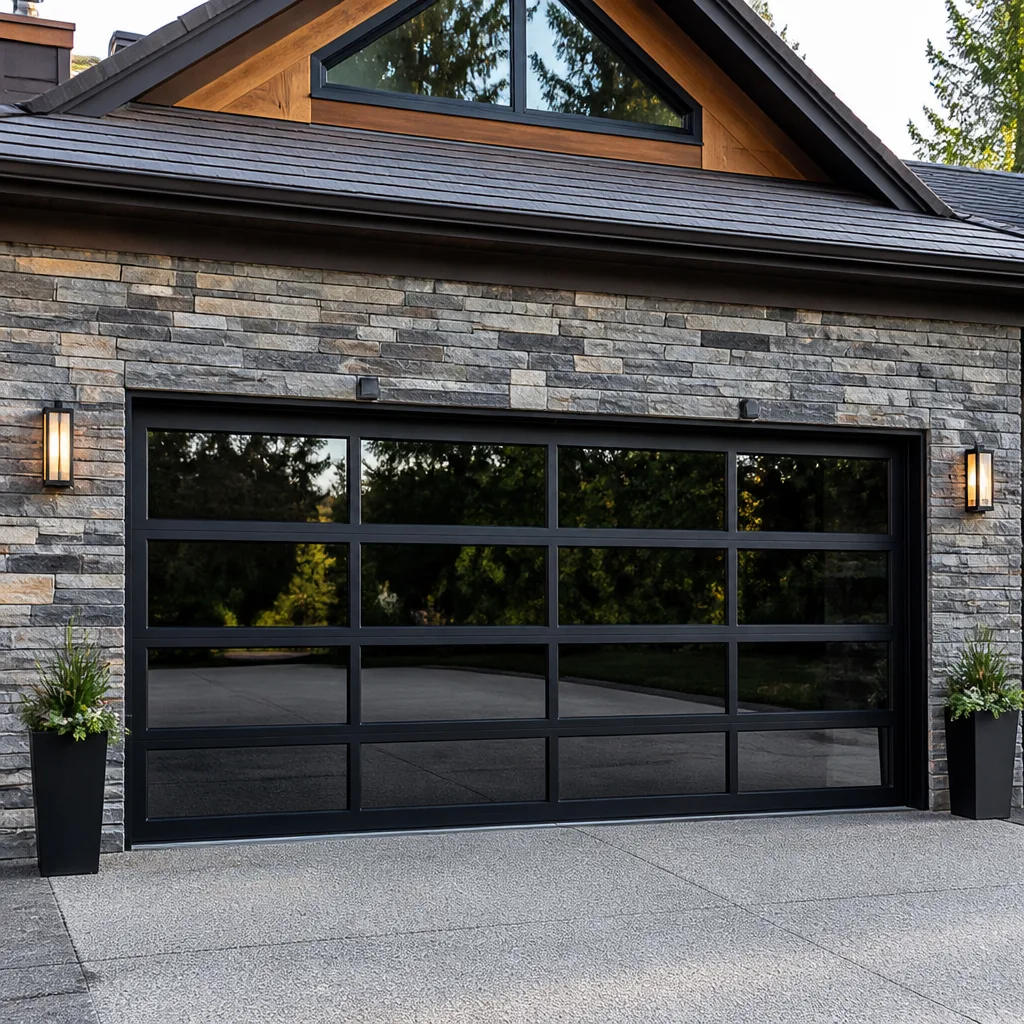 Full-view glass
 LiftMaster openers
 Chamberlain openers
Full 25-point door and opener safety check with every visit - springs, cables, rollers, tracks, and your LiftMaster or Chamberlain opener included
You get a price before we start. It does not change when the truck arrives.
Get your free estimateGarage Door Warning Signs: A Sacramento Homeowner’s Reference Guide
Your garage door is the largest moving object in your Sacramento home. It weighs somewhere between 130 and 400 pounds depending on the material, and it cycles up and down roughly 1,500 times a year. Most homeowners give it less thought than a kitchen faucet until the morning it refuses to open. What’s frustrating is that garage doors almost never fail without warning. They telegraph the failure for weeks or months beforehand. This guide covers what those signals actually are, what they sound like, what they look like, and how to read them before a worn roller becomes a snapped cable and a broken spring becomes a door that won’t budge on a 105-degree Sacramento afternoon. For more, see our more guides & resources. We’ll walk through the diagnostics we use in the field every week, including the balance test, the audio tells, and the opener light codes that can pinpoint a problem before you ever pick up the phone.
Styles & brands we work with
Quick Answer
Garage door warning signs fall into four categories: sound (grinding, popping, scraping, rattling), sight (rust, sag, gaps, uneven movement), behavior (slow response, hesitation, reversal, partial opening), and opener feedback (blinking lights, error codes, motor strain). Most failures start as a $20 to $60 fix like a worn roller or dry hinge, then escalate into $200 to $500 emergency repairs when ignored. Our How to Hire a Garage Door Contractor in Sacramento: A Step-by-Step Guide can help you find the right pro before you’re stuck. The single most useful early-warning check available to any Sacramento homeowner is the 30-second balance test, which we explain in detail below.
Table of Contents
- Why Garage Doors Fail in Sacramento Specifically
- The Audio Diagnostic Guide: What Each Sound Means
- Visual Indicators: Rust, Gaps, and the Sacramento Climate Factor
- Operational Red Flags: Hesitation, Reversal, and Door Sag
- The 30-Second Balance Test
- Reading Opener Error Codes and Blinking Lights
- Common Mistakes to Avoid
- When to Call a Professional
- Frequently Asked Questions
- The Bottom Line
Why Garage Doors Fail in Sacramento Specifically
Sacramento’s climate treats garage hardware differently than coastal California or the humid South. We get 100-degree summer afternoons, cold winter mornings that dip into the 30s, and dry air for most of the year. That temperature swing matters more than most homeowners realize. Metal expands and contracts. Grease breaks down faster in heat. Rubber seals crack in dry conditions. A door that works smoothly in May can start sticking in August, not because anything broke, but because the track alignment shifted a few millimeters with the heat. The older Sacramento neighborhoods make this worse. Homes in East Sacramento, Land Park, and Curtis Park often have garages built in the 1950s and 60s with original framing. Wood settles. Ceiling mounts loosen. The door that hung straight for 40 years is now pulling slightly left, and every cycle grinds a little more metal off the roller. We see this pattern regularly. The problem is rarely that the door is “old.” The problem is that nobody adjusted it as the house moved around it.
Another Sacramento-specific factor is dust. The Central Valley is dusty, and garage door tracks collect it. Dust mixed with lubricant turns into a paste that accelerates roller wear. Tracks in Natomas and Elk Grove, where newer construction sits on former farmland, tend to collect fine particulate faster than older neighborhoods with mature tree cover. None of this means your garage door is on borrowed time. It means the maintenance schedule that works for a garage in San Diego or Portland doesn’t apply here. Sacramento doors need a visual and audio check twice a year, timed to the seasonal temperature shifts in spring and fall. See our Seasonal Garage Door Care for Sacramento: Year-Round Homeowner’s Guide for a full maintenance calendar.
If you want a deeper look at the most common failure points we handle across the city, our Garage Door Repair in Sacramento page covers the full range of what goes wrong and how we fix it.
The Audio Diagnostic Guide: What Each Sound Means
The sound your garage door makes when it’s about to break is different from the sound it makes when it’s already broken. The first time you hear it, you’ll probably dismiss it. The third time, you should pay attention. Here’s the component-by-component breakdown we use on service calls.
Grinding: The Roller Tell
A grinding sound that seems to come from the track itself almost always points to rollers. Roller bearings wear out, and once the bearing is gone, the roller drags instead of spins. The sound is a metal-on-metal grind that gets louder the longer the door runs. Some Sacramento homeowners describe it as “gravelly” or “like dragging a chair across concrete.” Nylon rollers are quieter when they fail, which is why a grinding nylon roller often means the bearing has been gone for a while. The fix is typically straightforward: replace the rollers. If you catch it early, you’re replacing a $10 part. If you let it go, the worn roller can score the track, and now you’re looking at track replacement too. There’s no reasonable DIY path on a torsion spring door we’d recommend, because the spring carries enough tension to cause serious injury if mishandled.
Popping: The Spring Conversation
A single loud pop followed by a door that suddenly won’t lift is a snapped torsion spring. That’s the emergency everyone describes. But before the snap, springs often make smaller, subtler popping or pinging sounds. Torsion springs wind and unwind under enormous pressure. As they age and the metal fatigues, the coils can bind and release microscopically. You might hear a soft pop when the door opens or a creaking groan when it closes. These are the sounds of a spring nearing the end of its cycle life. A standard torsion spring is rated somewhere between 10,000 and 20,000 cycles. The average Sacramento household opens and closes the door four to six times a day, which means most springs have a service life of 6 to 10 years. If your spring is in that range and it’s making noise, the smart move is to have it replaced before it snaps. A spring replacement scheduled on your timeline costs less than an emergency call when the door is stuck open with your car trapped inside.
Scraping: The Track or Panel Problem
Scraping falls into two categories. A scraping sound paired with visible scoring on the track means the door is out of alignment and the edge of the panel is rubbing against the metal. This often follows a minor impact, like backing into the door before it’s fully open, or years of accumulated drift as the house settles. The second category is panel-to-panel scraping. On sectional doors especially, worn hinges allow panels to flex and make contact with each other during the transition from vertical to horizontal travel. We see this on older builder-grade doors throughout Sacramento, particularly in neighborhoods where original construction was done quickly. The fix depends on the cause, but it starts with identifying where the scrape is coming from. A scraping noise is never cosmetic, because it’s metal removing metal every time the door moves.
Rattling: The Hardware Check
Rattling is the most common and least specific sound in the garage. Loose bolts on hinges, loose brackets on the track, a chain on the opener that needs tensioning, or even a poorly anchored opener motor can all rattle. The diagnostic question is whether the rattle changes with the door’s position. If it rattles through the full travel, check the opener mount and the door hinges. If it rattles only at the top of travel, look at the top panel hinges and the point where the J-arm connects. A rattle that’s been there for years is still worth fixing, because loose hardware under load is how a minor vibration becomes a structural problem. Think of it as a bolt backing out one eighth of a turn per cycle. After 1,500 cycles a year, you have a bolt that’s fully loose. Rattles are the early warning system for the whole door assembly. Our Garage Door Opener Repair in Sacramento page covers the opener side of this in depth.
Visual Indicators: Rust, Gaps, and the Sacramento Climate Factor
Sacramento’s dry heat creates a specific rust pattern that’s worth understanding. Surface oxidation on painted steel panels is usually cosmetic and rarely affects function. It looks bad but doesn’t threaten the door’s integrity. The rust that matters is on hardware: springs, cables, hinges, roller stems, and track bolts. That rust is structural. A rusted spring is a spring with compromised metal. A rusted cable is a cable that may not hold when the spring lets go. The distinction matters because homeowners tend to do the opposite of what the hardware needs. They see a rust spot on a panel and worry, while the rusted cable bracket above their head goes unnoticed for years.
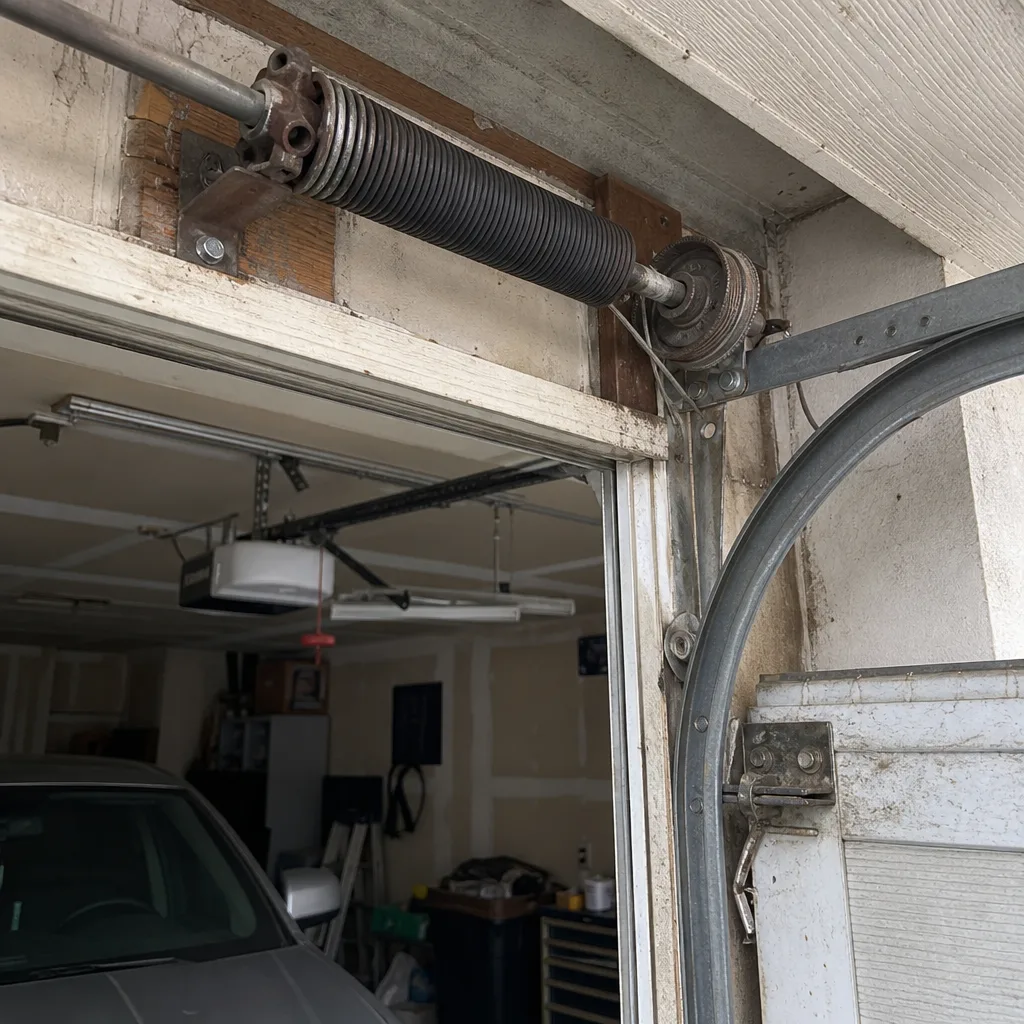
Here’s the visual checklist we run through on every service call, and you can do the same in under five minutes. First, look at the torsion springs above the closed door. You’re checking for surface rust, gaps between coils, and whether the spring looks divided in the middle where the center bracket sits. A gap between coils means the spring is stretched, and that’s a countdown. Second, look at the lift cables on each side. You’re looking for fraying, rust, or strands that have separated. Third, check the rollers where they enter the track. A worn roller will have a flat spot or a wobble you can see from a few feet away. Fourth, look at the track itself. In Sacramento’s dry climate, the most common track issue is not rust but misalignment. Stand inside the garage with the door closed and sight down the track like you’re aiming a rifle. Both tracks should be perfectly straight and parallel. A track that bows outward or inward even a quarter inch is a problem waiting to happen.
Weatherstripping deserves its own mention. The bottom seal on most Sacramento garage doors is rubber or vinyl, and it does two jobs: it keeps the dust and rain out, and it cushions the door-panel bottom edge. A cracked or missing seal lets dust into the track, which accelerates roller wear. It also lets the hottest summer air under the door. In neighborhoods like River Park or Tahoe Park with mature trees, we also see leaf debris pushed into the corners where the seal has failed. The seal is a $15 to $25 part, and replacing it is one of the most cost-effective maintenance items on the entire door.
One more visual note specific to painted steel panels on Clopay and Amarr doors, which are common throughout Sacramento. Sun-facing garage doors fade and chalk over time. That’s the paint, not the steel. The steel underneath is galvanized and typically fine. What you should watch for is rust at the panel seams and along the bottom edge where water can collect. If the rust is at the seam, it’s cosmetic today but the seam is where water gets into the panel core, and that’s how a cosmetic problem becomes a rotational problem over multiple Sacramento winters.
Operational Red Flags: Hesitation, Reversal, and Door Sag
Operational changes are the warning signs most homeowners feel before they can name them. The door still opens and closes, but something is different. It hesitates. It labors. It takes two button presses. Here are the three most common operational red flags and what each one points to.
The Door That Takes Two Tries
You press the button, the opener hums, and nothing happens. You press it again, and the door moves. This intermittent non-response points to three possible culprits. The first is a logic board starting to fail. This is common on older Genie and Chamberlain openers, and it typically worsens over weeks until the opener stops responding entirely. The second is a failing capacitor in the motor. The capacitor provides the initial burst of power needed to start the motor, and a degraded capacitor means intermittent starts. The third is a wiring issue between the wall button and the opener unit, common in Sacramento garages where heat has degraded the insulation on low-voltage wire. Each cause requires a different fix, which is why the diagnostic step matters. Replacing a logic board and replacing a capacitor are different jobs with different costs, and guessing wrong doesn’t get you a working door.
The Door That Reverses Without Obstruction
Door reverses after closing partway, or opens back up after touching the floor, with nothing in the way. This points to the safety sensor system or the force settings. On the sensor side, misalignment is the most common cause. A door that travels every day can vibrate the sensor bracket out of position, and now the photo eye isn’t making its beam connection. The second sensor issue is dirt. Sacramento’s dry dust coats the sensor lens, and a dust layer thick enough can scatter the beam. Cleaning the lens with a dry cloth solves that one. The third cause is the force adjustment. The opener’s close force is set too low, and when the door meets the resistance of the weatherstrip on the floor, the opener reads that as an obstruction and reverses. This is a simple adjustment on most openers, but it requires knowing where the adjustment dials or settings are on your specific unit. If the door reverses predictably every single time at the same point, note that point. It’s a data point that tells a technician where the problem lives without watching 20 open-close cycles.
The Door That Sags on One Side
When a door sags, meaning one side hangs lower than the other when partially open, the culprit is almost always a spring problem or a cable problem on one side. On a properly adjusted door, both torsion springs carry equal tension, and the door stays level through the full travel. When one spring weakens or one cable stretches, that side carries less load and sags. Over time, the sagging side puts uneven wear on the rollers and hinges on that side, which compounds the problem. A sagging door is not an aesthetic issue. It’s a sign that the load-bearing system is unbalanced, and unbalanced garage doors are exactly the ones that fail suddenly. Think of it like a car pulling hard to one side: you can keep driving it, but you’re wearing out components on the side doing more work. Our team diagnoses this with a visual inspection of both springs and a level check on the bottom panel at half travel. If you want a fuller picture of how door and opener failures interact, our Garage Door Installation in Sacramento page walks through the systems at a high level.
The 30-Second Balance Test
The balance test is the single most useful diagnostic a homeowner can perform, and it requires no tools and no mechanical knowledge. It reveals spring wear before the spring breaks, which is the difference between a $150 to $250 scheduled spring replacement and a $400 to $600 emergency repair when the door is stuck half open. Here’s how to do it.
- Disconnect the opener. Pull the red emergency release handle while the door is closed. This disconnects the door from the opener carriage so you’re testing only the door and spring system.
- Manually lift the door to waist height. Use the handle or the bottom edge. The door should lift smoothly with moderate effort about 15 to 20 pounds of force. If it takes both arms and a brace, the springs are weak.
- Let go. With the door at roughly waist height or mid-travel, release it completely. Don’t hold your hands under it. A properly balanced door will stay roughly where you left it, maybe drifting an inch or two.
- Read the result. If the door drops toward the floor, the springs are worn and no longer counterbalancing the door weight. If the door shoots upward, the springs are over-tensioned, which is also a problem. Either result means the spring system needs attention.
- Reconnect the opener. Pull the release handle toward the door and run the opener until it reengages with the carriage.
You should run this test twice a year in Sacramento, timed with the spring and fall temperature shifts. The temperature change between February and May here is dramatic enough that spring behavior genuinely shifts, and a door that balances in March may not balance in July. From our experience running this test on hundreds of Sacramento doors, we can tell you the most common result is a door that drops slowly from waist height, a classic sign that the torsion spring is at maybe 70 percent of its cycle life. That’s the window where replacement is cheap and scheduled. A few weeks later, it’s an emergency call because the spring snapped while the homeowner was backing out of the driveway.
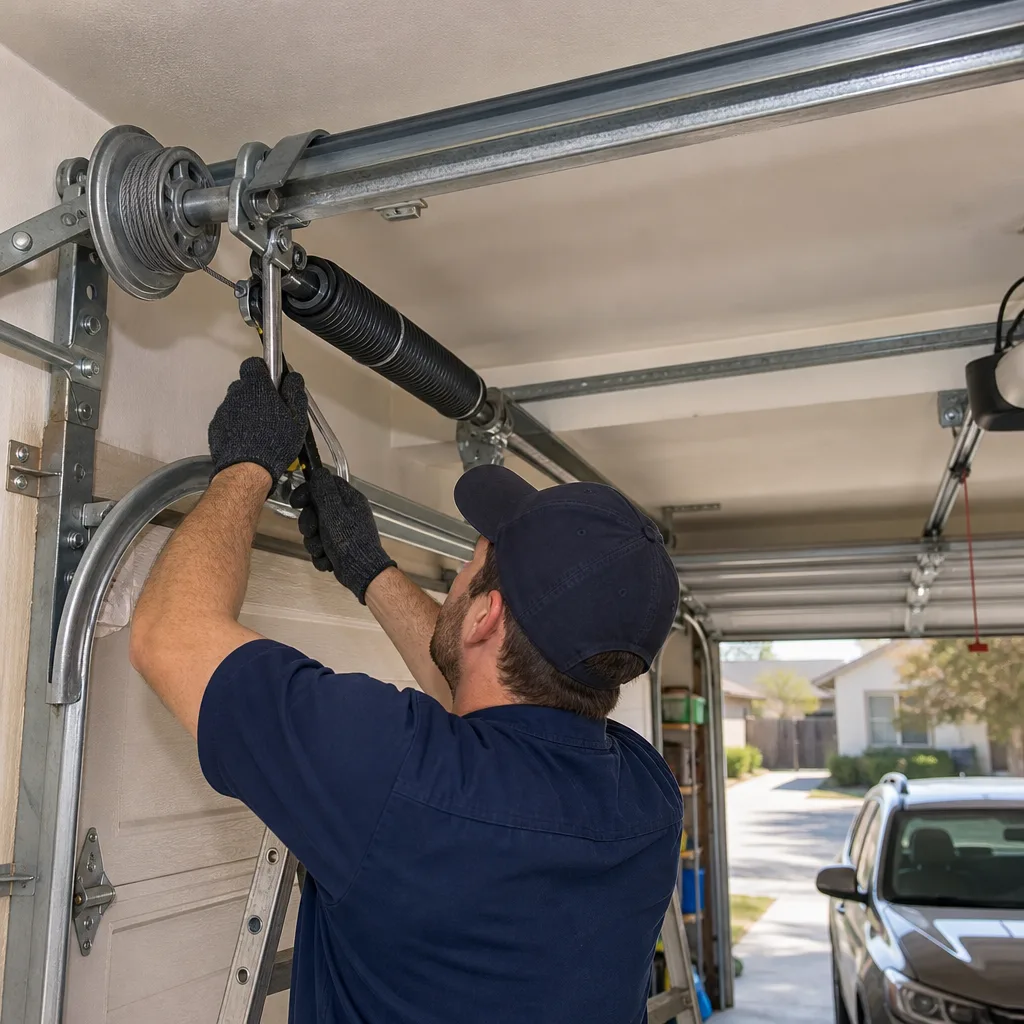
One safety note: this test is safe to perform manually. What you should not do is attempt to adjust, replace, or wind a torsion spring yourself. The torsion spring stores an enormous amount of mechanical energy, enough to break bones or worse if released suddenly. This applies to every brand we service, from LiftMaster to Genie openers and Clopay to Amarr doors. The balance test is diagnostic. The spring repair is professional work. For more on our approach to Lionheart Garage Door Repair home services, including diagnostics across all major brands, start there.
Reading Opener Error Codes and Blinking Lights
Most modern openers from LiftMaster, Chamberlain, and Genie have a built-in diagnostic system that communicates through blinking light patterns. Learning to read these codes takes about five minutes, and it turns a vague “something is wrong” into a specific starting point. Here’s how to use them.
LiftMaster and Chamberlain: The Learn Button Blink Pattern
LiftMaster and Chamberlain openers use the same diagnostic language because they’re manufactured by the same parent company. The round Learn button on the back of the motor unit blinks to report issues. The most common codes on these units are:
- Up arrow flashes once, down arrow flashes once: The door is reversing due to the safety sensors being obstructed or misaligned. Check the sensor lenses for dust and alignment.
- Up arrow flashes once, down arrow flashes twice: The door is reversing due to force setting issues or a physical obstruction in the track. Check the track for debris and inspect the force adjustment.
- Up arrow flashes twice, down arrow flashes once: The opener senses a problem with the door’s travel limits. This can happen after a power surge or if the door has been manually operated while disconnected.
- Up arrow flashes four times, down arrow flashes six times: The safety sensor circuit is shorted or the sensors are miswired. This often happens on older units where wire insulation has degraded in Sacramento’s summer heat.
Genie: The Self-Diagnostic LED
Genie openers use a different system. Many models have a green and red LED set on the motor head, and the combination of solid versus flashing tells the story. A solid red plus solid green means normal operation. A blinking red with solid green typically points to a sensor issue. A blinking red only points to overheated motor or a logic board fault. Some Genie models also display a sequence of blinks on the red LED that corresponds to a diagnostic code, and the manual decodes those. If you’ve lost the manual, the model number is on the back of the unit, and the code charts are available from the manufacturer’s support pages. That’s the brand-fluent difference: knowing where the code chart lives for a Genie versus a Chamberlain means you’re not downloading the wrong manual for the wrong unit.
We work on all of these systems, and the diagnostic codes are just one tool in the kit. They’re useful for homeowners to understand because they turn “the opener is broken” into “the opener says the sensors are misaligned,” which is actionable. But codes sometimes report a symptom rather than a cause. The sensor misalignment code is real, for instance, but what misaligned the sensor in the first place could be a loose track bracket, a shifting wall mount, or repeated vibration from a worn roller. That’s the difference between clearing the code and fixing the problem it’s reporting. Garage Door Opener Repair in Sacramento details our full diagnostic process on the opener side.
Common Mistakes to Avoid
- Lubricating a griding roller and calling it fixed. Lubricant quiets the noise temporarily, but if the bearing is gone, the roller is still dragging. The quiet roller is now wearing the track silently, which is worse than the noise you could hear.
- Ignoring a popping spring because the door still works. A spring that pops or creaks is announcing fatigue. The fact that the door still operates means the fix is still cheap. Waiting until it snaps means the repair window shifts into emergency pricing.
- Assuming rust is cosmetic. Panel rust usually is. Hardware rust never is. Sacramento’s dry air slows rust formation but doesn’t stop it on springs and cables that live under tension. A rusty cable is a failure documented in progress.
- Running the opener with a manual door problem. If the door is hard to lift manually, the opener is working harder every cycle. That extra load shortens the opener’s life. The door problem and the opener problem are related, and letting the opener compensate for a bad spring wrecks the opener too.
- Resetting the opener travel limits repeatedly. If the door keeps drifting past its limit or reversing, resetting the limits each time is managing a symptom. The underlying cause, usually a failing sensor or a track alignment issue, keeps getting worse while the limit screws get turned.
- Spraying WD-40 on the tracks. The track should be clean, not lubricated. Lubricant on the track collects dust, which Sacramento produces plenty of, and the dust-and-lube paste accelerates roller wear. Lubricate hinges and bearing points, not the track channel.
- Watching the door while standing under it. During any diagnostic, stand to the side. Watching from underneath puts you directly in the spring’s line of fire if it releases. This should be obvious, but we see it often enough that we mention it anyway.
When to Call a Professional
Some problems you can see and acknowledge without touching. A snapped spring is a professional repair, full stop. The tension in a torsion spring is nothing to learn on. A frayed cable is the same category. Cables work in pairs, and when one fails, the door jackknifes, and the damage extends to the track and panels. If your door is sagging on one side, or if the balance test drops from waist height, schedule someone before the emergency. If the opener error code indicates a sensor circuit short, you can check the obvious wiring yourself, but anything beyond a loose connection deserves a trained eye. In our experience, the homeowners who call early spend less money and keep their doors longer. The ones who wait until the door won’t move at all spend the most and lose a day dealing with it.
Lionheart Garage Door Repair offers free estimates in Sacramento. Call (855) 758-6556 and describe what your door is doing, including any sounds or blinking light patterns, and we’ll give you a straight read on what’s likely happening and what the fix looks like.
Frequently Asked Questions
Spring replacement in Sacramento typically runs $150 to $250 for a single torsion spring including the part and labor, though it varies by spring size, door weight, and access. Replacing both springs at once is usually $250 to $450 and is almost always the right call, since both springs have the same cycle count and the second failure is a matter of time. Call (855) 758-6556 for an exact quote for your door.
Most standard torsion springs last 7 to 10 years under normal use in a Sacramento household, which translates to roughly 10,000 to 20,000 cycles depending on the spring rating. High-cycle springs that are rated to 30,000 or 50,000 cycles last proportionally longer and cost more upfront. The math is simple on this one: more cycles bought now means fewer spring replacements later.
No, and we’re direct about this one because the risk is severe. Torsion springs carry enough stored energy to cause serious injury or death if they release while you’re working on them, and the winding bars needed to do the job safely are not common household tools. Newer torsion systems can also use different cone types that require brand-specific knowledge. Hire someone trained on your specific system.
A door that opens halfway and stops usually points to the opener’s travel limit settings, a failing capacitor, or a physical obstruction in the track. The first diagnostic step is to pull the release handle and see if the door opens fully by hand. If it does, the problem is the opener. If it doesn’t, the problem is the door or spring system. This one test takes 30 seconds and tells you which technician you need to call.
Twice a year in Sacramento, timed with spring and fall when the temperature swings are largest. Use a silicone-based or lithium-based lubricant on hinges, roller bearings, and the spring coils. Avoid lubricating the track channel, which should stay clean and dry. The opener chain or screw drive gets its own light lubrication on the same schedule.
A loud bang on closing, especially on the final few inches of travel, typically means the door is hitting the floor too hard, which points to a spring tension issue or an opener force setting that’s too high. Either way, the door is absorbing an impact every cycle, and the stress transfers to the panels, hinges, and opener mount. The bang is not harmless. It’s metal fatigue announcing itself.
Run the balance test described above, and listen for popping or creaking from the spring area during normal operation. Sacramento’s heat accelerates grease breakdown, and a spring that’s dried out will make noise before it fails. If your springs are seven years old or older and you’re hearing anything unusual, or if the balance test fails, they’re due. Most of the spring failures we see in Sacramento are in the 10- to 12-year range when they’ve never been touched.
The Bottom Line
Your garage door talks to you. It grinds when the roller bearing dies, pops when the spring is tired, scrapes when the track drifts, and rattles when the hardware shakes loose. The problem is that the conversation is in a language most homeowners never learned, so the messages go ignored until the day the door refuses to open and the difference between a $60 fix and a $500 emergency is measured in weeks. The fixes are straightforward once the warning signs are read correctly. A balance test is free and takes 30 seconds. A visual inspection is free and takes five minutes. Learning to read your opener’s blinking lights is free and takes one evening. Sacramento’s climate gives homeowners two natural checkpoints every year, spring and fall, and using them keeps the largest moving thing in your house doing its job. When something doesn’t look or sound right, call (855) 758-6556. The estimate is free, and we work on the door you have, whatever brand it is.
Written by the team at Lionheart Garage Door Repair, serving Sacramento since 2017.
See the difference
 Before
 After
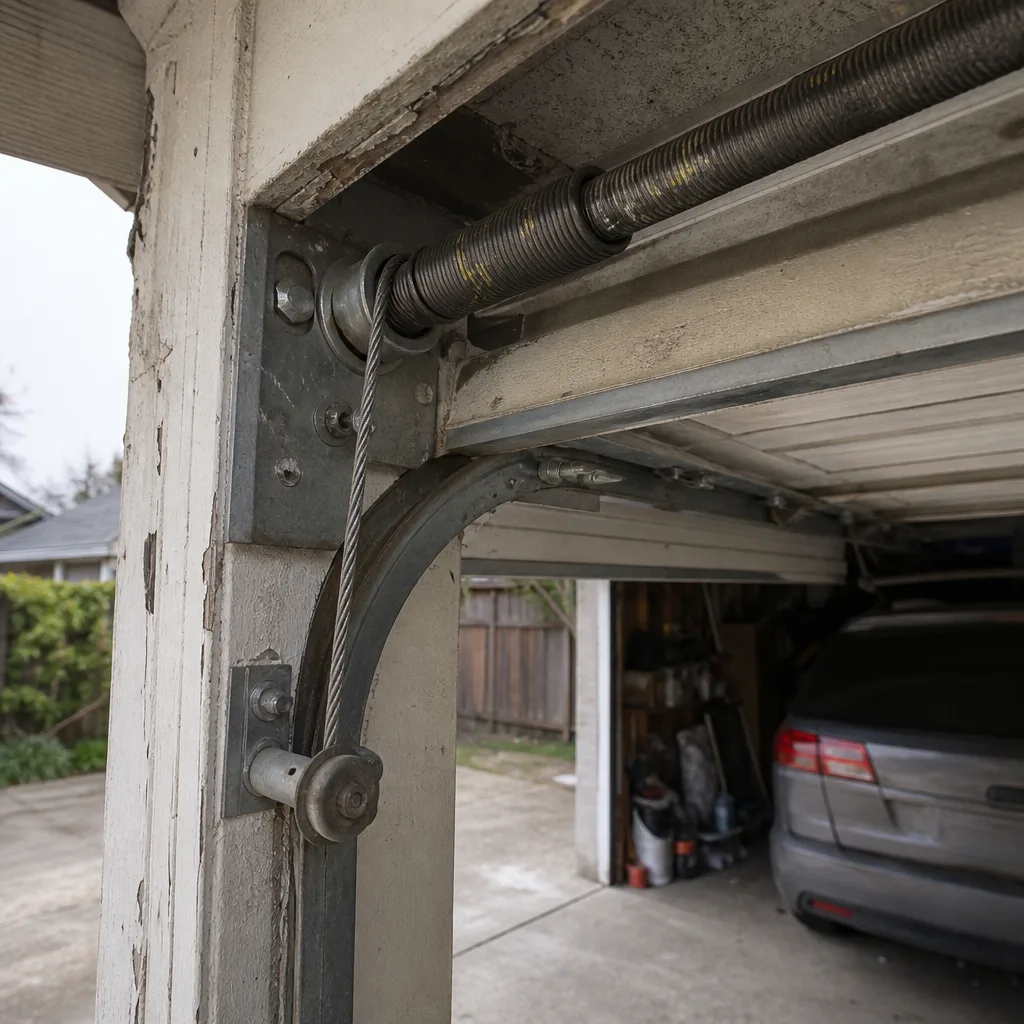 Before
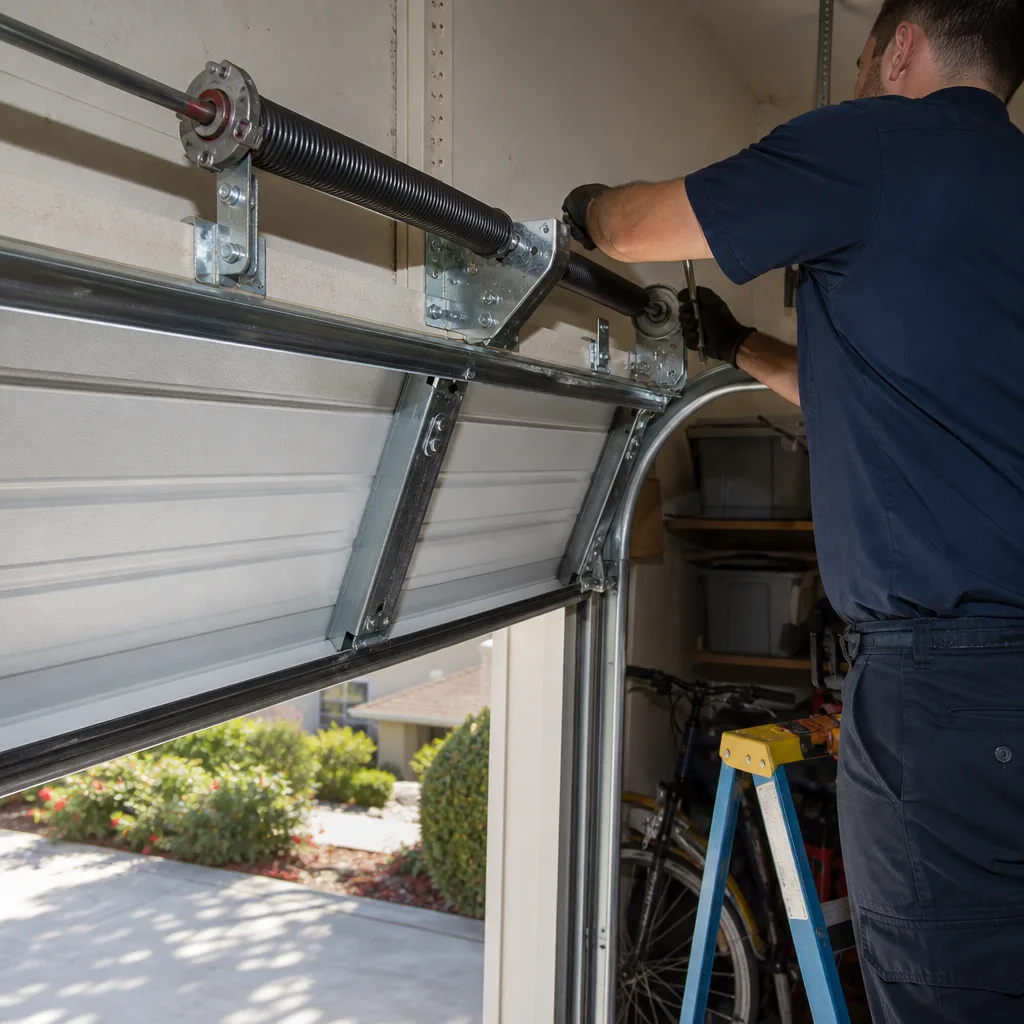 After
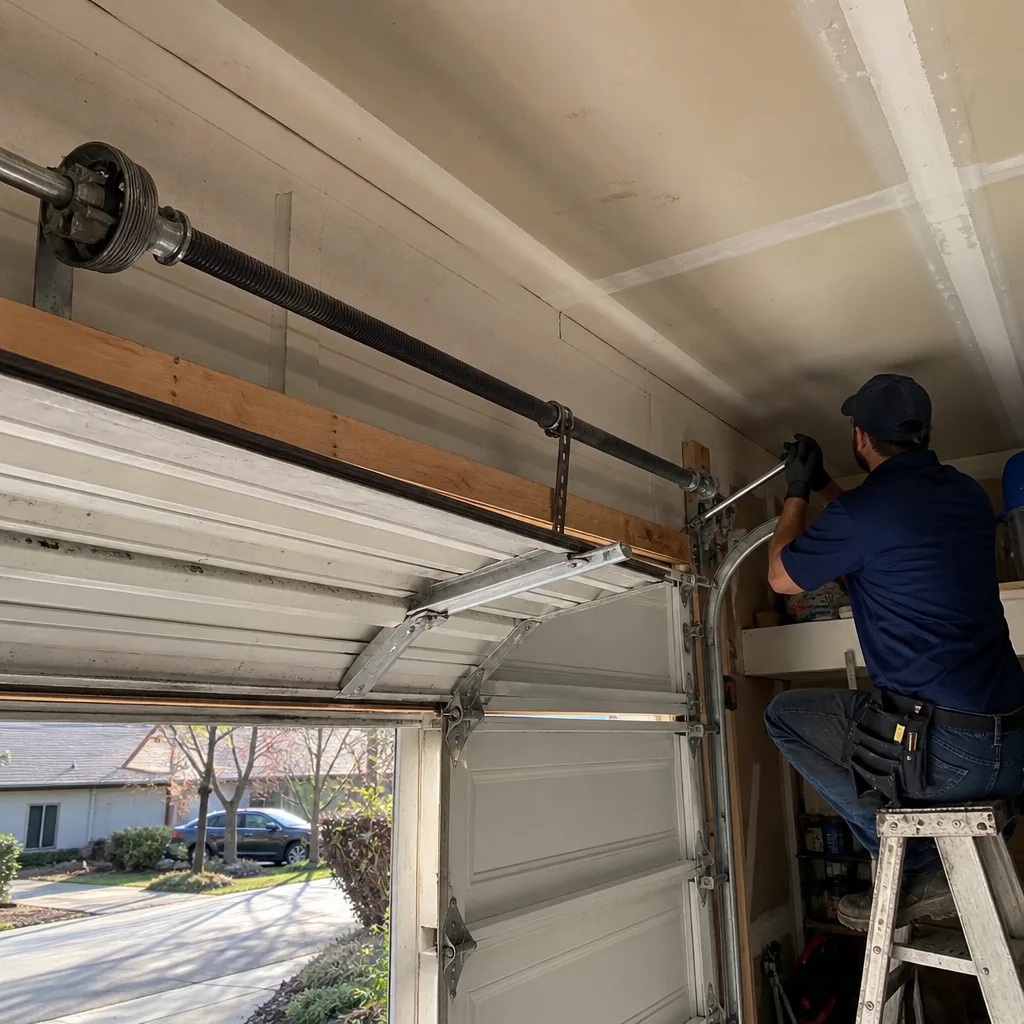 Before
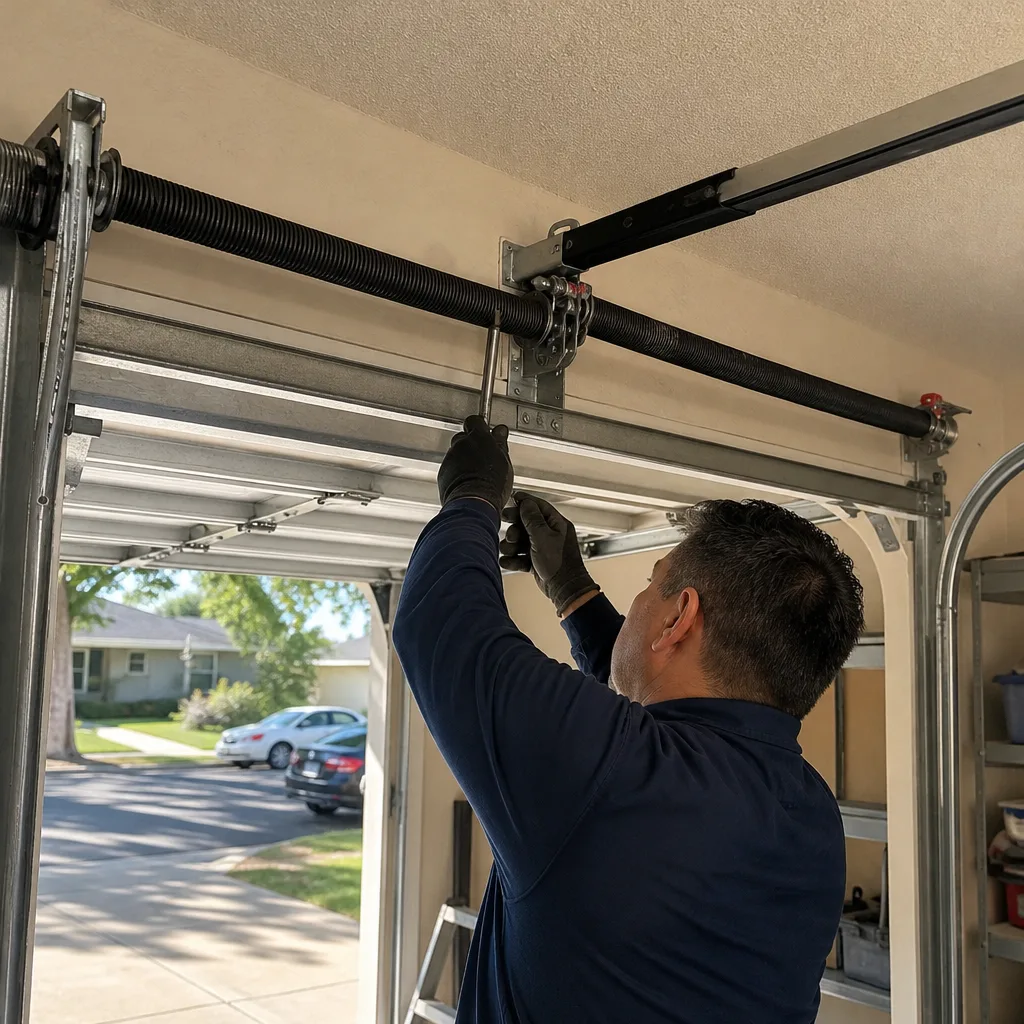 After