
Last updated October 31, 2026
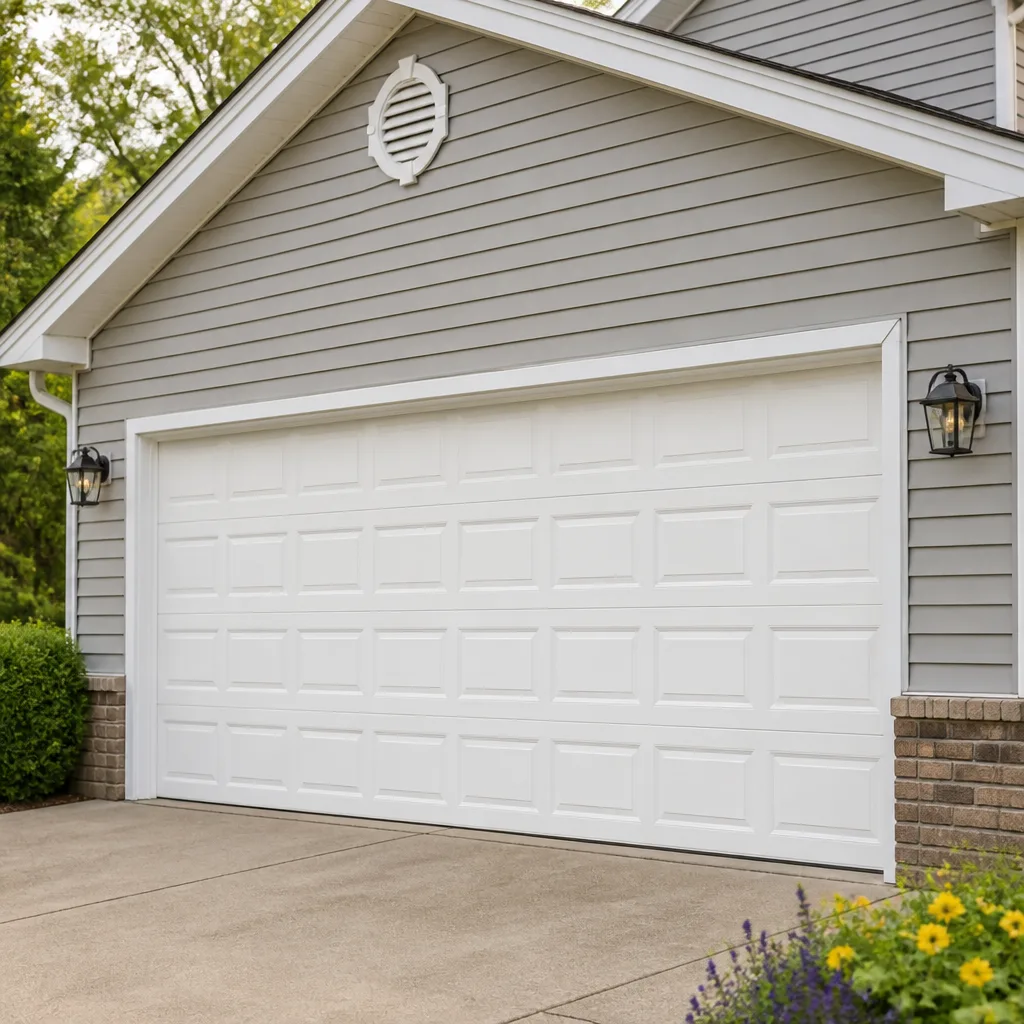 Raised-panel steel
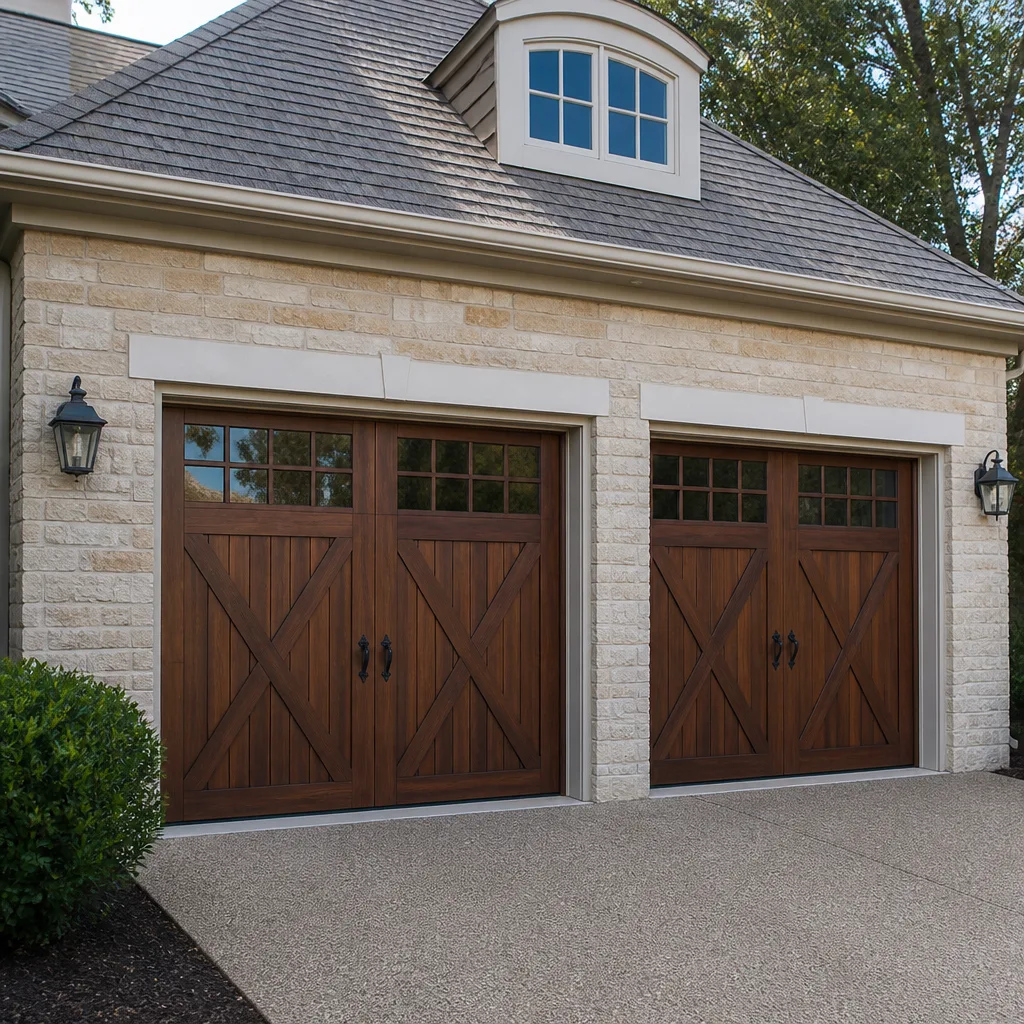 Carriage house
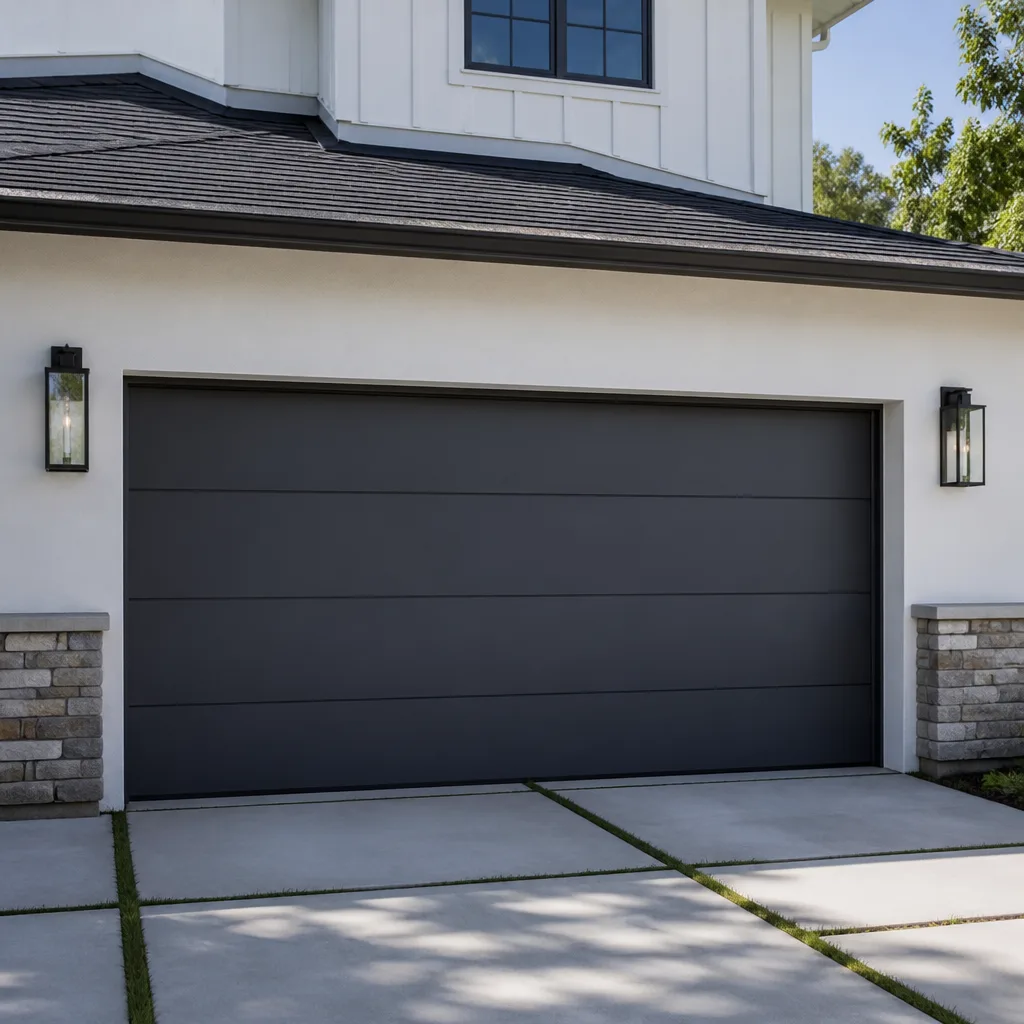 Modern flush
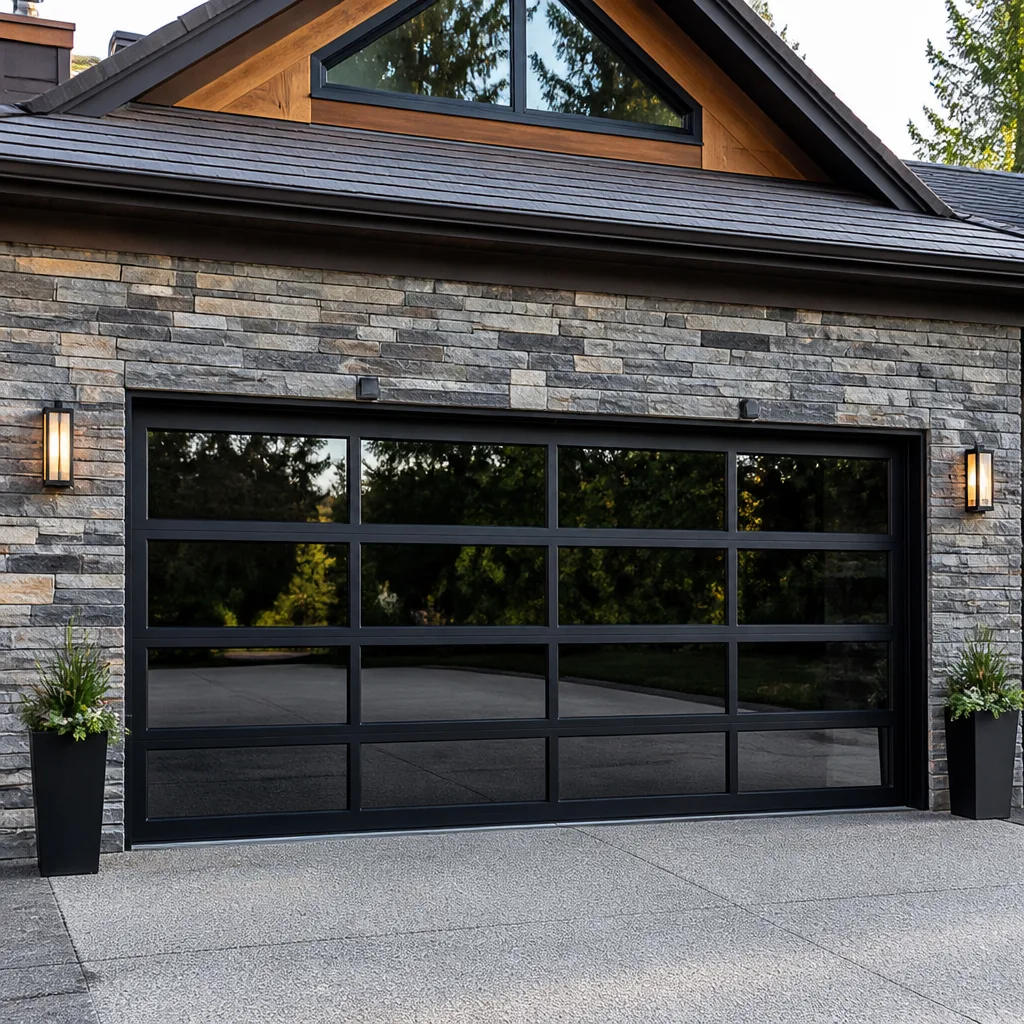 Full-view glass
 LiftMaster openers
 Chamberlain openers
Full 25-point door and opener safety check with every visit - springs, cables, rollers, tracks, and your LiftMaster or Chamberlain opener included
You get a price before we start. It does not change when the truck arrives.
Get your free estimateGarage Door Repair Maintenance Checklist for Sacramento Homeowners
Most Sacramento garage door failures in July don’t start in July. They start in April, when homeowners follow a generic “spring maintenance” schedule that has them lubricating hinges and testing springs during the mildest, least demanding weeks of the year. Then the real stress arrives: 105-degree heat radiating off concrete driveways, thermal expansion cycling metal parts daily, and a door that was “just tuned up” three months ago suddenly snapping a spring or stripping a gear. This guide is built specifically for Sacramento’s climate and construction patterns, not a national template. You’ll learn exactly when to perform each maintenance task, which lubrication points actually matter, how to test the safety features most people ignore, and what normal wear looks like on a valley door versus accelerated heat damage.
Styles & brands we work with
Quick Answer
A Sacramento garage door maintenance routine should center on two action windows: February and October. During these months, complete a full inspection of springs, cables, rollers, hinges, and the auto-reverse safety system, lubricate the four critical moving points (hinge pivots, roller bearings, spring coils, and opener rail), and torque hardware that loosens from vibration on concrete slab foundations. Skip the mid-summer “spring tune-up” habit; in Sacramento, heat is the stressor, and prep should happen before it arrives, not during.
Table of Contents
- Why Sacramento’s Climate Demands a Different Maintenance Calendar
- Month-by-Month Maintenance Windows for Sacramento Homeowners
- The Four Lubrication Points That Matter (and Two to Skip)
- How to Test Auto-Reverse Sensitivity: The Safety Check Most People Skip
- Normal Wear vs. Heat-Cycle Damage on a Sacramento Door
- Hardware Torque Checklist: What Loosens on Concrete Slabs
- Brand-Specific Maintenance Notes: Amarr, Wayne Dalton, Craftsman, Raynor
- Common Mistakes to Avoid
- When to Call a Professional
- Frequently Asked Questions
- The Bottom Line
Why Sacramento’s Climate Demands a Different Maintenance Calendar
Sacramento’s climate is a maintenance variable most national checklists ignore. The valley sees 100-degree days from June through September, with concrete driveways and south-facing garage doors absorbing enough radiant heat to push surface temperatures well past 140 degrees. Spring steel expands and contracts with every temperature swing, and over a single summer that’s dozens of micro-adjustments in spring tension. A door tuned in April is running on assumptions that won’t hold by August.
Then there’s the seasonal shift: Sacramento gets most of its rain between November and March, which means humidity enters the garage space right when doors are also running cold. Cold steel is more brittle. Torsion springs under high tension in 35-degree morning air are more likely to fracture than the same springs at 75 degrees. This is why the real maintenance windows for Sacramento are February (before the heat) and October (before the cold and wet). April and October, the traditional national checkpoint pair, miss the valley’s actual stress profile. If you only do two maintenance sessions a year, schedule them for the second week of February and the first week of October.
We work on doors across Sacramento, from Land Park bungalows with 1940s wooden doors to Elk Grove and Natomas subdivisions with 2010s steel-panel systems. The failure patterns differ by era, but the climate stress is the same everywhere: heat cycling in summer, moisture and cold in winter. A maintenance routine built around those two realities costs less time and prevents more breakdowns than any store-bought checklist.
Month-by-Month Maintenance Windows for Sacramento Homeowners
Here’s the full annual calendar, month by month, calibrated for Sacramento’s weather and usage patterns. This is the section to bookmark. Each task is intentionally narrow so it takes under 30 minutes, but collectively these actions cover the four failure categories we see most: spring fatigue, roller wear, hardware loosening, and safety-system drift.
January: Moisture Inspection
January is wet in Sacramento, and moisture is the enemy of steel springs and unsealed wooden doors. On a dry day this month, run a hand along the bottom weather seal and look for cracks, gaps, or areas where water has pooled inside the garage. Check the door’s lower panels for swelling or rust starting at the edges. Wipe down any condensation on exposed spring coils. If you have a wooden door from the 1940s through 1970s era, common in Midtown and East Sacramento, check for paint bubbling near the bottom panel. That’s water intrusion, and it will rot the panel from the inside if left alone.
February: Full System Tune-Up
This is your first major action month. The logic is simple: you’re preparing the door for the thermal stress of summer before temperatures start climbing. Complete these tasks in order:
- Visual inspection of torsion and extension springs – look for gaps in coil spacing, rust accumulation, or any deformation. A spring with uneven gaps is losing tension and will fail.
- Cable inspection – check for fraying where cables wrap around the drum at the top of the door. Frayed cables fail without warning.
- Roller and hinge check – look for wobble in rollers, cracked nylon wheels, or hinges that have shifted from their mounting points.
- Lubrication pass – apply lubricant to the four points described in the next section.
- Auto-reverse test – full procedure in the safety section below.
- Balance test – disconnect the opener and lift the door manually to waist height. It should hold position. If it drops or rises, spring tension needs correction.
February is also the right month to address any issues you noticed during winter. A small roller wobble in February costs a fraction of what that same roller will cost when it seizes in July and burns out an opener motor.
March: Track Alignment Check
March is a light month. Your only task is to visually sight the track alignment. Stand inside the garage, door closed, and trace the vertical and horizontal tracks. They should run parallel with even spacing from top to bottom. Look for gaps where the track meets the wall brackets, or any section that appears bent or pushed inward. Sacramento’s newer subdivisions are often built on expansive clay soils that shift with winter moisture and summer drying. That ground movement translates subtle pressure through foundation walls and can knock tracks out of true by an eighth of an inch. An eighth of an inch is enough to cause a door to bind at the top of the travel.
April: Nothing Major (Really)
Here’s the counterintuitive part: April is when most national checklists tell you to do spring maintenance. For Sacramento, April is a maintenance dead zone. The weather is mild, the ground has settled, and the door isn’t yet under thermal stress. If you completed the February tune-up, April requires nothing beyond a quick visual check for anything that looks wrong. Use this month to schedule any deferred repairs from winter. Save the effort for October.
May: Opener-System Test
May is when Sacramento starts warming toward the first 90-degree weeks. Your task this month is an opener-system check:
- Run the door through three full cycles while watching and listening for hesitation, grinding, or uneven movement.
- Check the opener rail for grease buildup that has turned gummy from early heat.
- Test the manual release: pull the red cord and open the door by hand. It should move smoothly without the opener attached.
- Look at the opener’s mounting brackets above the unit. Vibration loosens these over time, and when they loosen, the opener jerks with every cycle, wearing the gear faster.
May is also a good time to think about our Garage Door Repair services if you’ve noticed slowing, grinding, or intermittent operation. Catching these issues now beats discovering a dead opener on a 100-degree day in July, when every Sacramento garage door company is booked solid.
June through August: Emergency-Only Mode
Let’s be honest about Sacramento summer. When it’s 104 degrees outside, the last thing anyone wants is to spend 30 minutes with their garage door open, sweat dripping into the tracks. So this window is for observation, not intervention. If the door is running normally, leave it alone. If it’s making a new noise, acting sluggish, or the safety sensors are misbehaving, address that issue immediately. Heat accelerates every mechanical problem, and a door that’s “a little off” in June will be fully broken by August. We see this pattern every summer: a homeowner ignores a subtle grinding sound in June, and in mid-July the opener motor burns out from overwork, or a spring fractures mid-cycle and the door slams shut.
If you need emergency work during this window, Garage Door Repair in Sacramento covers the full range of summer failures, from broken springs to seized rollers.
September: Post-Summer Assessment
After Labor Day, take a careful look at what summer did to the door. Things to inspect:
- Spring coils: look for elongation or gaps that weren’t there in February. Heat cycling causes microscopic metal fatigue that shows up as uneven spacing.
- Nylon rollers: high heat accelerates nylon degradation. Look for cracking or flattening on each roller wheel.
- Weatherstripping: UV and heat make rubber seals brittle. Flex the bottom seal and look for cracks.
- Panel seams: on steel doors, heat expansion can separate the joints between panels, especially on south-facing doors.
September is a diagnosis month, not a repair month. Note what you find and schedule the work for October.
October: Second Major Action Month
October is your second full tune-up window, and it’s equally as important as February. The purpose is to prepare the door for winter: cold temperatures, moisture, and increased daily cycling as garage use goes up when the weather turns. Repeat the full February checklist: spring inspection, cable check, roller and hinge inspection, lubrication pass, auto-reverse test, and balance test. Add a track alignment check while you’re at it. If you spotted issues in September, address them now before winter moisture compounds the problem.
November and December: Watch and Listen
Late fall is when Sacramento gets its first real cold snaps. Cold steel contracts, and springs that were marginal in October will announce themselves in November with a sharp “pop” or a door that suddenly feels heavier. Listen for changes in how the door sounds during operation. A louder-than-normal opener, a grinding sound at the top of the travel, or a door that bounces when it closes: these are warnings. If you hear something new, call a technician before the next cold front. A broken spring on a 38-degree Sacramento morning is not a fun start to the day.
For opener-specific issues at any point in the year, Garage Door Opener Repair in Sacramento covers diagnostics and repair for every major brand.
The Four Lubrication Points That Matter (and Two to Skip)
Lubrication is the most misunderstood garage door maintenance task. Walk down the garage aisle at any hardware store and you’ll see spray cans with pictures of garage doors on the label, implying the whole system needs a coat. Most DIY checklists echo this, telling you to lubricate everything that moves. That’s wrong. Lubricating the wrong parts creates a sticky mess that attracts dust and accelerates wear. Here’s what actually needs lubrication on a garage door system, and what doesn’t.
The four points that matter:
- Hinge pivot points – the metal pin where each hinge folds. Apply a few drops of white lithium grease or a garage-door-specific lubricant directly to the pivot. This is the highest-wear moving point on the door.
- Roller bearings – only if you have metal rollers with exposed ball bearings. A drop of oil on each bearing keeps them spinning freely. Nylon rollers with sealed bearings require no lubrication and are designed to run dry.
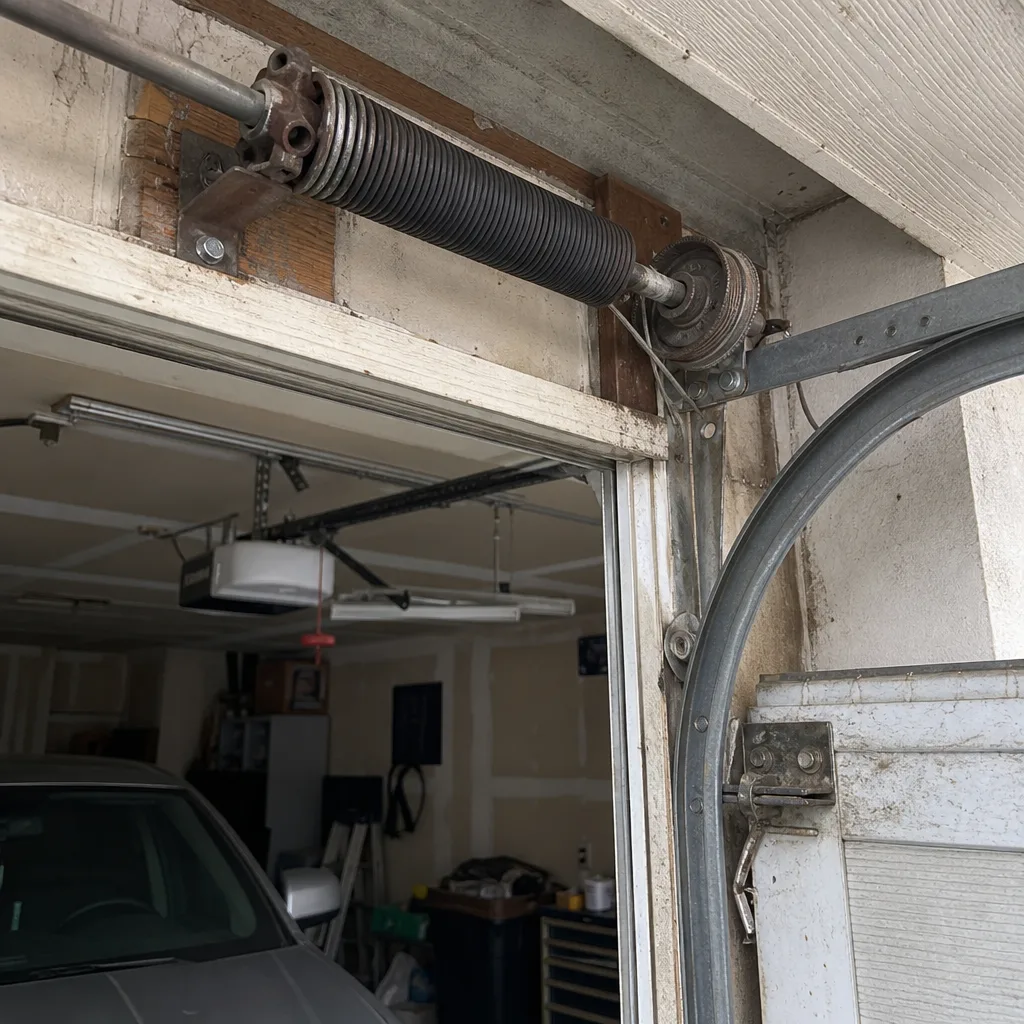
- Torsion spring coils – apply a light coat of lubricant along the full length of the spring. This reduces friction between the coils as they expand and contract. Spring coil friction is a silent killer of tension springs; proper lubrication extends spring life measurably.
- Opener rail (screw-drive and chain-drive models) – apply opener-specific grease to the rail. For belt-drive openers, skip the rail entirely and only lubricate the belt’s tension points as specified by the manufacturer.
The two points to skip:
- The track itself – this is the most common DIY error. Do not lubricate the vertical or horizontal tracks. The rollers are not designed to slide on a lubricated surface. Greasy tracks collect dust and grit, which grinds down both the roller and the track over time. Tracks should be clean and dry. If a roller is binding, the problem is the roller, not the track.
- The chain on a chain-drive opener – this surprises people, but the chain is designed to run with minimal lubrication. Over-oiling a chain creates drips that fall on the car below and collects debris. If the chain is noisy, it’s more likely a tension issue than a lubrication issue.
A proper lubrication pass takes about 15 minutes twice a year. Use a product specifically formulated for garage doors, not WD-40, which is a solvent that will strip existing lubricant rather than replace it.
How to Test Auto-Reverse Sensitivity: The Safety Check Most People Skip
The auto-reverse safety system is the single most important safety feature on your garage door opener, and it’s also the one most Sacramento homeowners have never tested. This is a federal safety requirement since 1993, and when it works, it prevents the door from closing on a person, pet, or object. When it drifts out of adjustment, the door can close with enough force to cause serious injury. Children are the highest-risk group, and garage doors injure thousands of people every year. Testing takes five minutes, and we strongly recommend doing it as part of every February and October tune-up.
Step 1: Test the Mechanical Auto-Reverse
Place a 2×4 piece of wood flat on the ground directly under the path of the closing door. With the door fully open, press the close button. The door should close, make contact with the wood, and then reverse direction immediately, returning to the fully open position. If the door does not reverse, or if it reverses only after significant pressure, the force setting is too high and the system needs adjustment.
Step 2: Test the Photo-Eye Sensors
With the door open, wave an object (a broom handle works) across the path between the two photo-eye sensors mounted near the floor on either side of the door. Press the close button. The door should not close. If the door closes even with the beam blocked, the sensors are misaligned, obstructed, or faulty.
Step 3: Test Sensor Alignment at Different Heights
Close the door and visually confirm that the sensor lights are steady, not blinking. Blinking lights indicate misalignment. Gently adjust the sensor brackets until both lights are steady. This is a common Sacramento issue because ground settlement from our clay soils shifts the sensor brackets over time, especially in newer subdivisions where the foundation is still stabilizing.
If any of these tests fail, the fix is usually quick for a technician. The danger of ignoring a failed test is real, and it’s the kind of issue that costs little to correct but has potentially serious consequences if left unaddressed.
Normal Wear vs. Heat-Cycle Damage on a Sacramento Door
Every garage door wears with use. The question is whether the wear is normal, expected, and gradual, or whether it’s accelerated damage from Sacramento’s unique heat-cycling profile. Being able to tell the difference matters because it tells you whether you need a simple part replacement or whether there’s a systemic problem brewing that will keep eating parts until you address the root cause.
Normal Wear Patterns
- Spring coil spacing becomes slightly uneven after 10,000 to 15,000 cycles (a typical spring lifespan). This is progressive and slow.
- Rollers develop a slight wobble after 5 to 7 years of daily use. Nylon rollers may show minor surface cracking.
- Weatherstripping hardens and loses flexibility gradually over 3 to 5 years.
- Hinge pivot holes elongate slightly over 7 to 10 years, creating a faint “pop” when the door operates.
- Bottom panel paint fading or surface rust on steel doors facing the afternoon sun. Cosmetic only.
Accelerated Heat-Cycle Damage
- Spring gap expansion within a single season – if coils that were even in February show visible gaps by September, that spring is failing early due to thermal stress. A spring that should last 10,000 cycles may only last 6,000 in a south-facing Sacramento garage that hits 140 degrees repeatedly.
- Nylon roller cracking and flattening within 2 to 3 years – heat accelerates the polymer breakdown. If rollers on a 3-year-old door look like rollers on a 10-year-old door, the heat load is the culprit.
- Weatherstripping cracks within one summer – UV and heat combined can destroy a brand-new seal in a single season on west- and south-facing doors.
- Steel panel seaming separation – heat expansion and cooling contraction can pull panel joints apart, especially on doors installed with insufficient clearance for thermal movement.
- Opener motor overheating and tripping its thermal overload during summer months – if the opener shuts itself off after two cycles on a 100-degree day, the motor is being cooked by ambient garage heat and needs ventilation or a cooler-running replacement.
The distinction matters because normal wear is a straightforward part swap. Accelerated damage means the door’s environment is working against the components, and replacing a burned-out spring without addressing the heat load means you’ll be replacing it again in half the expected lifespan. Sometimes the fix is as simple as adding a garage ventilation fan or insulating the garage door to reduce radiant heat absorption. Sometimes it’s switching from standard springs to high-cycle springs rated for 25,000 cycles.
Hardware Torque Checklist: What Loosens on Concrete Slabs
Sacramento’s post-1990 construction boom produced tens of thousands of homes built on concrete slab foundations. Slab foundations are great for stability, but they transmit vibration directly from the door mechanism into the wall framing, and over time that vibration works hardware loose. Here’s the torque checklist for every February and October session. You’ll need a socket set and about 20 minutes.
- Track mounting brackets – check every bracket where the vertical and horizontal tracks attach to the wall and ceiling. These take the brunt of vibration and are the most common loosening point. Tighten any bolt that moves by hand. Torque spec is typically 14 to 16 foot-pounds for standard 3/8-inch bolts.
- Opener mounting straps – the metal straps that suspend the opener motor from the ceiling. Vibration loosens these gradually, and a loose opener jerks hard with every cycle, compounding the wear on the gear assembly. Check the tension and tighten as needed.
- Hinge-to-panel bolts – the bolts that attach each hinge to the door panel. These loosen from the vibration of the door moving, and a loose hinge allows the door to shift laterally, which then pulls the track out of alignment. Check all hinges on all panels.
- Spring anchor brackets – the brackets that mount the torsion spring assembly to the header above the door. These are under constant load, and the vibration from each cycle works the lag bolts loose over months. A loose spring assembly is genuinely dangerous: it can shift, change spring tension, or even detach. If you find any play here, do not attempt to tighten it yourself. Call a professional.
- Bottom bracket assemblies – the brackets at the bottom corners where the lift cables attach. These handle the full weight of the door on every cycle. Check them for loosening and for cable wear at the attachment point. Cable wear at the bottom bracket is the most common cause of sudden cable failure.
We’ve seen doors in Elk Grove subdivisions where every single track bolt was finger-loose after five years of daily cycling. The homeowner had no idea anything was wrong because the door still opened and closed. It was only a matter of months before a track shifted enough to bind the door at the top. Five minutes with a socket wrench in February would have prevented it entirely.
Brand-Specific Maintenance Notes: Amarr, Wayne Dalton, Craftsman, Raynor
Different brands have different wear profiles and different maintenance quirks. Here’s what we know from working on these systems across Sacramento.
Amarr
Amarr builds doors that are among the most common in Sacramento’s upper-mid-range housing stock, especially the Classica and Lincoln Lines. These doors use a pinch-resistant panel design, which means fewer pinch points for fingers but also means the panel hinges have a specific maintenance need: the hinge pivot points require lubrication more frequently than other brands because the panel design puts more rotational stress on each hinge. If you have an Amarr door, schedule lubrication every four months rather than every six. The good news is Amarr’s steel construction handles Sacramento heat well; the enamel coats resist UV fading better than most competitors.
Wayne Dalton
Wayne Dalton’s TorqueMaster spring system is the brand’s defining characteristic, and it changes the maintenance equation. The springs are enclosed inside a tube, which means you cannot visually inspect them the way you can with a standard torsion spring. For a Wayne Dalton door, the maintenance task is auditory: run the door through a cycle and listen for any grinding, scraping, or rattling from the tube. Noise from a TorqueMaster tube means an internal component is failing, and you won’t see it coming any other way. Wayne Dalton doors also use a unique track profile, so track lubrication is even more important to avoid. Keep these tracks bone dry.
Craftsman
Craftsman is primarily an opener brand, not a door brand, and the maintenance profile here is about the opener’s gear assembly. Craftsman openers from the 1990s and 2000s use a plastic drive gear that is a known wear item. The gear teeth wear down over time, especially in garages that run hot. If your Craftsman opener makes a grinding noise when the door is moving but the motor sounds fine, that’s the gear. The maintenance action for Craftsman owners: inspect the gear every October by removing the opener cover and checking for plastic shavings below the gear assembly. Catching a worn gear before it strips completely is a $40 part rather than a full opener replacement.
Raynor
Raynor doors are less common in Sacramento but show up in custom homes and attached-garage configurations. The brand’s maintenance signature is its spring system: Raynor uses a slightly different spring wire gauge than most competitors, which means the springs have a different cycle life expectation. We typically see Raynor springs last longer than average, but when they fail, they fail with more noticeable coil separation before the actual break. For Raynor owners, the spring inspection in February and October is even more important: look for a spring that appears “stretched” with visible gaps between coils. That’s an early warning sign that a Raynor spring is approaching end of life.
Lionheart Garage Door Repair is trained on all eight major garage door brands, including these four. We work on the door you have, not just the brands we happen to carry in the truck. If your system is showing any of the signs above and you’re not sure what you’re looking at, a diagnostic visit costs nothing and tells you exactly where you stand.
If your door is at the end of its useful life, Garage Door Installation in Sacramento covers the full replacement process, from measuring to final walkthrough.
Common Mistakes to Avoid
- Lubricating the track – this is the single most common DIY error we see in Sacramento garages. Greasy tracks collect dust, which becomes an abrasive paste that destroys rollers and track sections over time. Tracks should be clean and dry. Always.
- Following a “spring and fall” national maintenance schedule – April maintenance means the inspection results have four months to go stale before the real stress of summer arrives. For Sacramento, the action months are February and October. If you only adopt one change from this guide, make it this one.
- Ignoring the auto-reverse safety test – we can’t overstate how often we find Sacramento homes where the auto-reverse system has drifted out of adjustment and nobody knows. Five minutes twice a year prevents the worst-case scenario. Test it.
- Using WD-40 for lubrication – WD-40 is a solvent, not a lubricant. It will strip existing lubrication and leave the components drier than before. Use a garage-door-specific lubricant or white lithium grease.
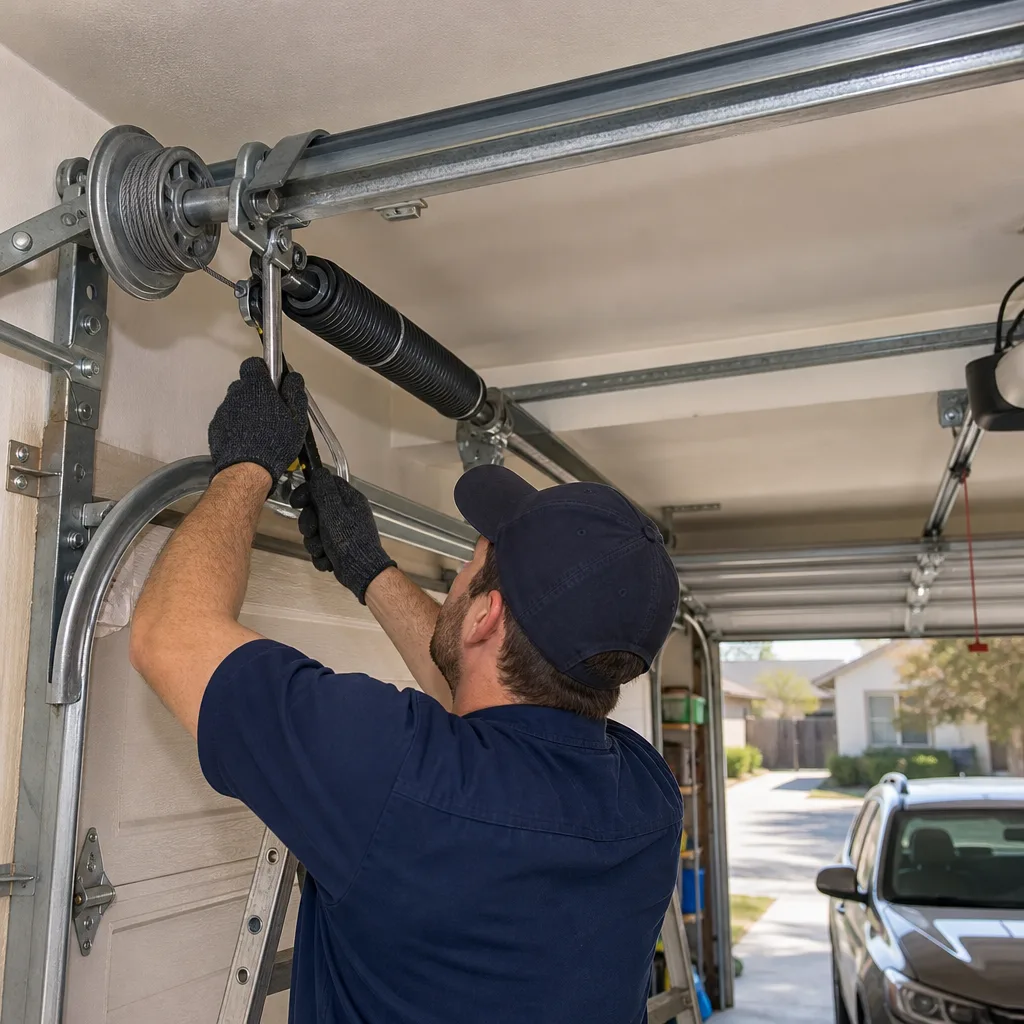
- Tightening spring hardware without proper tools – torsion springs are under enormous tension. If you see loose spring anchor bolts or suspect a spring issue, do not attempt to tighten or adjust anything. One wrong move with a torsion spring can cause serious injury. Call a professional.
- Assuming a noisy door is a normal door – grinding, popping, squealing, or rattling sounds are all diagnostic signals, not personality traits. A door that suddenly develops a new sound is telling you something specific. Listen and act.
- Painting over rust instead of treating it – on steel doors with surface rust starting at the bottom panel, painting over the rust does nothing. The rust continues to eat the steel under the paint. Treat the rust first, then prime, then paint.
When to Call a Professional
Some maintenance tasks are homeowner territory. Some are not. Call a professional in these situations: a torsion spring has visible gaps, deformation, or has snapped (this is the most dangerous component on the door and under hundreds of pounds of tension); a cable is frayed or snapped (the door can fall without warning); the door feels significantly heavier than it used to (spring tension is failing); the auto-reverse safety system fails any of the tests described above; the door is off its track; or you’ve done the maintenance and the door still doesn’t operate smoothly. These are all situations where the risk of injury is real, and the cost of a professional visit is far less than the cost of an accident.
Lionheart Garage Door Repair offers free estimates in Sacramento. Call (855) 758-6556 and we’ll diagnose the issue, show you what we found, and quote the repair before any work starts. One call, one crew, and a technician who works on the door you already have.
Frequently Asked Questions
Every six months, timed to February and October. Some brands (Amarr in particular) benefit from lubrication every four months because of additional hinge stress. Use a garage-door-specific lubricant, not WD-40, and apply it only to hinge pivots, roller bearings, spring coils, and the opener rail. Skip the tracks entirely.
An unmaintained garage door works right up until it doesn’t, and the failure is usually sudden: a spring snaps, a cable frays and breaks, or the opener motor burns out from fighting a door that’s gradually gone out of balance. The frustrating part is that every one of these failures gives early warning signs that show up in routine maintenance; see more guides & resources for deeper dives on each component. Unmaintained doors also cost more to repair because multiple components fail together under the accumulated stress. Call us at (855) 758-6556 if you’re due for a maintenance and inspection.
Most of the tasks in this guide cost nothing but time if you do them yourself. A professional maintenance visit, which includes lubrication, hardware tightening, safety system testing, and a full inspection, typically runs $80 to $150 in the Sacramento market depending on the door type and opener system. The number of doors in our area that need follow-up repairs is high enough that we offer the estimate for free, so a maintenance visit from Lionheart Garage Door Repair includes both the routine service and a diagnostic report on anything that needs attention. Call (855) 758-6556 for an exact quote.
Yes, most of the routine items are safe for homeowners: lubrication, visual inspections, door balance testing, hardware tightening on non-spring components, and auto-reverse testing. The one area we always recommend leaving to a professional is anything involving torsion springs. These springs are under hundreds of pounds of tension, and the injuries from a misfire are severe. Everything else, go ahead and do it yourself.
Heat makes metal expand, and expanded components run tighter, which means more friction and more noise. Sacramento summer garage temperatures can exceed 120 degrees, and at those temperatures a door that was quiet in April can develop grinding, squealing, or rattling sounds. The irritant itself is usually a roller that’s reached the end of its life or a hinge that’s dry of lubrication. The summer heat didn’t cause the problem; it exposed it. Address the underlying component and the noise goes away.
Stop using the door as an automatic system immediately. Disconnect the opener and operate the door manually until it’s fixed. A failed auto-reverse test means the door is not detecting obstructions, which creates a real safety risk, especially if there are children or pets in the home. The fix itself is usually a simple force adjustment or sensor realignment, but it’s not worth taking chances on. Call (855) 758-6556 for a same-visit repair.
The Bottom Line
Sacramento’s garage doors face a unique combination of stresses: brutal summer heat, cold wet winters, and slab foundations that transmit vibration into every bolt and bracket. A maintenance routine built around that reality, with action windows in February and October, prevents the vast majority of failures we see. Lubricate the right parts, skip the wrong ones, test the safety system every tune-up, and learn to tell the difference between normal wear and heat-accelerated damage. Twenty minutes twice a year will save thousands of dollars in emergency repairs over the life of a door, and it will keep the system safe for the people and pets that walk under it every day. If you’re not sure where to start, we’ll do it with you. Call (855) 758-6556 for a free estimate, and we’ll bring the checklist, the tools, and the experience to get your door ready for the next Sacramento summer or winter.
For more from the full range of garage door services we provide, visit the Lionheart Garage Door Repair home page. Written by the team at Lionheart Garage Door Repair, serving Sacramento since 2017.
See the difference
 Before
 After
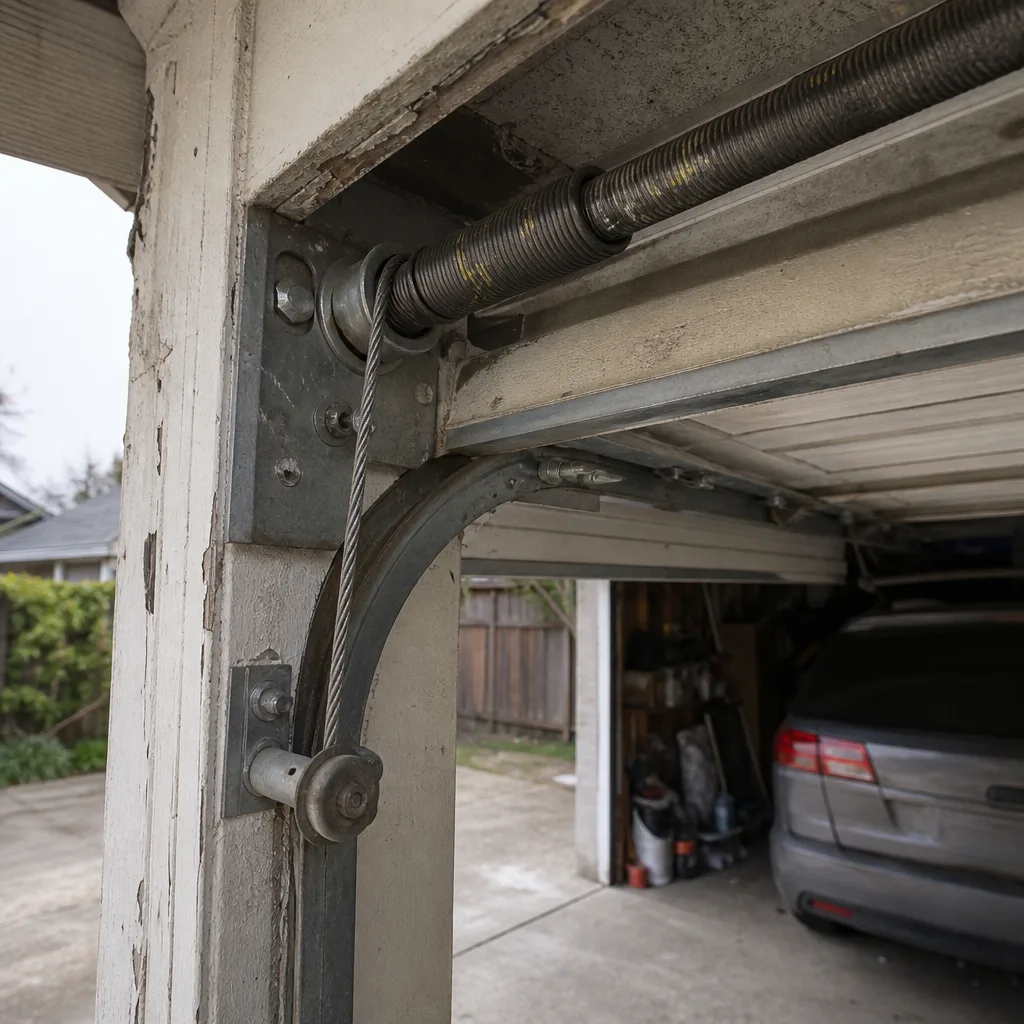 Before
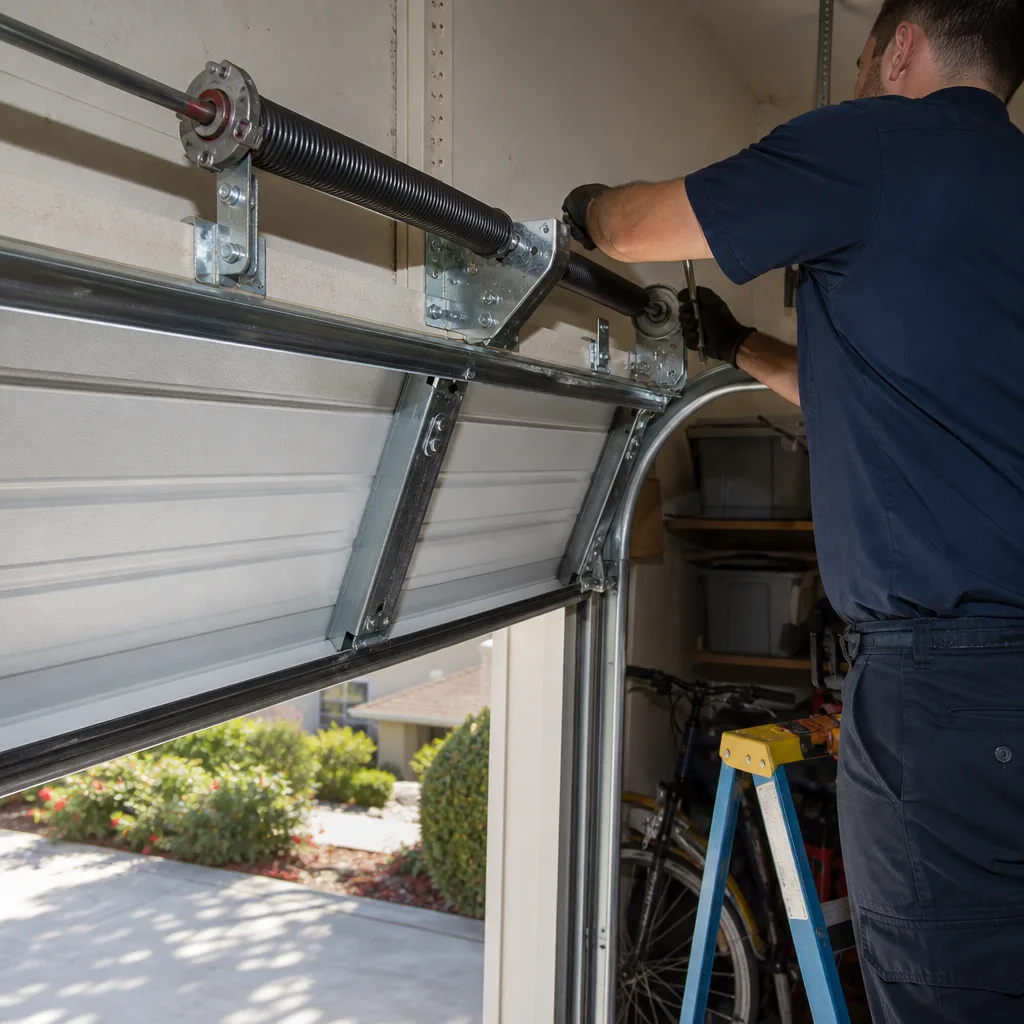 After
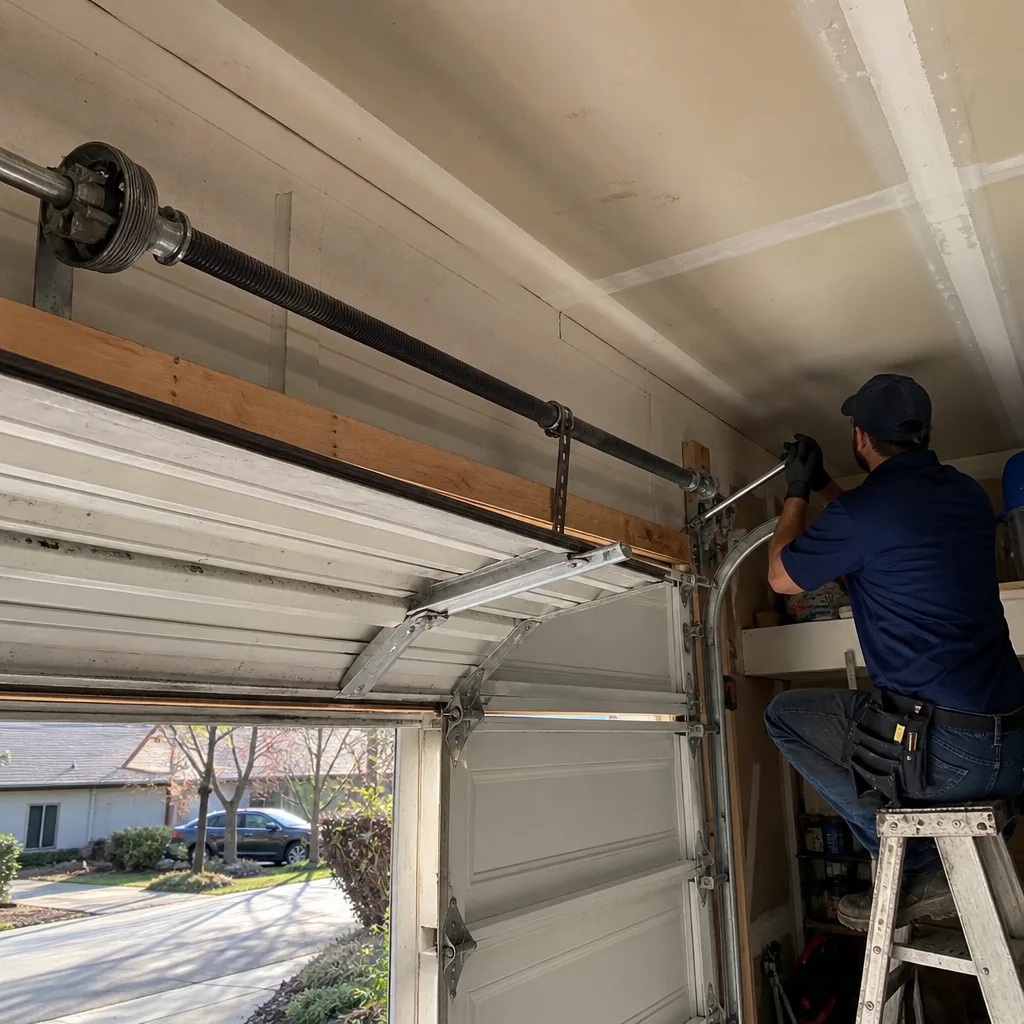 Before
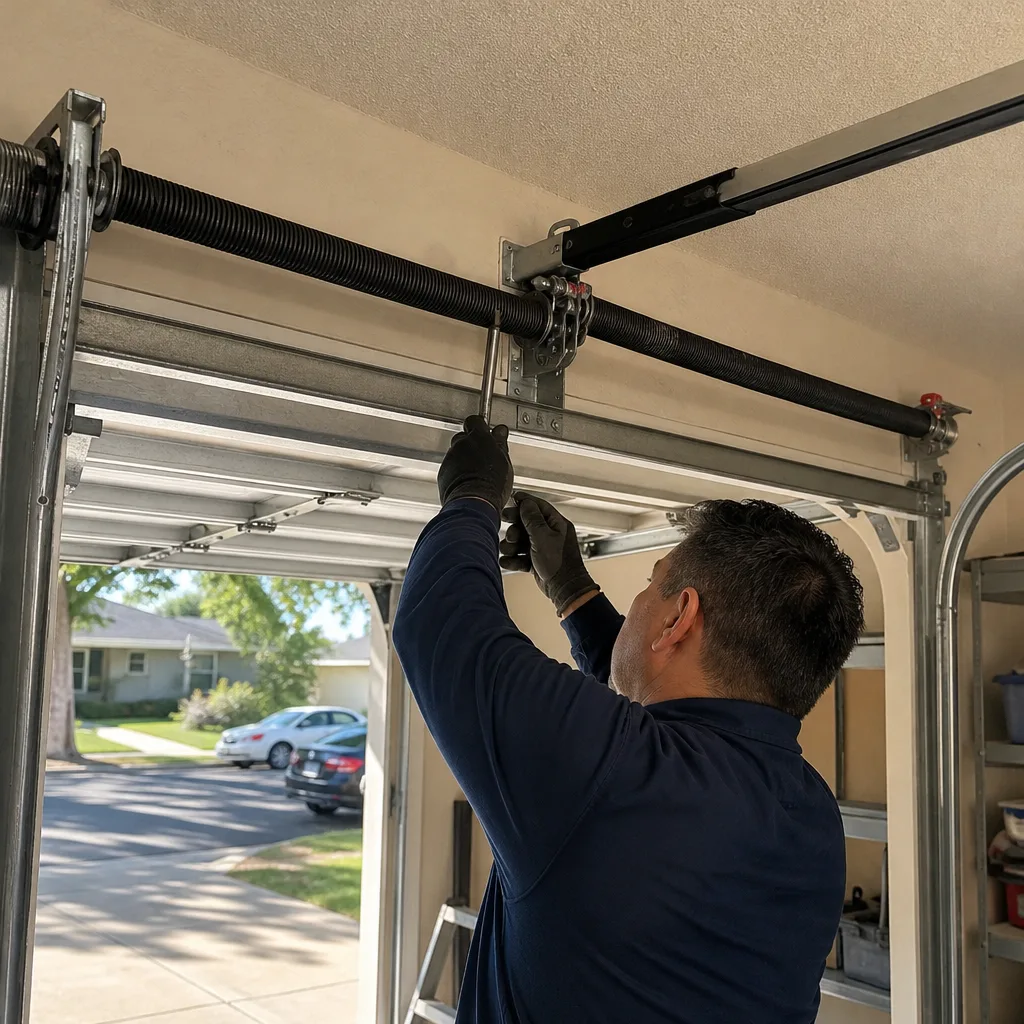 After